Getting started with Customer Hub on Shopify
Learn about Customer Hub, a unique personalized experience for online store visitors that guides them from product discovery through purchase and post-purchase support.
Customer Hub for Shopify currently supports standard storefronts and Shopify Headless. For WooCommerce, navigate to https://help.klaviyo.com/hc/en-us/articles/47792369863451
For feedback about Customer Hub functionality, email customerhub@klaviyo.com.
About Customer Hub
Customer Hub is the one place for your customers to manage their relationship with your brand. It consolidates the traditional accounts functionality with personalized shopping experiences such as saving products to favorites, surfacing unique coupons, and showing product recommendations. Customer Hub drives revenue and reduces support burden by bringing everything into one place, eliminating confusion and driving up engagement with your most valuable marketing tools, including loyalty, subscriptions, and more.
Why use Customer Hub?
Customer Hub helps boost customer engagement and lifetime value compared to traditional account experiences. It consolidates various touch points and everything you know about the customer into one place via extensive integrations and customizable content blocks. Customer Hub brings the power of Klaviyo personalization to your website.
Most of my shoppers never log in. Is Customer Hub still valuable?
Yes, this is precisely where Customer Hub shines. While traditional accounts experiences deliver little value without a shopper login, Customer Hub can deliver personalized experiences even before the shopper logs in. For example, Customer Hub delivers a personalized experience to recognized visitors and tracks recently viewed products, allows shoppers to save products to purchase later in Favorites, surface FAQs, and integrates web chat, to all shoppers without requiring a login.
When the user is recognized or logs in, this information is then consolidated into their Klaviyo profile for future personalization across all Klaviyo channels.
Does it work with my existing Shopify account login?
Customer Hub integrates with both new and legacy Shopify Customer Accounts, syncing existing accounts data and tracking new accounts. This integration uses Shopify data to organize customers’ account details and order history while providing personalized shopping experiences and self-service support, all within a cohesive onsite experience.
How does Customer Hub work?
Once live, the Customer Hub onsite experience replaces your default Shopify account login pages with a dynamic sliding drawer or floating panel. Site visitors can access Customer Hub on any page by clicking the account icon or by navigating to your website's /account page. You can also add a small floating widget to every page to help customers access Customer Hub.
The interface adapts based on a visitor’s status to balance personalization with security:
- Logged out shoppers are prompted to sign in or create an account to view their history.
- Recognized shoppers (those recognized via a tracking token but not fully logged in) receive a personalized experience immediately—including greetings and recently viewed items—though sensitive account data remains redacted.
- Logged in shoppers have full, immediate access to all tabs, including order management, support tools, and unredacted profile details.
For your customers, the login process remains the same as their standard customer account; however, Customer Hub now allows recognized shoppers to engage with a tailored storefront before they even enter a password.
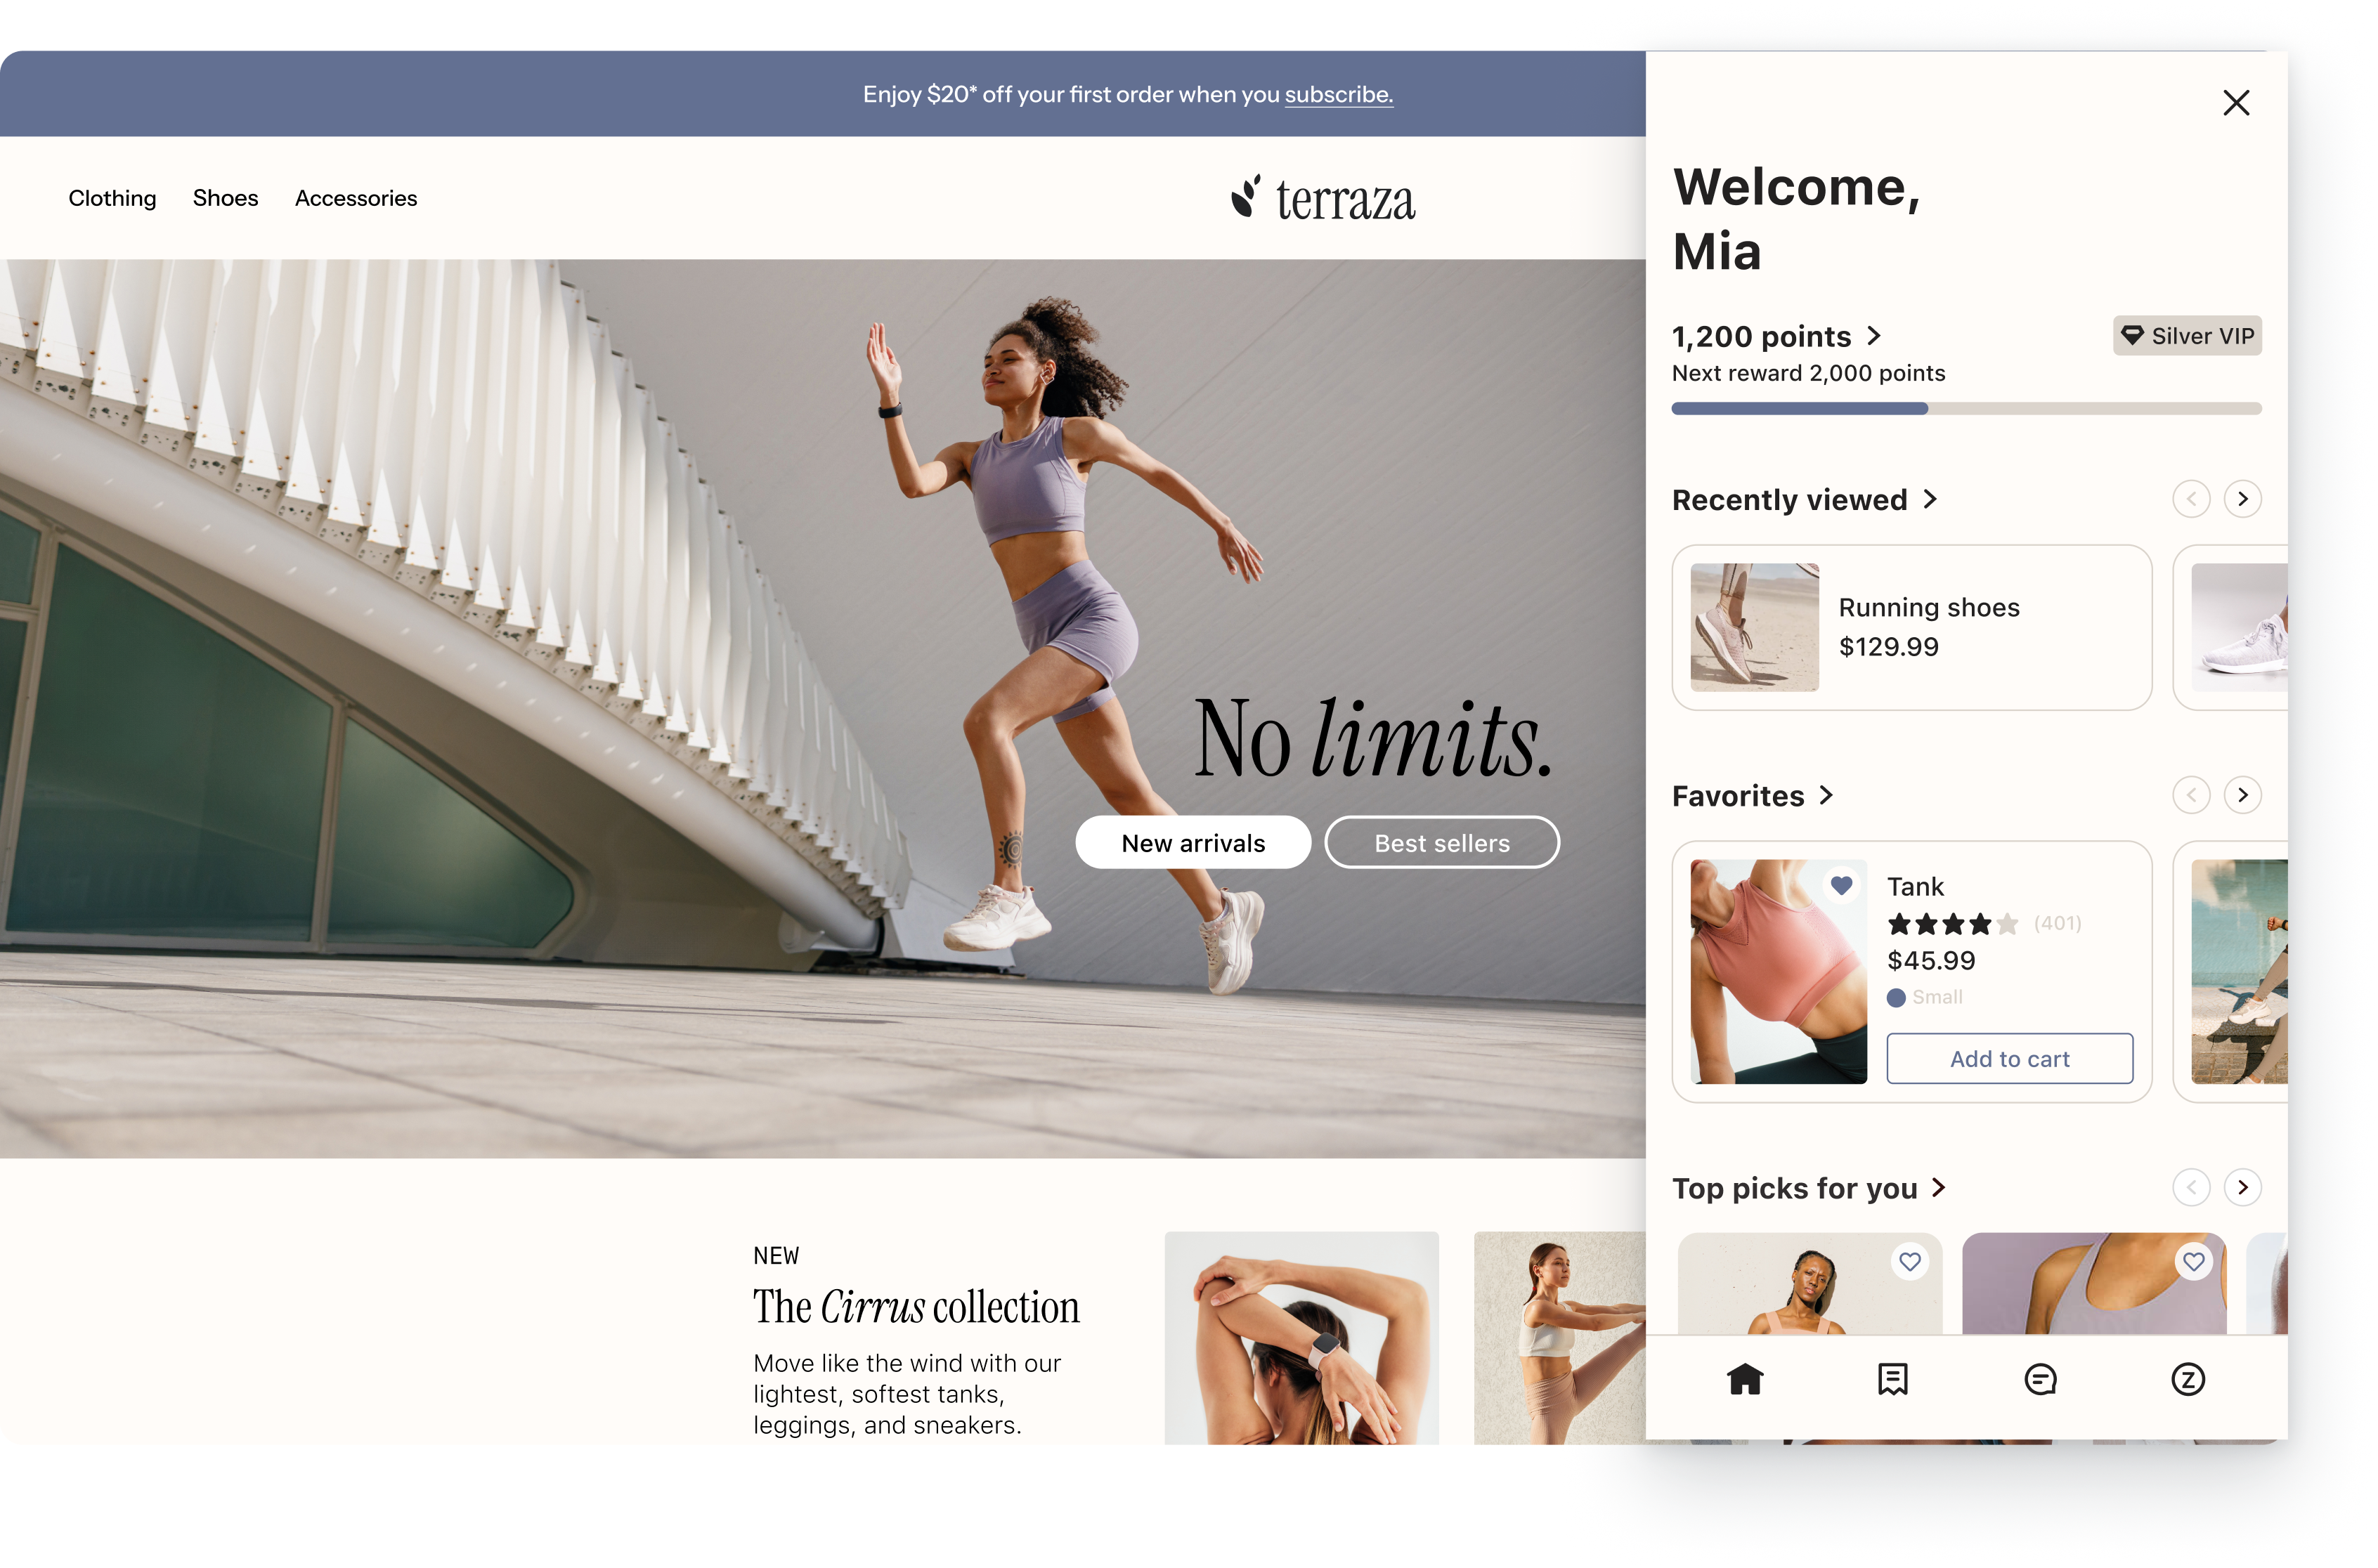
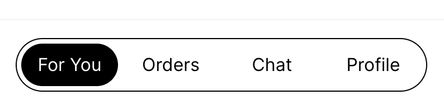
Customer Hub has multiple customizable tabs. You can customize the design and content on each of these tabs to fit your brand’s look, suit your business goals, and align with your support offerings:
- For you - a personalizable hub for your shopper's most common needs
- Add dynamic content blocks (e.g., loyalty points, product announcements, subscription management, etc.), to display personalized information to both logged in and recognized shoppers. This allows you to show upcoming order deliveries, personalized coupons, rewards, favorites, and more to returning visitors even before they enter their password.
- Orders - offer self-service and drive repeat purchases
- Offer customers a snapshot of their recent order history, as well as self-service help options for viewing individual order details, tracking, initiating a return, escalating a request to an agent, and more. Shoppers can also easily purchase again by clicking "by again".
- Profile - your shopper's profile at a glance
- Display the shopper's personal information (name, email address, and saved address), provide links to view or edit profile data, and allow shoppers to control SMS opt-in.
- Chat (Optional) - a seamlessly integrated chat experience with AI and human agents
- Enable the Web chat extension to integrate a conversational support channel within Customer Hub. Works best with Customer Agent or Helpdesk.
- Enable the Web chat extension to integrate a conversational support channel within Customer Hub. Works best with Customer Agent or Helpdesk.
1. Enable Customer Hub
To Enable Customer Hub:
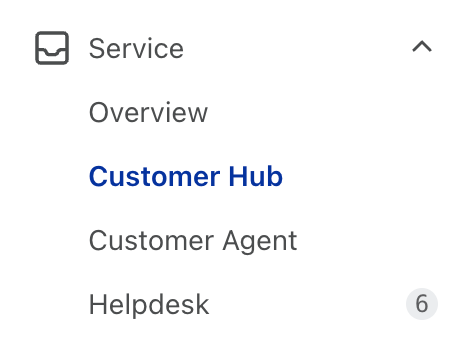
- Navigate to the Customer Hub tab under Service in Klaviyo’s main navigation.
- Click Get started to begin your free trial and onboarding process.
- In the guided workflow that follows, you will:
- Customize the design and branding of your Customer Hub.
- Customize your on-site widget to help shoppers discover your Hub.
- Add personalized content to your Hub.
- Choose from our library of pre-built content blocks, including partner-built content blocks that leverage Klaviyo integrations to display dynamic data, such as loyalty points and subscription statuses.
- You can also create your own content blocks with fully personalizable profile data and segment targeting capabilities to display offers and other calls to action to specific shoppers.
- Learn how to create content blocks in Customer Hub
- Target shoppers based on three distinct authentication states.
- Logged out: New visitors with no tracking history.
- Recognized: Returning shoppers recognized via a
_kxtoken (e.g., from a previous email click or form submission) but not yet logged in. - Logged in: Shoppers who have fully logged into their account.
Content Type | Recognized State | Logged in State |
|---|---|---|
Personalized Greetings | ✅ Visible (e.g., "Hi, Jane") | ✅ Visible |
Recently Viewed/Favorites | ✅ Visible | ✅ Visible |
Loyalty Points (Smile.io and Yotpo) | ❌ Hidden (Requires Shopify Auth) | ✅ Visible |
Order History (Last 30 Days) | ✅ Visible (PII Redacted) | ✅ Visible (Full Details) |
Profile Management | ❌ Prompt to Login | ✅ Full Access |
- Set Customer Hub live, or keep it hidden if you need more time.
- After completing the onboarding workflow, you can access your Customer Hub data dashboard and additional settings to further customize.
2. Enable extensions to tailor the shopping experience
Extensions are additional functionalities that can drive greater engagement and revenue via Customer Hub. These include both Klaviyo-built and 3rd party integrations.
Open the Extensions menu to enable the following:
- Product recommendations
Allow Klaviyo to surface personalized product recommendations. Learn more about how Klaviyo determines product recommendations. - Favorites
Give shoppers the ability to save their favorite products and enable Customer Hub to display them. Learn how to display favorites in Customer Hub. - Coupons
- Surface unique and static coupons to shoppers, including segment-targeting capabilities, to drive more conversions.
- FAQs
- Create a list of commonly asked questions, which can be displayed in the Chat tab before shoppers initiate a conversation. FAQs can also be added to the product page (PDP) as an app block.
- Reviews
Showcase star ratings on the products Klaviyo surfaces in Customer Hub. You can use Klaviyo Reviews as well as supported 3rd party providers. Learn more about how to display reviews in Customer Hub. - Loyalty
If you use Smile.io or Yotpo, connect Smile.io or connect Yotpo with your Customer Hub to dynamically surface your customer loyalty data in the on-site customer accounts experience. Note that if you don’t use Smile.io or Yotpo you can still surface loyalty data in a content block. - Subscription management
If you use Recharge, enable this option to display relevant subscription information in Customer Hub's orders page. Shoppers can clearly see which orders include subscriptions, and click a link to manage. - Order tracking
By default, Customer Hub pulls data from Shopify to display shipping status. You can select a supported 3rd party app, such as Wonderment, for greater details and accuracy. - Returns management
Add an option for shoppers to click "start a return" from an order detail page by adding a supported returns management provider. - Web chat
Add the Chat tab in Customer Hub and allow shoppers to chat with Klaviyo's Customer Agent and / or human agents in Klaviyo Helpdesk or a supported Helpdesk provider. - Support
Allow shoppers to click "get help" in order detail pages by opening a relevant widget or link to start a conversation or open a support ticket.
3. Link your privacy policy and terms of service
To maintain compliance and ensure that your shoppers are notified about the terms governing their interactions with Customer Hub, add links to your site’s privacy policy and terms of service in the Customer Hub settings menu.
These links will appear before a shopper signs into their account on your site, as well as before they send a web chat message.
4. Set Customer Hub live
Before setting Customer Hub live on your site, use the View live button to preview and test that any added functionality is working as expected.
When you’re ready to publish:
- Navigate to the Customer Hub settings menu.
- Under Customer Hub visibility, select Live > Save.
Going forward, you’ll need to save any changes that you make to Customer Hub settings to see them reflected on your site. When Customer Hub is live, all saved changes apply immediately to the on-site experience.
5. Analyze your performance
Once your Customer Hub is live, monitor its performance and impact on the Customer Hub dashboard.
Here, you can analyze key revenue metrics and reports to gain a deeper understanding of the value of customer accounts. This data can inform how you tailor Customer Hub for your specific customer base.
Learn more about the Customer Hub dashboard.
Frequently asked questions
How do my customers discover or open Customer Hub?
When you set Customer Hub to "live", any link to the account experience (frequently the "log in" button or the "profile" icon in most themes) will now open Customer Hub.

We also highly recommend enabling the Customer Hub widget to drive more engagement.
What if I don't want specific account links to open Customer Hub?
When you set Customer Hub to "live", Klaviyo automatically replaces your account links (any links on your site to your account, by default "/account") with a link that ends with "#k-hub". This is what triggers Customer Hub to open instead of your default /account page.
Sometimes, you may have a link that should open the default Shopify account experience directly instead of opening Customer Hub. This can be achieved by adding "data-k-hub-ignore" attribute to your link. For example:
<a href="/account" data-k-hub-ignore>View my account</a>Why can some shoppers see their name and recent orders without logging in?
Customer Hub uses Klaviyo's "Identified State" to recognize returning shoppers via browser tokens. This allows brands to provide a friction-less, personalized experience (like showing a 'Favorites' list) for up to 28 days. To protect privacy, sensitive information like full addresses and payment methods remains hidden until the shopper performs a "hard login."