How to add a virtual contact card to a flow message
You will learn
Learn how to add a virtual contact card to an SMS message in a flow so that customers can save your brand’s contact information.
Note that the inclusion of a virtual contact card will convert the SMS message to MMS, which is only accepted in the United States, Canada, and Australia and will use more credits than SMS.
Also note that you cannot add past profiles to flows that contain a virtual contact card.
Before you begin
If you have not already done so, you must enable virtual contact cards. Navigate to Settings > SMS to review and modify your company’s contact information that will be sent with the contact card. See our guide on how to set up virtual contact cards.
Recipients must have texted your number previously in order for virtual contact cards to appear properly. For this reason, we recommend using double opt-in for your SMS lists or custom keywords to ensure that your customers have texted your number in order to subscribe.
Contact cards will appear differently when first received on Android devices versus iOS devices.
- Android
Your configured company logo will show in the contact card. - iOS
The first initial of your company name will show instead of the logo until the contact is saved.
Recommended flows for virtual contact cards
You do not need to add virtual contact cards to every SMS message in a flow nor do they need to be in every flow.
We don’t recommend adding an SMS message to your main welcome series flow, since anyone who previously opted in for email wouldn’t get the SMS if they sign up. Instead, we recommend setting up a separate SMS only welcome series.
In an SMS welcome series, it is recommended that you add a virtual contact card to the first SMS message, as this will likely be the first time a customer receives an SMS marketing message from your brand.
Add a virtual contact card to a message
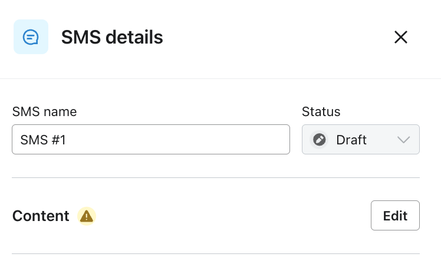
- In the flow builder, add an SMS action to your flow or edit an existing SMS action.
- Click on the SMS action.
- In the details sidebar, click Edit.
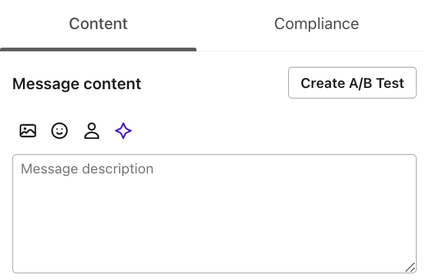
- Click the Add Media icon (an image icon) on the left.
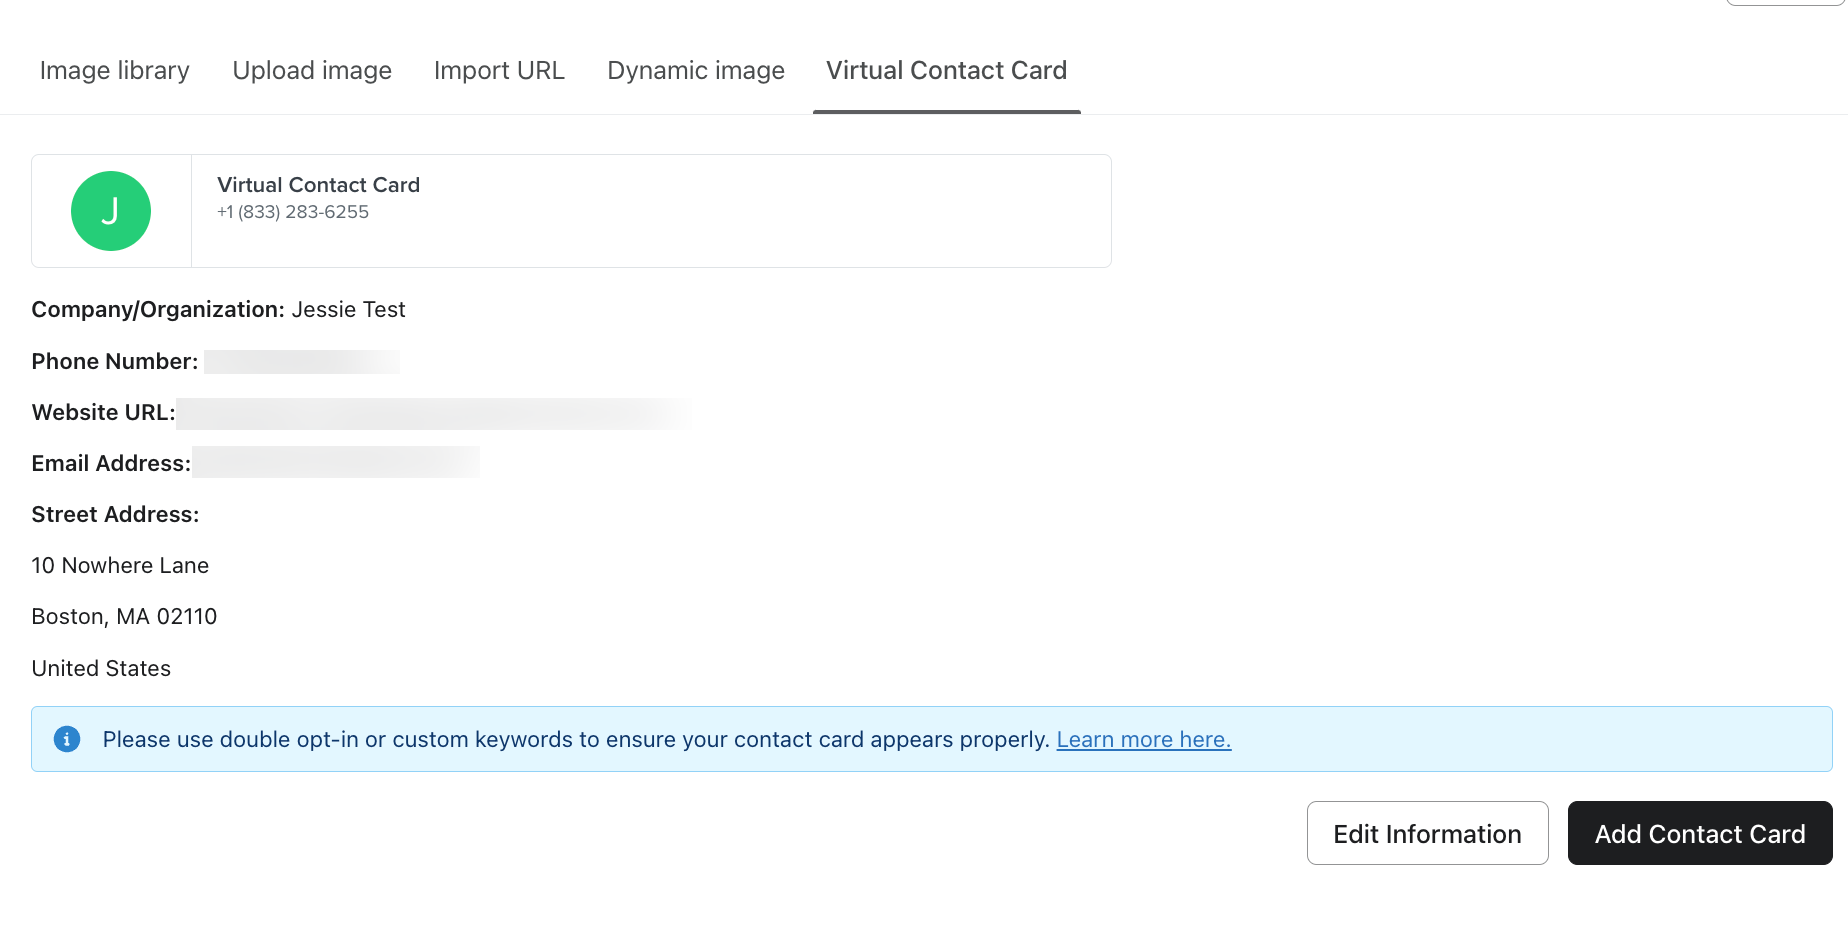
- Select the Virtual Contact Card option.
- From here, you can click Edit Information to modify the content included with the contact card or click the Add Contact Card button to add the card to the SMS message, converting it to MMS.
Note that even if you add a logo to the contact card, the preview in Klaviyo will only show the first initial of your organization name.
Once added, the contact card will appear as an image alongside the message, which a subscriber can click to save your contact information to their phone.
Additional resources
- How to test and preview flow messages
Learn how to test your flow after you have configured the trigger, filters, and messages. You may want to test the first few messages to make sure they look exactly right, especially if the email or SMS contains dynamic variables. There are two types of tests you can run:
Learn more about using SMS and MMS:
- Guide to crafting SMS and MMS messages
Learn about building your SMS messages in Klaviyo, including configuring the content, SMS limitations, and best practices.
- Understanding MMS image and GIF best practices
Learn best practices for sending images and GIFs in text messages so that they display nicely to recipients.
- How to use Klaviyo email and SMS together
Learn the pros and cons of SMS and email, strategies for using both channels in a flow or campaign, and tips for how to implement these strategies.