How to add an SMS action to a flow
You will learn
Learn how to add an SMS action into a flow and about the settings for this action.
People almost always view SMS messages within 3 minutes. This makes SMS not only a great way to drive conversions, but also to provide a better customer experience.
For instance, with flows, you can text someone as soon as their package is delivered or when a new product drops.
Which flows to add SMS to
You can use SMS in any flow where you're currently using email.
The first 3 flows to add SMS to are:
*For welcome series flows, it is best practice to create separate flows for email and SMS as customers may sign up to receive messages from each at separate times. With all other flows, add SMS to your existing email flows
Add an SMS action
To add a new SMS into a flow:
- Drag the SMS component from the left sidebar and drop it on any drop point on the flow canvas.
- Click on the SMS message in the flow.
- In the details sidebar, click Edit.
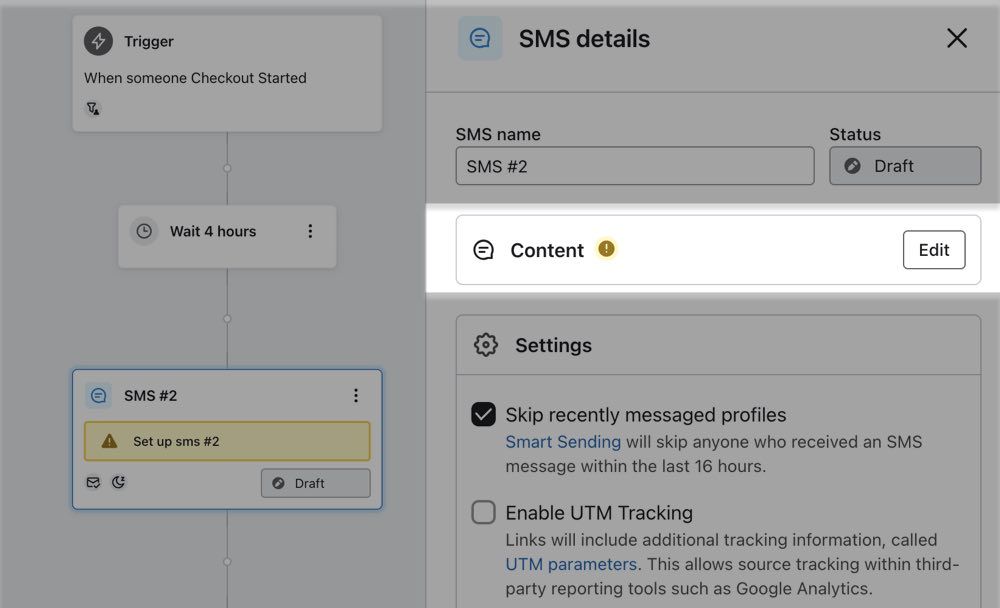
When you click Configure Content, you'll be taken to a page where you can update the following for your new SMS message:
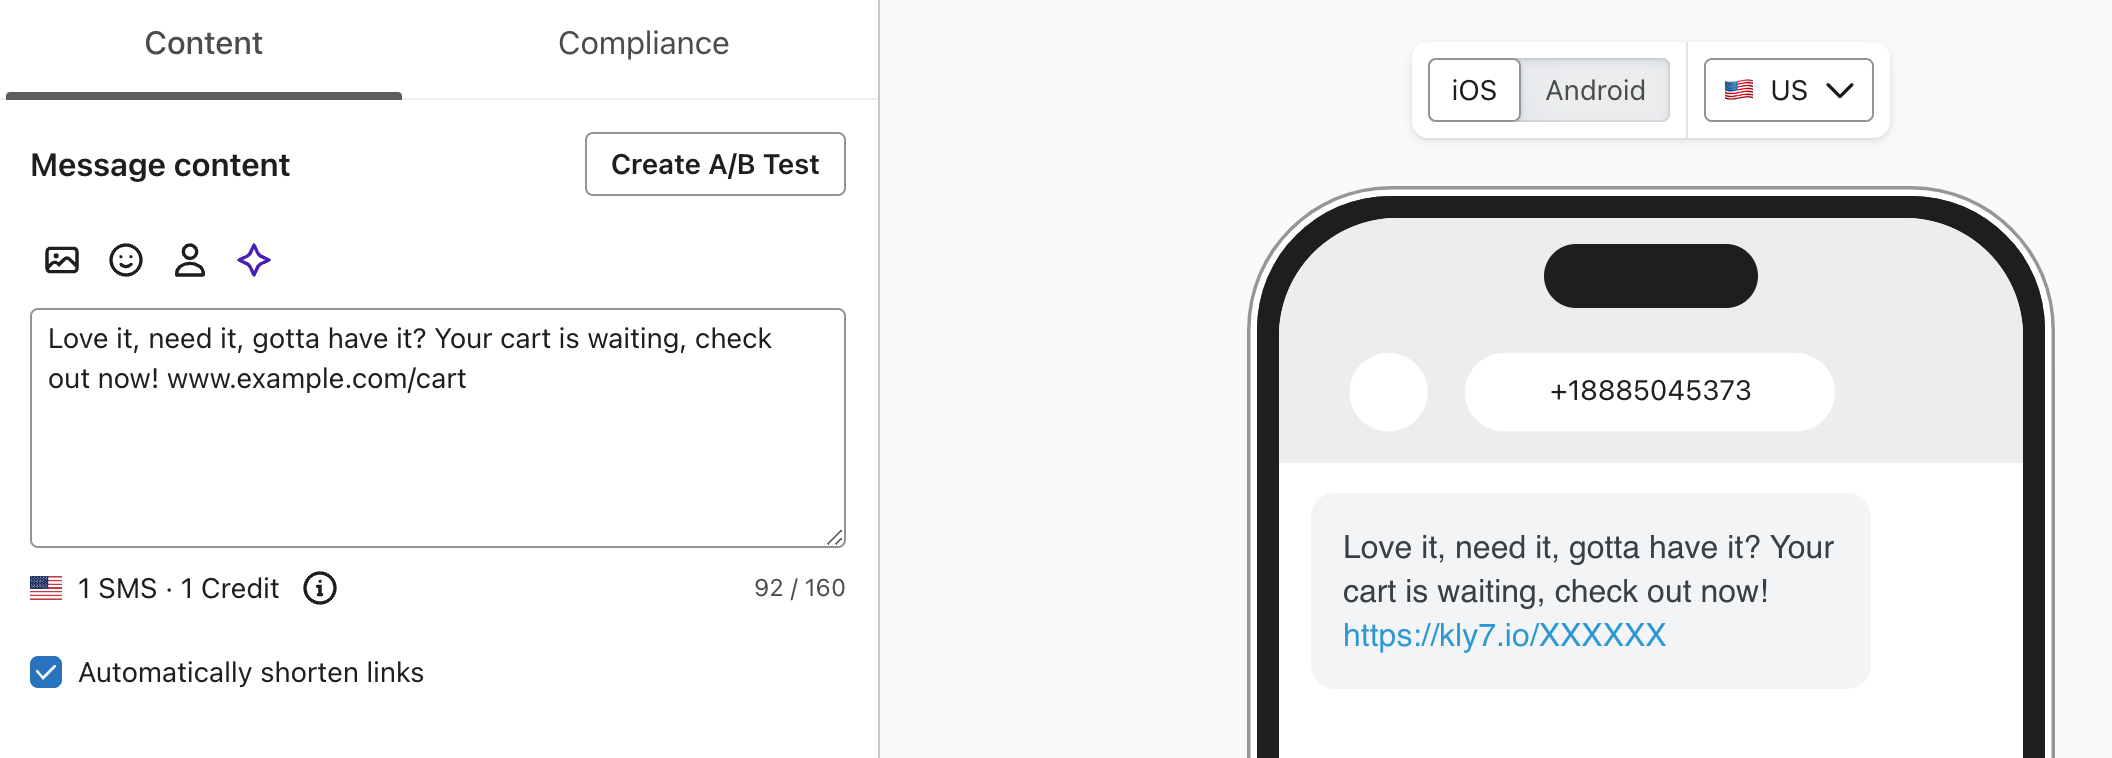
- Content
The message itself. You can also choose to automatically shorten any links you include in the message to conserve space (recommended). You must use the Klaviyo link shortener for revenue to be attributed to SMS. Further, if you add an image, the message becomes an MMS, which counts as three sends under the billing plan. - Compliance
Includes several options for staying compliant. Each will show to recipients in a specific country, which is listed underneath the option. We do not recommend disabling these options, as they are typically required in the jurisdictions listed.
Compliance options
There are several options for compliance for each SMS action you add to a flow, outlined below.
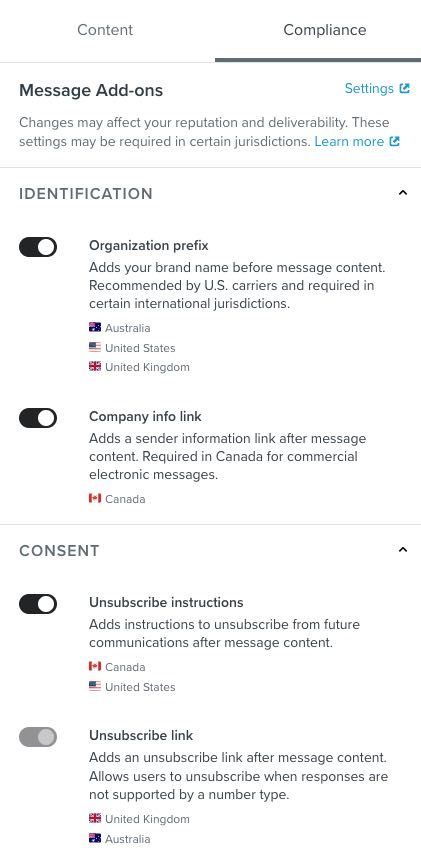
- Organization Prefix (US, UK, and Australia only)
Unlike when you send an email, where you can identify yourself in the sender email address, when you send an SMS message, there is no default way for the recipient to identify who you are. The phone number you are sending from does not identify you as a business, and your message will often appear anonymous or from an unknown sender. Including an organizational prefix is a best practice, as it provides a clear way for your recipients to identify you as the sender of a given message.
When this add-on is enabled, Klaviyo will automatically pre-pend the organization prefix set in your account settings to the start of every SMS message. - Company info link (Canada only)
If any of your SMS subscribers are in Canada, you need to include contact information within every text message. This option creates a link with this information automatically, adding it to the end of the SMS or MMS. This link will only show to Canadian recipients. For more information, check out this article on the info link option for Canadian SMS recipients. - Unsubscribe instructions
For all US and Canadian numbers as well as UK and Australian long codes, the simplest way of giving recipients a way to opt out is by telling them an opt-out keyword (e.g., "STOP"). Including opt-out language along with every message is essential. If you don't make it clear how recipients can opt out, they are more likely to report your number as spam. This can lead to fines and the permanent blocking of your number by providers like AT&T, T-Mobile, and Verizon. - Unsubscribe link (UK and Australia)
Branded sender IDs cannot receive SMS or MMS messages, but you still need to give recipients a way to opt out. Typically the way to do this is by including an unsubscribe link. Note that if recipients click on this link, they will be unsubscribed right away. Further, clicking this link will not impact the click rate for the message.
Configure SMS settings
There are two key settings you can choose to configure for your email:
- Smart Sending
Enable Smart Sending to skip over recipients that have already received another SMS message from you too recently. This is on by default, and you can configure your Smart Sending window for SMS—which is different from email—in your account settings. By default, the SMS Smart Sending window is 24 hours. - Quiet Hours
Enable Quiet Hours to restrict SMS messages so that they only send during a specific time of day. The default Klaviyo hours prevent mobile messages from sending between 8 pm–11 am based on the recipient’s country code (using Eastern Time in the US and Canada and Australian Eastern Time in Australia). - UTM Tracking
Enable UTM tracking to add small codes to the end of links that help Google Analytics and other site traffic tracking tools identify where your visitors originated from. - Additional Filters
Add additional filters to an SMS to further restrict who will receive it. This is off by default.
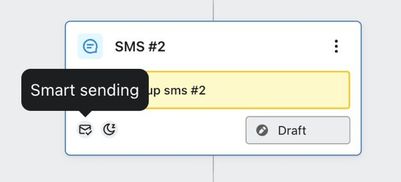
In the details sidebar for an SMS, you can see and toggle the above settings at any time. On the visual canvas, on each card, you will also see icon indicators for each of these settings. When a setting is enabled, the corresponding icon will appear in green. You can hover over one of these icons at any time to reveal a descriptive tooltip.
Change an SMS message's sending status
After you've created the content for your new SMS message and previewed it, you are ready to turn it from draft to manual or live:
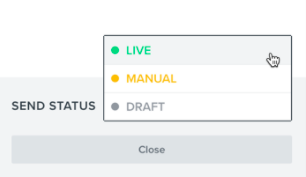
- Draft
This is the default status for a new message and is the status you should use while you're still configuring your content and adjusting settings. When a message is in draft, nobody will be queued up or receive the email. - Manual
When you are done configuring a new message and are interested in testing it out, you can place it in manual mode. When a message is in manual, it is active in your flow but no messages will trigger automatically at send time. You will need to manually review and send all scheduled messages. - Live
To "turn on" a message in a flow series, you will need to change the message's status to live. A live message is active in your flow and is sending automatically.
Note that every new message is in a draft state by default. Until you configure the content, you will not be able to adjust the status to manual or live.
There are two ways you can change the status of a message. You can use the dropdown menu in the configuration sidebar, or you can change the status from the card itself on the canvas.
Additional resources
Start creating flows!
- How to create an SMS welcome flow
Learn how to create a welcome flow for your SMS subscribers.
- How to create an abandoned cart flow
Learn how to set up an abandoned cart flow in Klaviyo in order to increase your ecommerce revenue and personalize communication to your customers.