How to manage your sign-up forms
You will learn
Learn tips for managing your existing sign-up forms so you can ensure they are aesthetically pleasing and functional for customers interested in engaging with your brand.
This guide will cover changing the publish status of a sign-up form, switching the list that a form submits to, and each of the options for managing existing forms, which include:
- Edit a sign-up form
- Schedule a sign-up form
- View analytics for a sign-up form
- Create an A/B test for a sign-up form
- Rename a sign-up form
- Clone a sign-up form
- Delete a sign-up form
Only account owners, admins, and managers have the ability to create and manage sign-up forms. Other roles are restricted. For a breakdown of form-specific user permissions, head to user management and privileges.
Before you begin
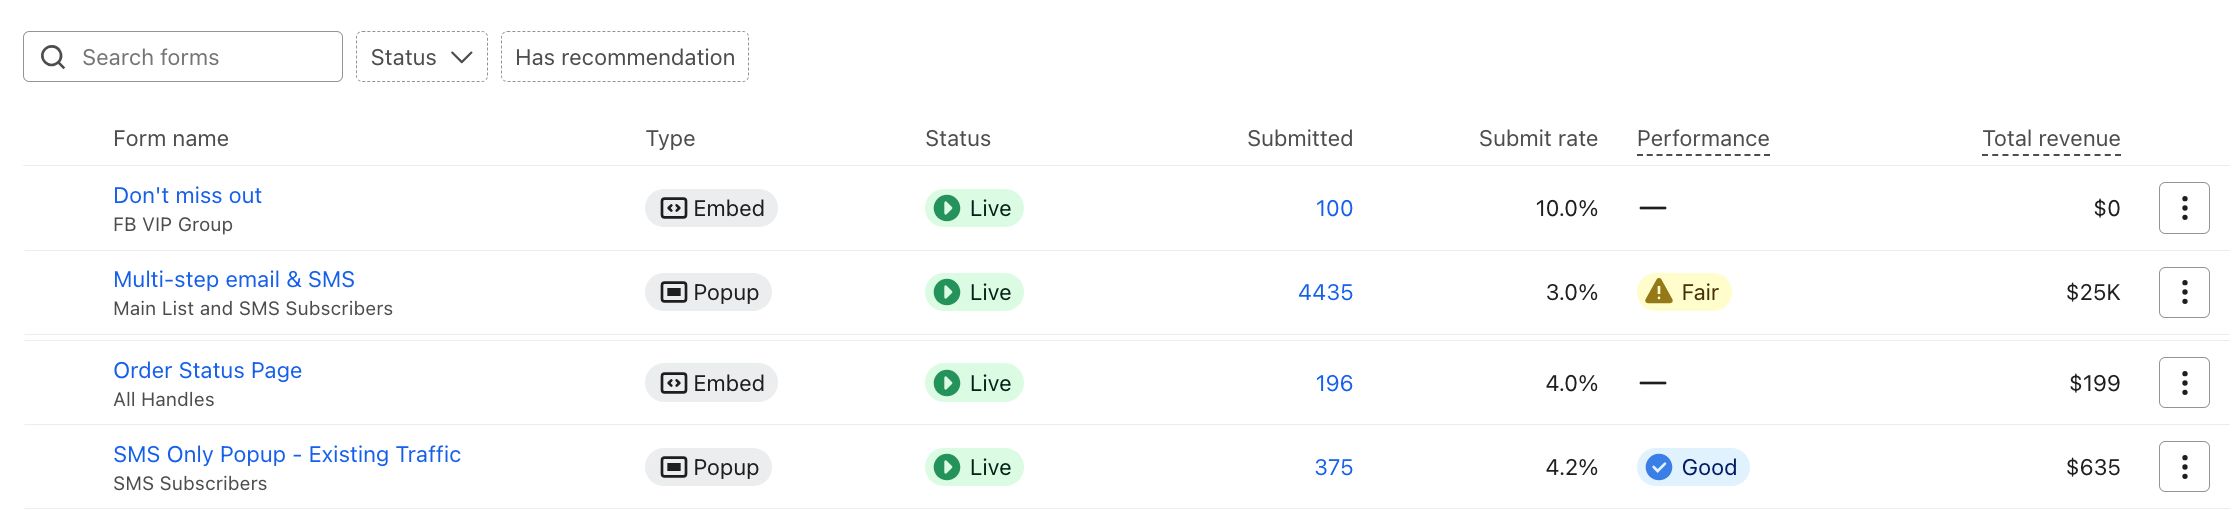
Select the Sign-up forms tab in Klaviyo's left-hand navigation to see a list of all the forms in your account, and a breakdown of their key details and metrics. Note that you'll only see the forms list view page if you have created at least 1 sign-up form.
- If you have not created a sign-up form yet or need guidance while creating, head to getting started with sign-up forms.
- For a detailed breakdown of the metrics listed (i.e., views, submits, submit rate), head to understanding sign-up form analytics.
Change the publish status of a sign-up form (live or draft)
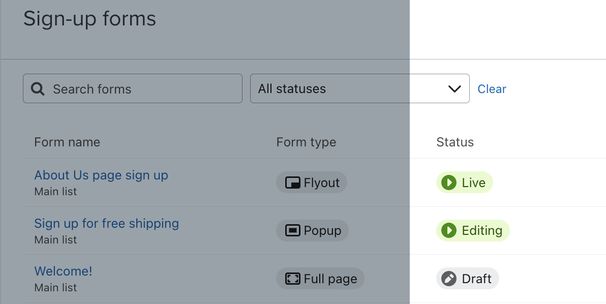
To verify the publish status of any of your existing sign-up forms, navigate to the Sign-up forms tab in the left-hand navigation. Here, you will either see Live, Editing, or Draft in the Status column next to each form you've created.
- Live
This status indicates the form has been published and is currently live on your website. - Editing
This status indicates the form is currently live on your site, but that it has some unpublished changes. For example, if you publish a sign-up form, and then add an image to it a few days later, the form's status will reflect Editing. You will need to publish the form again to see your changes reflected (e.g., see the image added to the live form). - Draft
This status indicates that a form is not currently live on your website.
If you have multiple sign-up forms live on your website, consider adding collision-prevention display settings to keep multiple forms from displaying at once..
To change the status of a sign-up form (e.g., publish a draft form, or unpublish a live form by setting it back to draft mode):
- Select the 3 dots > Edit form to open the sign-up form in the editor.
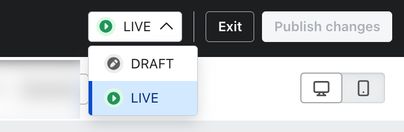
- In the top right corner, select the status dropdown in the top right (where it says Live, Editing, or Draft).
- Adjust the status as needed. For example, change a form's status from Draft to Live to publish it on your website.
- To unpublish a live sign-up form, change the status from Live to Draft. This will remove the form from your site; however, it will still be present on the Sign-up forms page as a draft. The most recent edits will automatically save, and you can reactivate the form at any time by publishing it again.
If you're publishing an embed sign-up form, there are 2 additional steps to make the form appear on your site. First, copy the embed code in the publish modal after you publish. Then, paste it in your site's code wherever you'd like the form to appear on your site. For more details, head to how to paste a form's embed code.
You can also set a schedule for a sign-up form to go live or return to draft at a certain date or time.
Change the list a sign-up form submits to
The list that each sign-up form is connected to is noted beneath the Form Name column on the Sign-up forms tab. To change the list that a form is connected to (meaning switch the list that subscribers are added to when they submit the form), follow these steps:
- Select the Sign-up forms tab from the left-hand navigation.
- Next to your form, select the 3 dots > Edit form.
- In the form editor, click on the submit button in the preview.
- Under List to Submit, select a new list from the dropdown.
- Click Back in the editing sidebar.
- Select Publish changes to save the change.
Managing and editing options (clone, delete, rename, etc.)
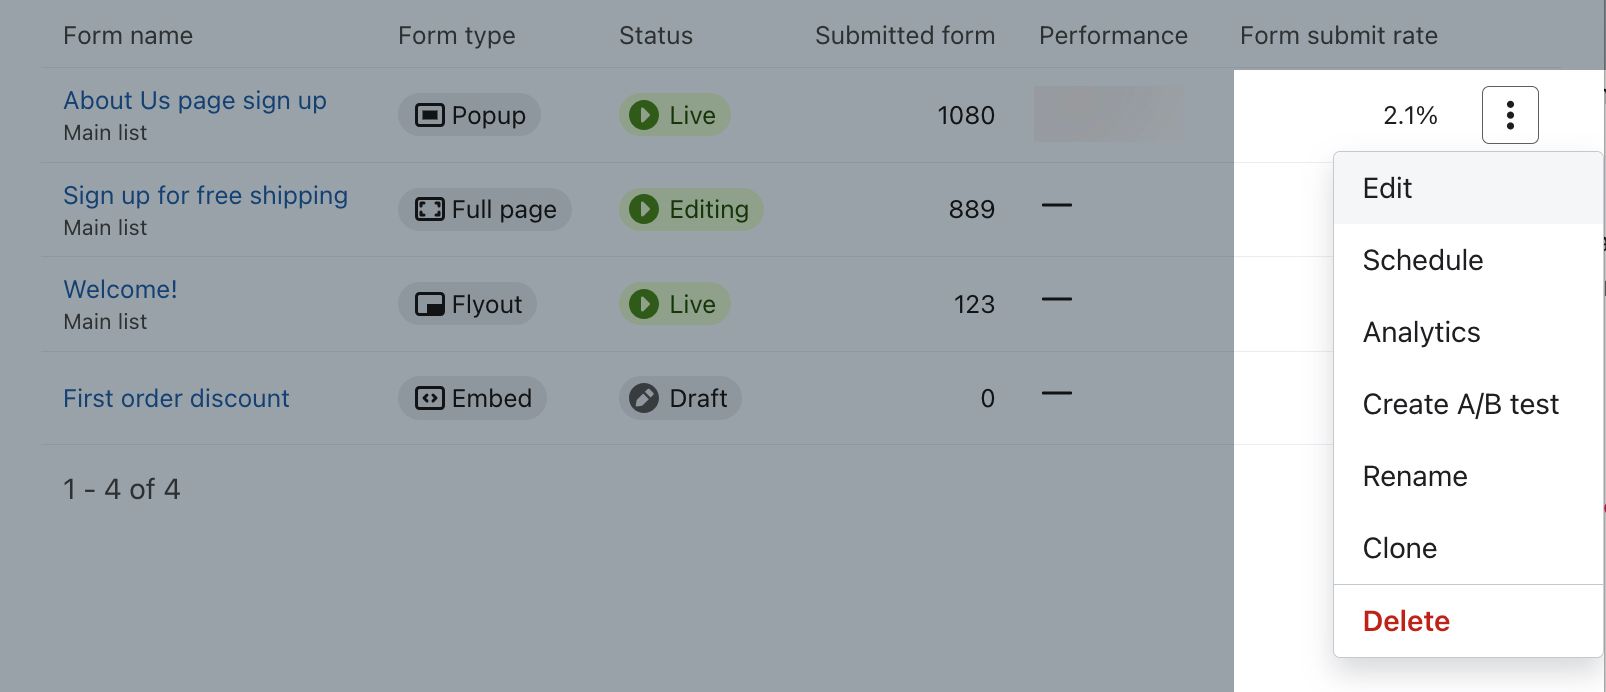
On the Sign-up forms tab, click the 3 dots next to any form to see a menu of options for managing and editing the individual form. The options include:
- Edit a form
- Schedule a form
- View analytics for a form
- Create an A/B test for a form
- Rename a form
- Clone a form
- Delete a form
Click to expand any of the sections below for guidance on that managing or editing option.
Edit a form
In the form editor, you can make changes to a sign-up form's style, content, targeting, and behavior settings. To access the form editor for an existing sign-up form:
- Select Sign-up forms from the left-hand navigation.
- Find your form and select the 3 dots > Edit form.
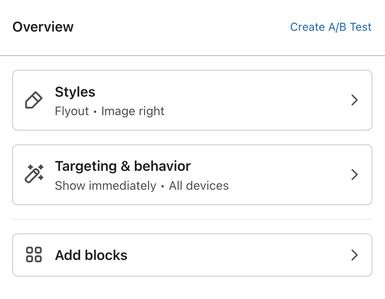
- Edit the sign-up form and it's success message as you see fit using:
- The Styles tab to adjust your form's design and sizing. Learn more about form styles, such as fonts and background colors.
- The Targeting & behaviors tab to adjust when your form displays and who sees it. Learn more about form targeting & behavior, such as display timing and triggering options.
- The Add blocks tab to adjust your form's content and input fields. Learn more about blocks and input fields, such as a phone number field or coupon block.
- To optimize a sign-up form for mobile devices, head to basics: mobile form design.
- Pay attention to any errors or accessibility issues identified before you publish the form.
Sign-up forms save automatically as you make changes in the form editor; however, you will not see changes displayed until you publish the form. This allows you to edit your form, come back to it, and review it with your team before publishing it on your site.
When someone signs up for a list through a sign-up form, they may see a number of different consent pages. Learn more about consent pages (e.g., subscribe pages, preference pages, and unsubscribe pages).
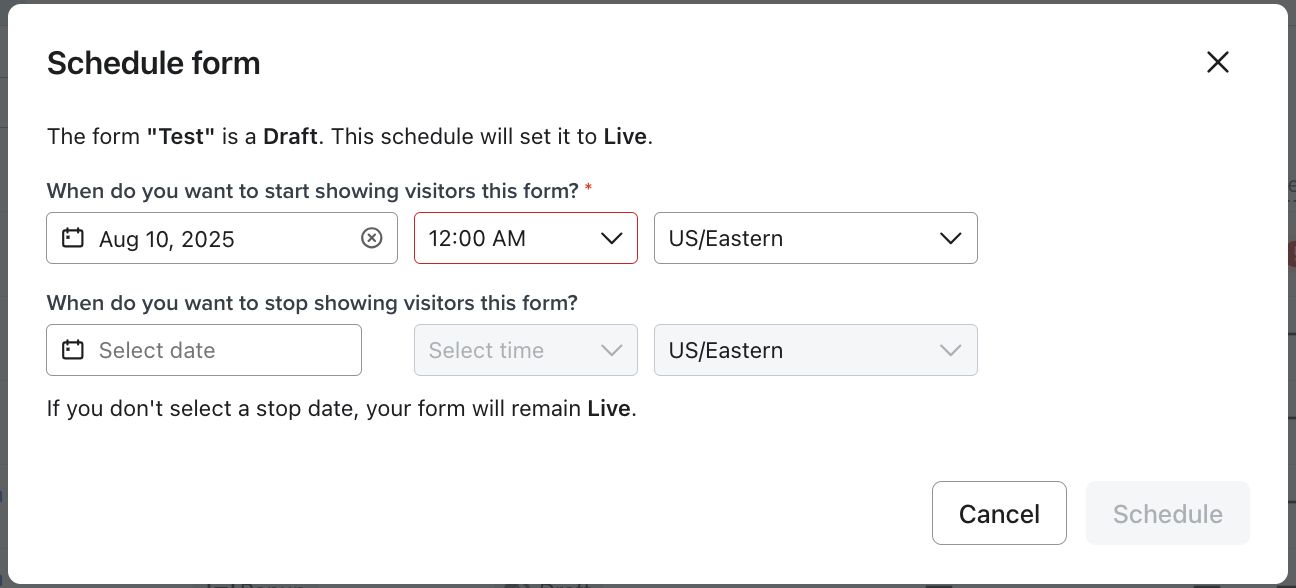
Schedule a sign-up form
To schedule when a sign-up form is displays or hidden on your website:
- Select Sign-up forms from the left-hand navigation.
- Find your form and select the 3 dots > Schedule.
- Set a date for when your form will start or stop showing on your site.
For more specific details, see how to schedule a sign-up form.
View form analytics
Understanding how the sign-up forms on your website are performing is a key component of an audience growth strategy. Each live sign-up form has its own analytics reporting pages. To find the analytics page for a specific form:
- Select Sign-up forms from the left-hand navigation.
- Find your form and select the 3 dots > Analytics.
- Head to our guide on understanding sign-up form analytics to learn more about these reporting pages.
Create A/B test
You can run an A/B test on a sign-up form to measure how different elements of your sign-up forms perform. To create an A/B test on an existing form:
- Select Sign-up forms from the left-hand navigation.
- Next to your form, select the 3 dots > Create A/B test.
- Head to our guide on how to A/B test a sign-up form for more details and instructions.
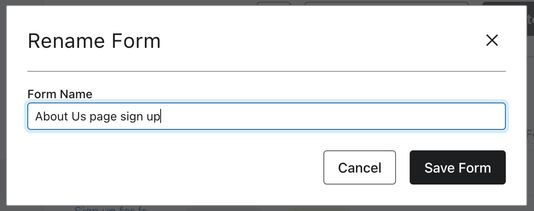
Rename a form
To change the name of an existing sign-up form:
- Select Sign-up forms from the left-hand navigation.
- Next to your form, select the 3 dots > Rename.
- Update the name of the form in the Rename Form modal.
- Click Save Form.
Clone a form
To make a copy of 1 of your existing sign-up forms:
- Select Sign-up forms from the left-hand navigation.
- Next to your form, select the 3 dots > Clone.
- Name your new, cloned form.
- Click Clone Form.
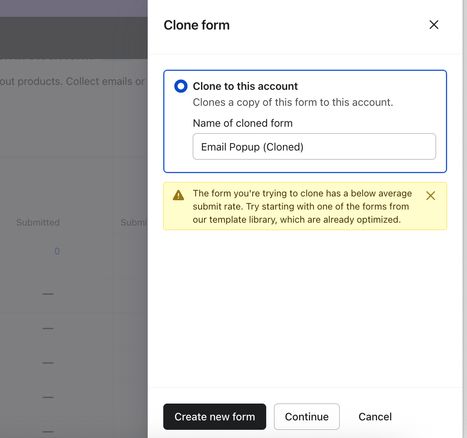
The cloned form will be connected to the same list as the original by default. To change it, see change the list a form submits to.
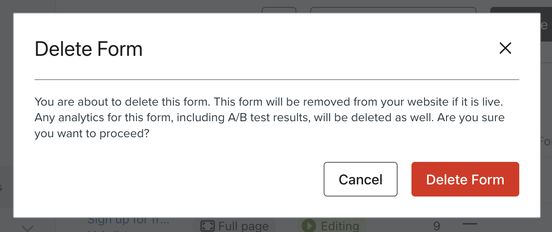
Delete a form
Deleting a sign-up form removes it from your account permanently. You will not be able to recover a form once you delete it.
If you would prefer to turn your form off without deleting it, so it's not live on your site, change the form's status to Draft in the editor.
To delete a form:
- Select the Sign-up forms tab in the left-hand navigation.
- Next to your form, select the 3 dots > Delete.
- Click Delete Form to delete the form from your account.
Review the data collected from your sign-up form
Once you've collected a few subscribers, you can review the information they've shared in your sign-up forms on their profile pages.
- Navigate to Audience > Profiles.
- Search for a person's name or email address to find them.
- Scroll down to their Information section to see the data they shared in the form.
Alternatively, you can use the lists section in Klaviyo to see a full list of members for each specific list (such as the list tied to your sign-up form). Select Lists and segments then choose your list. Clicking on a member from this page will bring you to their respective profile page. To learn more about reviewing your sign-up form data, head to our article on how to view form responses.
Consent pages
Consent pages (i.e., subscribe pages, preference pages, and unsubscribe pages) are where subscribers either opt-in, confirm their consent, select specific preferences about receiving your marketing, or opt-out.
When people sign up through a form, they may see a number of consent pages, depending on the list's configuration. For example, if a list is set to double opt-in, when someone signs up through a sign-up form, they will receive the email confirmation page and the opt-in confirmed page.
Head to our article on getting started with consent pages for more details and instructions on how to customize these pages.
Next steps
For a deep dive into building your sign-up form strategy, head to our course on
Additional resources
- Getting started with sign-up forms
Learn how to create and customize sign-up forms in Klaviyo to publish on your website so you can engage shoppers, collect emails and phone numbers, and build long-lasting customer relationships.
- Troubleshooting sign-up forms
Learn troubleshooting tips for when a sign-up form in your Klaviyo account is not working as expected by reviewing common issues and solutions to these issues.
- Course: Create strategic sign-up forms
- Course: Klaviyo practitioner certificate