Understanding your push notification settings
You will learn
Learn about the push notifications settings page, where you can set up push notifications for your mobile app and adjust the Smart Sending window.
Before you begin
If you haven’t already turned on push notifications in your account, we recommend reading our guide on how to set up push notifications.
Want to request a feature for Klaviyo push notifications? Fill out this Google form to tell us about it!
View push notifications settings
- Click your account name in the bottom left corner.
- From the account menu dropdown, click Settings.
- Click Push notifications.
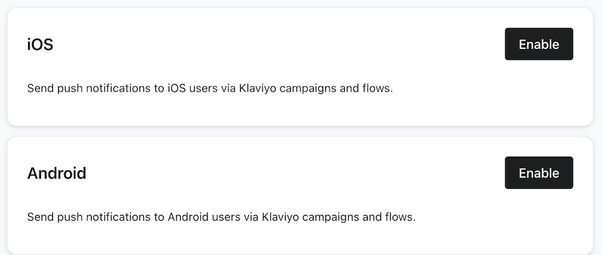
Enable iOS or Android push
On the Mobile app settings page, you’ll be able to view the setting for your iOS app
Smart Sending settings for push
On the Sender preferences page, you can adjust your Smart Sending window.

Smart Sending allows you to limit the number of push notifications someone will receive in a given period of time. Klaviyo sets the default window of time to 24 hours, although you can adjust this.
- To change the default Smart Sending window, click the dropdown menu.
- Select how long you want the Smart Sending window to be.
- Click Update Push Sending Settings.
It is best practice to enable Smart Sending to ensure that customers are not overwhelmed with messages from your business, especially if you're sending emails, SMS, and push notifications.
Smart Sending is channel specific, meaning that push notifications have a separate Smart Window than either SMS or email.
Universal links and App Links
On the Universal & app links page, you can set up special links in your email and text messages. Universal links and App Links direct your customers to content within your mobile app or - if the app isn't installed - to the same content on your website.
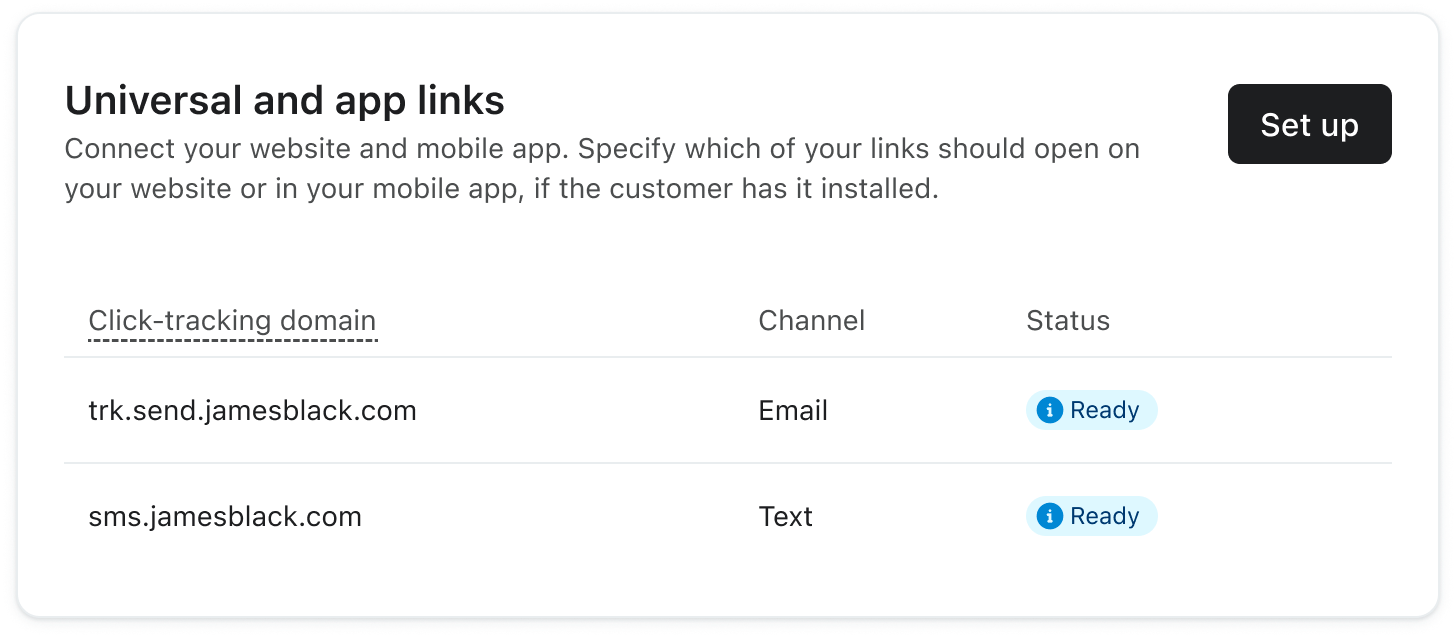
To set up universal links and / or App Links, you'll click Set up. In the set up wizard you'll input the target domain: the link to your website/app that you plan to include in your messages. You'll also upload your apple-app-site-association (AASA) file and/or your assetlinks.json file. These files link your target domain to your app.
Read How to set up iOS universal links and Android App Links for full instructions.
Message settings for push notifications
There are 5 message settings available when creating a push notification campaign or flow:
- Open action
- Show badge count (iOS only)
- Play sound (iOS only)
- Background processing (iOS only)
- Custom data
You can access these settings by going into the message editor and then clicking the Behaviors tab.
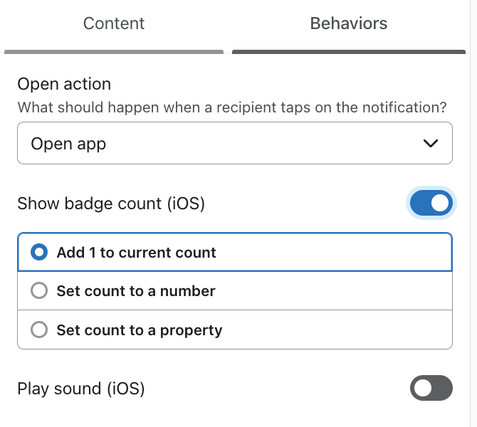
Open action
This setting decides what happens when someone taps on a push notification; that is, when they open the app.
There are 2 options:
- Open app
This sends subscribers to your app’s homepage (default). - Deep link
This sends subscribers to a specific page within your app. Learn more about deep linking.
Show badge count (iOS)
Badge count, also called the notification badge or unread count, shows a number on the app icon. Typically, it’s the number of notifications an app has received since the last time it was opened.
Show badge count is a push notification setting that displays when creating a campaign and flow message. This setting only applies to iOS apps, as Android automatically increases badge count for new notifications. Note you must be on Klaviyo's Swift SDK version 4.1.0 or higher to access this feature
When sending a push notification to an iOS device through Klaviyo, there are 3 options you can use to set the badge count. Open the dropdowns to learn about each.
Add 1 to the current count
This option increases the current badge count by 1. So, if the app’s current count is 2, it becomes 3.
Set count to specific number
For this option, you can choose the number you want the badge count to be. For instance, if the current badge count is 1, you can choose to set it to any number from 1 to 999,999.
Set count to a property
You can choose a profile or event property (for flows). As long as this property is set to any number from 1 to 999,999. For instance, you can show the number of products in someone’s cart in an abandoned cart flow.
Play sound (iOS)
When turned on, this setting means a sound plays when the push notification is delivered to the subscriber’s phone.
The sound is the app notification noise selected on the recipient’s phone.
Background processing (iOS)
When enabled, Klaviyo will set the content-available flag equal to 1 for any iOS notifications. This setting will allow your application to be notified of the delivery of your push notification whether your app is in the foreground or background, so your app can refresh data or initiate other tasks in the background.
Enabling this setting will not create a silent push notification (i.e., background notification) that is invisible to the recipient. To send a silent push notification, set the push type to Silent, and Klaviyo will automatically add the content-available flag to the notification.
Sending a standard notification with background processing enabled may lead to undefined behavior because Apple treats notifications with “content-available" : 1 as low priority and does not guarantee their delivery. See more details in Apple’s guide to Pushing background updates to your app. We recommend testing this functionality on a real device to ensure it behaves as expected before leveraging it for a live campaign or flow.
Custom data
This setting allows you to include key-value pairs with your notification to trigger app behaviors. Learn more about key-value pairs.
Additional resources
- How to set up Android push notifications
Learn how to set up push notifications for Android in your Klaviyo account. After you've completed the steps in this article you'll be able to send push notifications in your flows and campaigns.
- How to set up iOS push notifications
Learn how to set up push notifications in your Klaviyo account. After you've completed the steps in this article you'll be able to send push notifications in your flows and campaigns.
- How to send a push notification campaign
Learn how to use Klaviyo to send push notification campaigns via your iOS or Android app.
- How to set up iOS universal links and Android App Links
Universal links (for iOS) and App Links (for Android) direct your customers to content within your mobile app or, if the app isn't installed, to the same content on your website. Using these links in email and text messages allows you to use consistent URLs across all your marketing channels while creating a seamless experience for your customer, no matter their device. It's similar to traditional deep linking, but with additional functionality.