How to set up iOS push notifications
Estimated 2 minute read
|
Updated Aug 6, 2025, 12:00 AM EST
You must be an Owner or Admin to set up mobile push notifications
You will learn
Learn how to set up push notifications in your Klaviyo account. After you've completed the steps in this article you'll be able to send push notifications in your flows and campaigns.
Before you begin
There are 3 prerequisites for using push notifications in Klaviyo:
- You must have your own native mobile iOS app.
- You must generate an APNs authentication key from Apple that will be uploaded to Klaviyo (more details below).
- You must install the Klaviyo SDK and set up event tracking and push notifications in your iOS app.
Set up push notifications in Klaviyo
- Click your organization name in the bottom left corner.
- Navigate to Settings > Push Notifications.
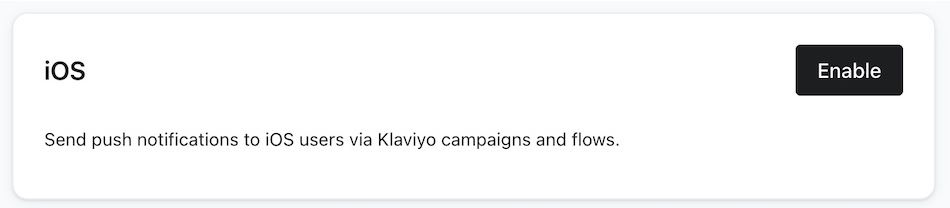
- Click Enable in the iOS section.
- Fill out the required information.
Note that you need the correct role to access your APNs Notification Key and your Key ID. You can review Apple's roles and permissions here.- APNs Authentication Key
If you don't already have it, create an APNs authentication key. Be sure to set the key type to APNs.
After creating your key, download the .p8 file, and upload it to your Klaviyo account. - Key ID
To find your key ID, navigate to your list of keys. Click your key to expand the details, and copy the key ID. - Team ID
Find your team ID here. - Bundle ID
To find your Bundle ID:- Log into your App Store Connect or Apple Developer account.
- Click My Apps.
- Select your app and your Bundle ID is available on the App information tab.
Note that the bundle ID is case sensitive and should be similar to the following:
com.YOUR_APP_NAME.
- APNs Authentication Key
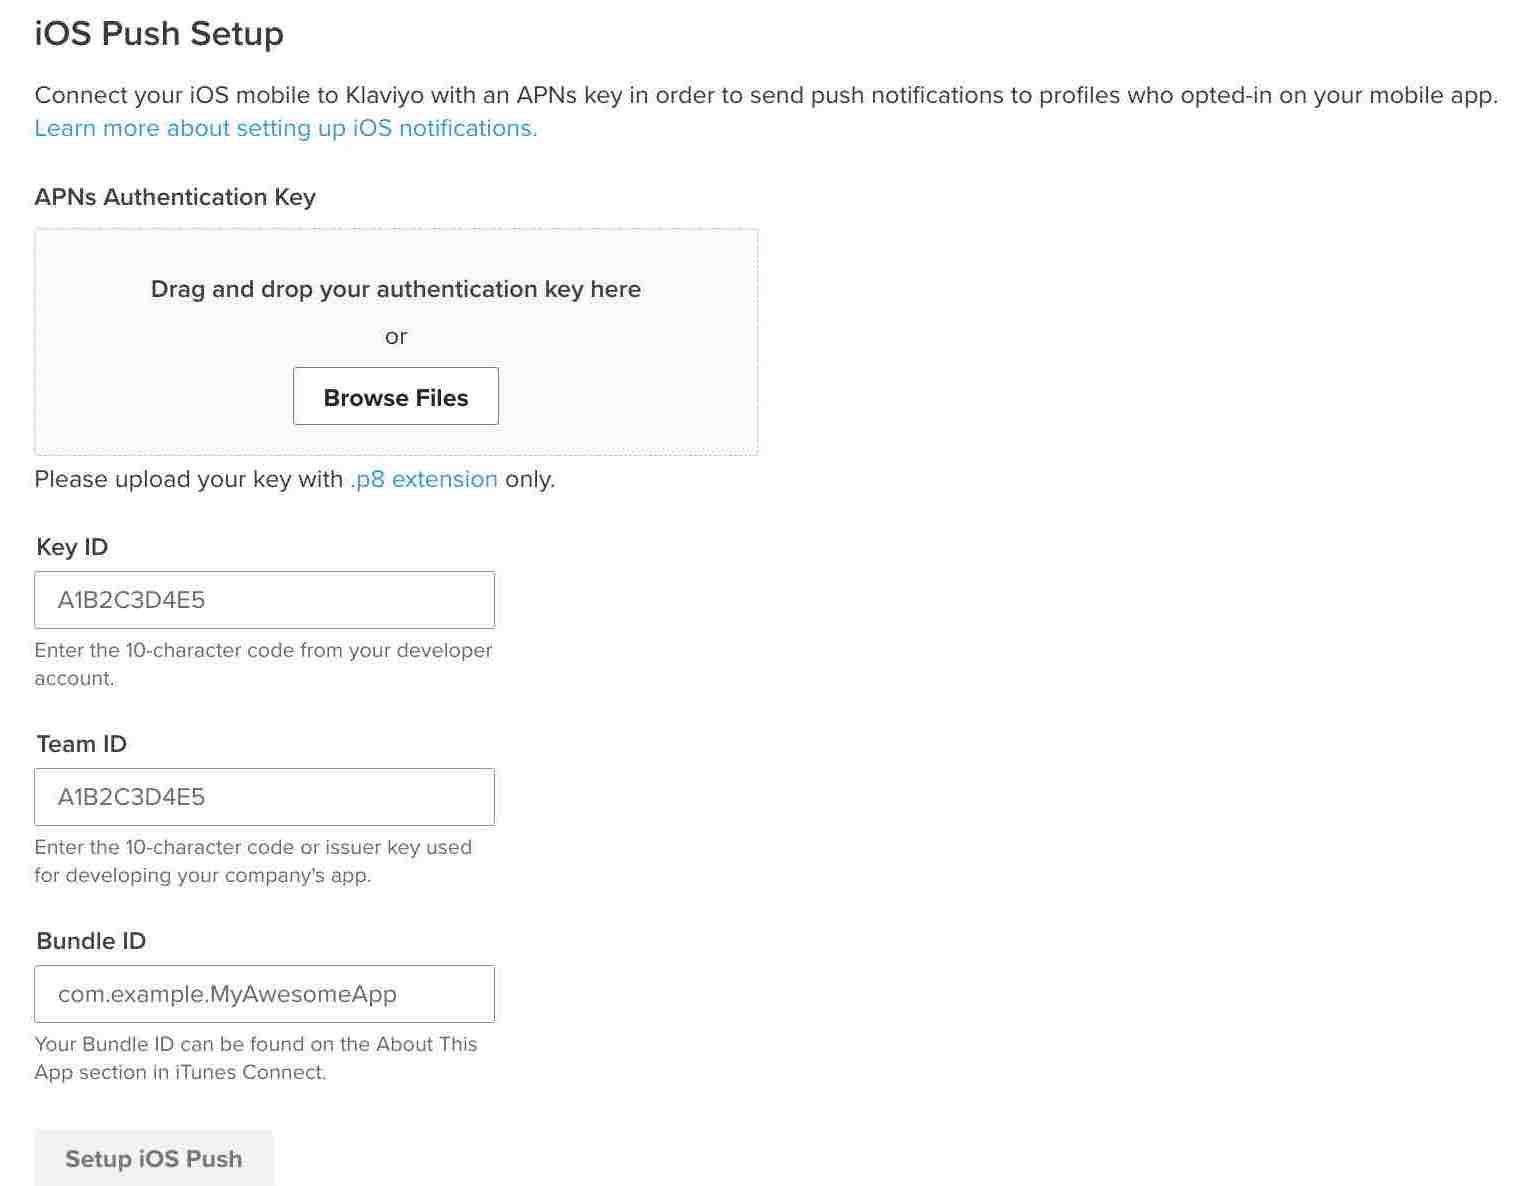
- After filling out all of the required information, click Setup iOS Push.
A green success callout confirms that your app has been connected to your Klaviyo account.
Additional resources
- Also have an Android app? Learn how to set up push for Android.
- Learn how to use push notifications for campaigns.
- Check out how to use deep links in push notifications.
Want to request a feature for Klaviyo push notifications? Fill out this Google form to tell us about it!
Was this article helpful?
Use this form only for article feedback. Learn how to contact support.