How to create a custom ticket view in Helpdesk
Learn how to create and save custom views in Helpdesk to help organize and manage your tickets.
About custom views
Custom views in Helpdesk let you save filtered lists of tickets based on criteria like topic, agent assignment, channel, or tags. This makes it easier to navigate Helpdesk and quickly understand which tickets require your attention.
Your custom views appear under "Views" in the Helpdesk sidebar, below the default and channel-specific views. Any ticket that matches your filters will appear in the custom view immediately when you create it, as well as in the future when new tickets meet those conditions. Creating a custom view does not remove tickets from default views; it simply provides another way to access tickets that meet your selected criteria.
Use cases for custom views
- Group tickets by tag: Create a view for tickets with specific tags (for example, all tickets related to your return policy or a certain product). Klaviyo applies some tags automatically, and you can also add your own tags to tickets as you work.
- Track your own tickets: View all tickets assigned to you over time.
- Prioritize important tickets: Let agents save views for their highest-priority tickets to help them respond faster.
- Monitor specific topics or issues: Follow up on tickets related to certain products, order delays, or other recurring topics.
Segmenting by profile property is not currently supported, but will be soon.
Create a custom view of tickets
- Navigate to Service > Helpdesk in Klaviyo's main navigation.
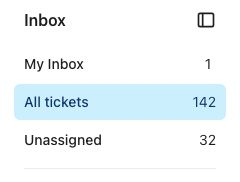
- Click the All tickets view to access all available filtering options.
- Use the filter dropdowns at the top to set your criteria. Note that all conditions must be met for a ticket to appear in the view. You can filter by:
- Agent assigned
- Channel
- Tags
- Last updated
- Status

- Click Add view in the upper right corner.
- Enter a clear, descriptive name. This is how you’ll see it listed in the sidebar (e.g., “Returns policy questions”).
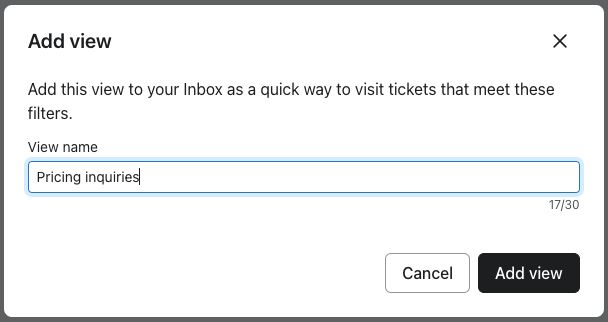
- Click Add view.
Your new custom view will now appear under Views in the Helpdesk sidebar and be viewable to any users with Helpdesk access in your account.

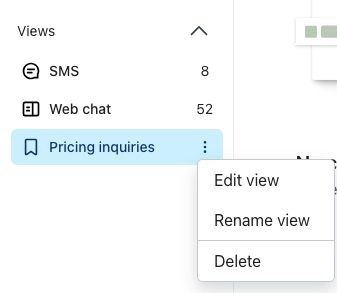
Edit or delete a custom view
You can edit or delete a custom view at any time by clicking the 3 dots (additional options) menu next to the view. From here you can:
- Edit the view's criteria
- Rename the view
- Delete the view