Getting started with Olo
You will learn
Learn how to integrate with Olo, a tool that assists restaurants with online ordering.
Before you begin
- In Olo, confirm that you have access to Dev Tools within the Olo Console Dashboard. See Olo’s documentation on the overview dashboard for up-to-date information.
- Ensure you are logged in to Klaviyo and Olo in separate tabs to streamline the installation.
Integrate Olo with Klaviyo
Install the Olo integration in Klaviyo
- In Klaviyo, select the Integrations tab.
- Click Explore apps.
- Search for Olo and select the card.
- On the next page, click Install.
- On the next page, click Connect to Olo.
- Review the permissions and click Allow.
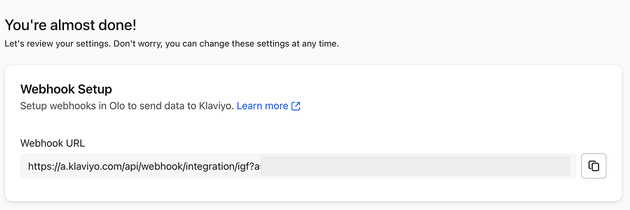
- Copy the webhook URL that has been generated for you and save it to a secure location.
Configure webhooks in Olo
- In Olo, select Dev Tools > Webhooks in the left navigation bar.
- Click Add Webhook in the top right.

- Fill in the form with the following:
- Select all Order Events and User Events.
- Webhook Name: Klaviyo.
- Destination URL: The URL you copied in Step 7 in the Install the Olo integration in Klaviyo section.
- Developer Partner: Klaviyo (select from dropdown).
- Event Type.
- Select all Order Events and User Events.
- Click Publish Webhook.
Completing the installation in Klaviyo
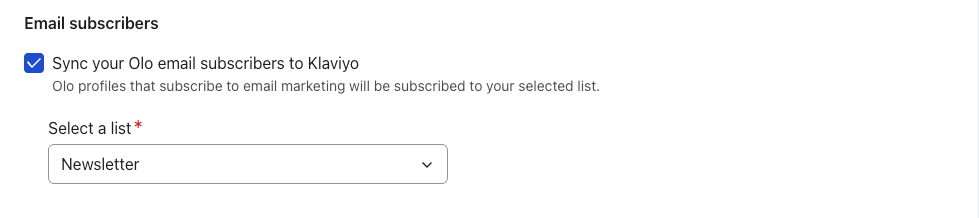
- Check the setting to sync Olo email subscribers to Klaviyo. Then, select your main email list (or another list, if desired) from the dropdown. We recommend setting this list to single opt-in.
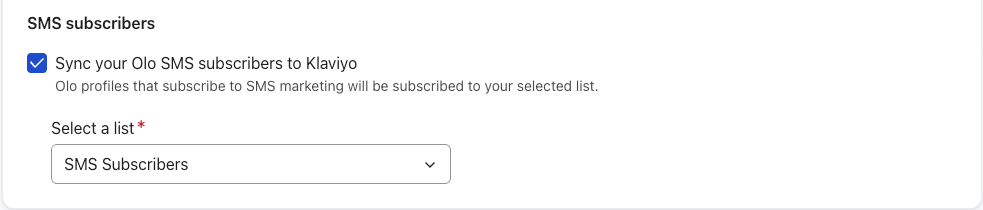
- Check the setting to sync Olo SMS subscribers to Klaviyo. Then, select your main SMS list (or another list, if desired) from the dropdown.
- Click Complete setup.
Your integration is now activated and profiles, events, and consent updates will start syncing to Klaviyo.
Understand your Olo data
Klaviyo syncs many different events from Olo related to appointments and membership.
To view your Olo data:
- Click the Analytics dropdown in the left-hand navigation sidebar.
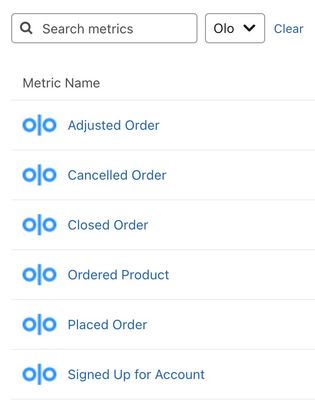
- Select Metrics. Here, you can view all of the metrics in your account. The metrics with an Olo icon represent all of the metrics synced from your Olo integration.
- Filter this view to see only Olo metrics by using the filter selector next to the search bar.
Third party deliveries (Uber Eats, DoorDash, etc.) sync from Olo to Klaviyo, and you can view them in Klaviyo to help understand your order sources. These profiles, though, are automatically suppressed and thus won't count as active profiles for Klaviyo billing.
Learn more about your Olo data.
Segment customers using Olo data
You can use Olo’s metrics to segment customers and target them with a campaign. For example, you can create a segment of everyone who placed an order in the last 30 days and send a campaign to that segment.
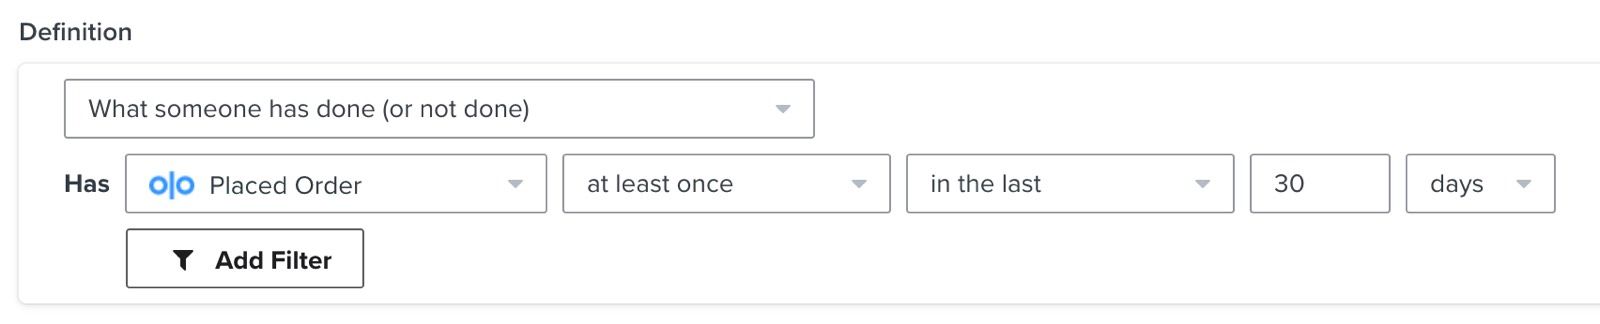
To create the example segment shown above:
- Click the Audience dropdown in the left-hand navigation sidebar.
- Click Lists & segments.
- Click Create New in the top right.
- Select Create segment.
- Name your segment and select tags if desired.
- Under Definition, select What someone has done (or not done) > Placed Order > at least once > in the last > 30 > days.
- Click Create segment.
Use Olo data in flows
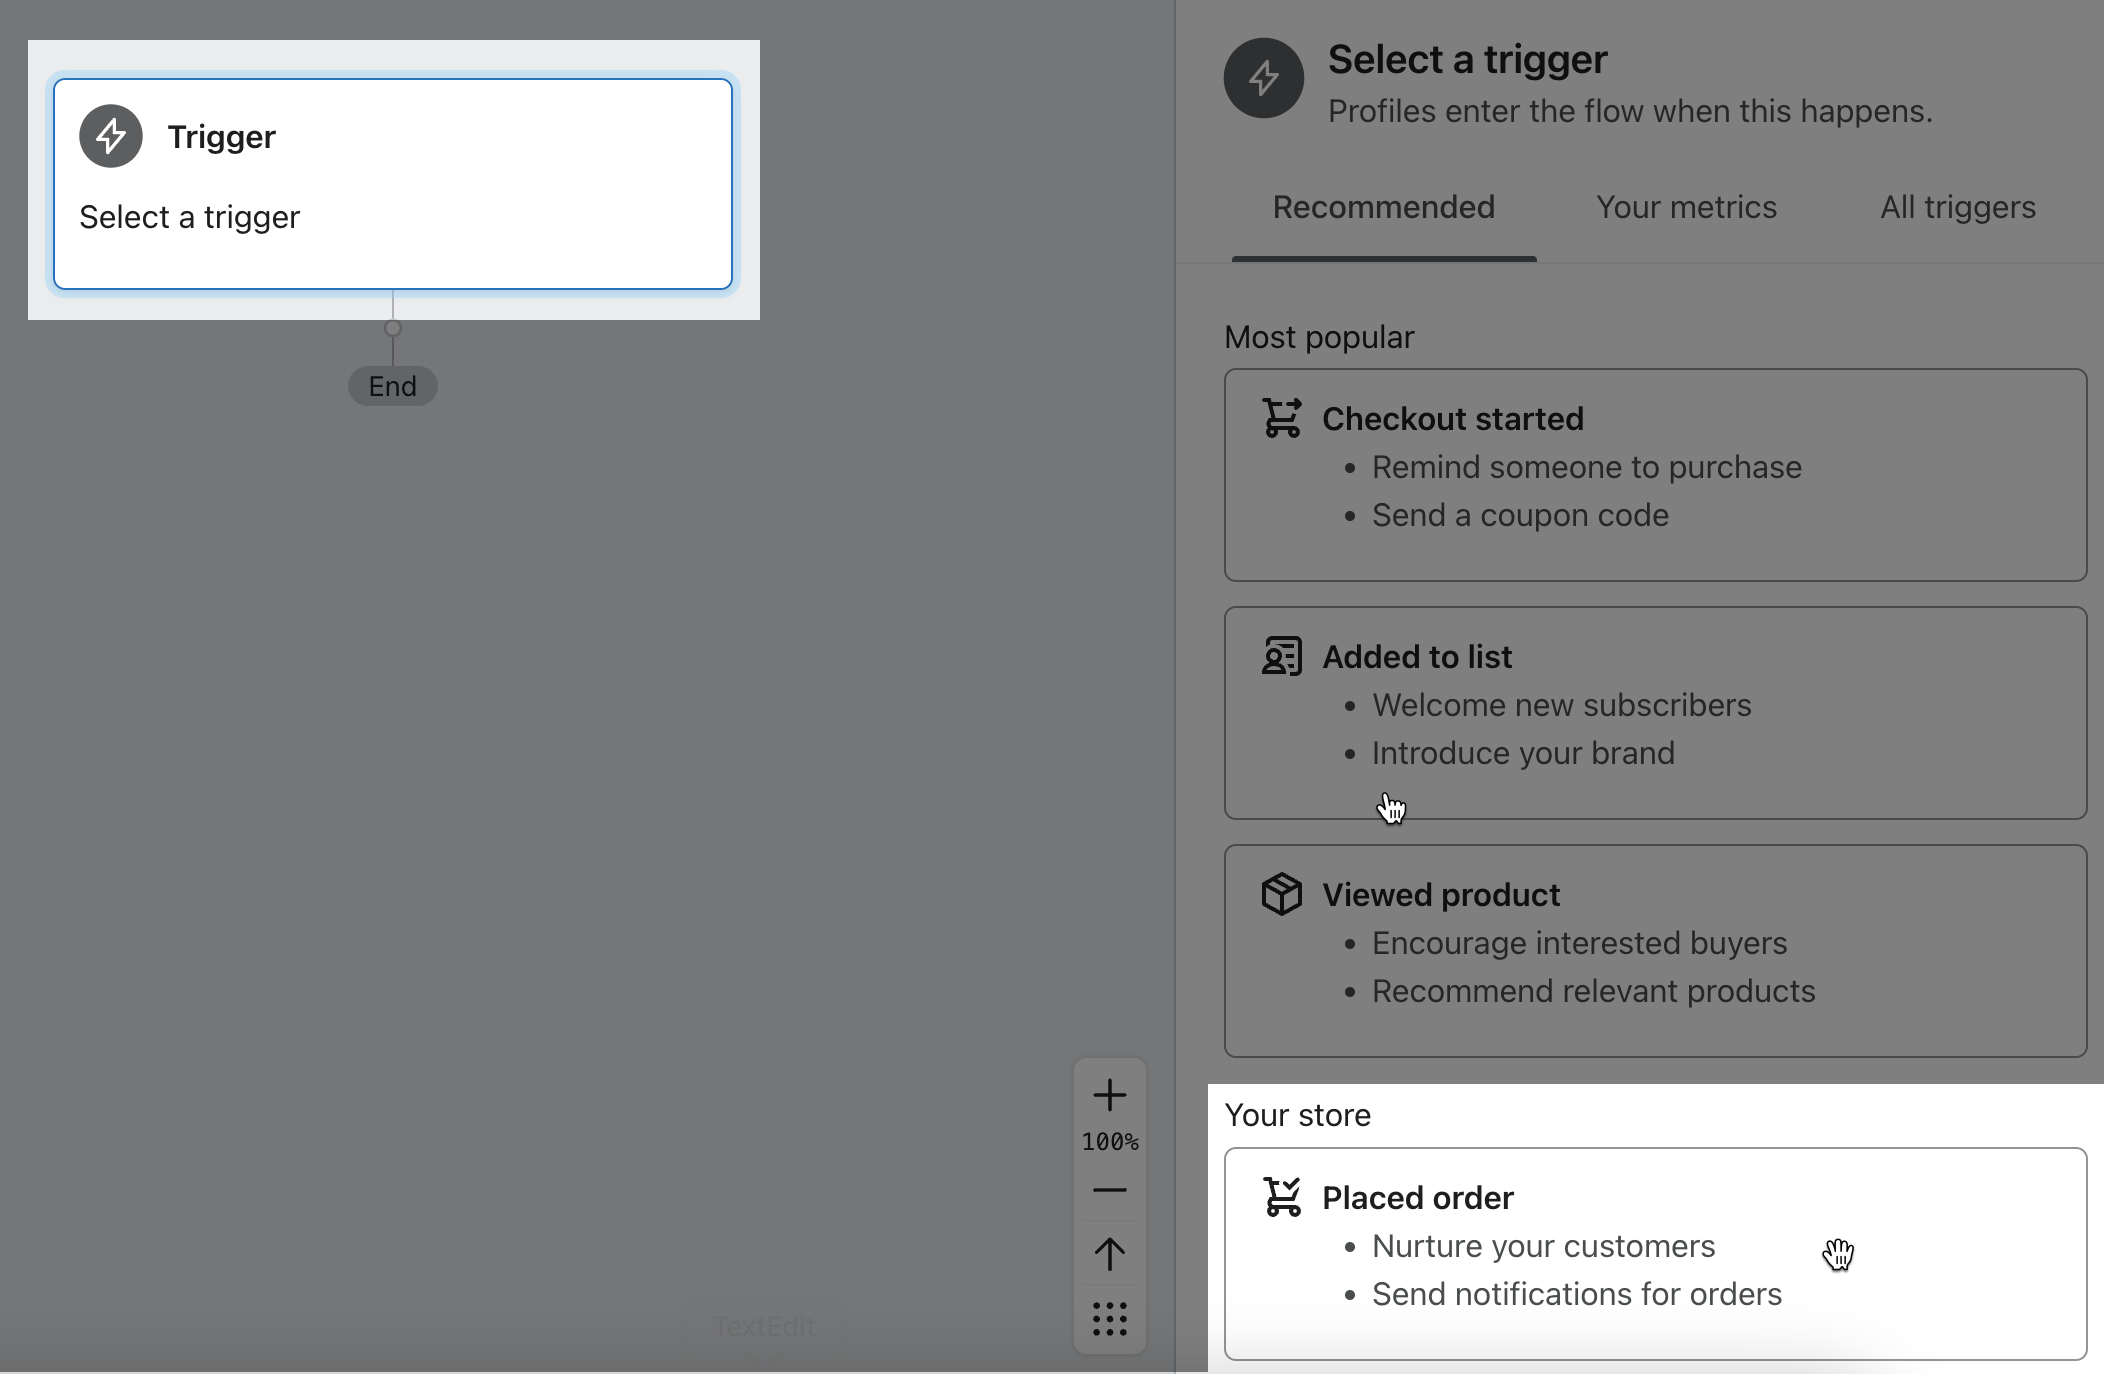
You can use Olo metrics to trigger flows. For example, you can use the Placed Order metric to trigger a flow to send messages to someone immediately when they place an order.
To create a flow using Olo metrics:
- Navigate to the Flows tab from the left-hand navigation sidebar.
- Click Create flow in the top right.
- Click Build your own in the top right.
- Name your flow and select tags if desired.
- Click Create flow.
- In the flow builder, choose Placed order as the trigger.
- Check that the trigger is set to sync from Olo.
- Click Save.
- Add time delays and messages relevant to the triggering action. Learn more about creating a post-purchase flow.
- Once your content is ready, click Update status in the top right of the flow builder to set the flow live.
Outcome
You've now integrated Olo with Klaviyo and learned about Olo data in Klaviyo, segmenting customers using Olo data, and using Olo data in flows.
Additional resources
Take our course on enhancing restaurant guest relationships.
Learn more about Klaviyo-built integrations.