How to provide mobile support with Klaviyo SMS
You will learn
Learn how to use SMS for customer support, allowing you to quickly answer subscribers’ questions and hear their feedback. With Klaviyo two-way messaging, you can leverage SMS to provide your current subscribers support and a better overall experience.
Before you begin
Note that two-way messaging is only available when:
- The customer is subscribed to SMS
- The customer texts your number first
- You're using a number that can receive text messages (i.e., not a branded sender ID)
Mobile support checklist
For this process, we highly recommend completing all of the steps below in order to provide the best experience for your subscribers:
- Create a list for those signing up for support
- Add a subscribe keyword
- Set up subscribe method
- Add forms to product/website pages
- Build a flow to prompt customers to ask a question
- Create a segment to exclude support-only subscribers
- Respond to the customer
Create a list for support questions
First, make a new list for those texting in with questions.
- Navigate to Audience > Lists & Segments on the left sidebar.
- Click Create List/Segment.
- Choose List.
- Pick a descriptive name for the list (e.g., “Support Qs- SMS”).

You may want to disable double opt-in for this list. This can help streamline the process for those with questions. If you do so, it is especially important to create a segment of support-only subscribers, discussed farther down in this article, and exclude them from your campaigns.
Add a unique subscribe keyword
For your forms, you’ll need to have a unique subscribe (also called a custom) keyword for when people want to ask you a question.
- Navigate to your organization name in the bottom left.
- Click Settings > SMS > Automations.
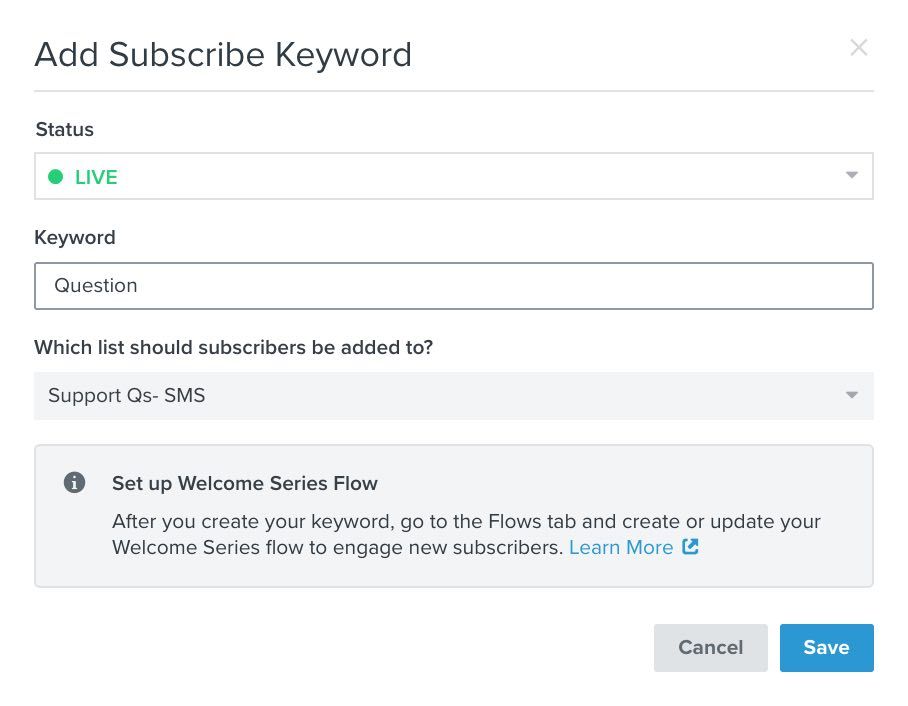
- Select Add Subscribe Keyword in the Subscribe Keywords section.
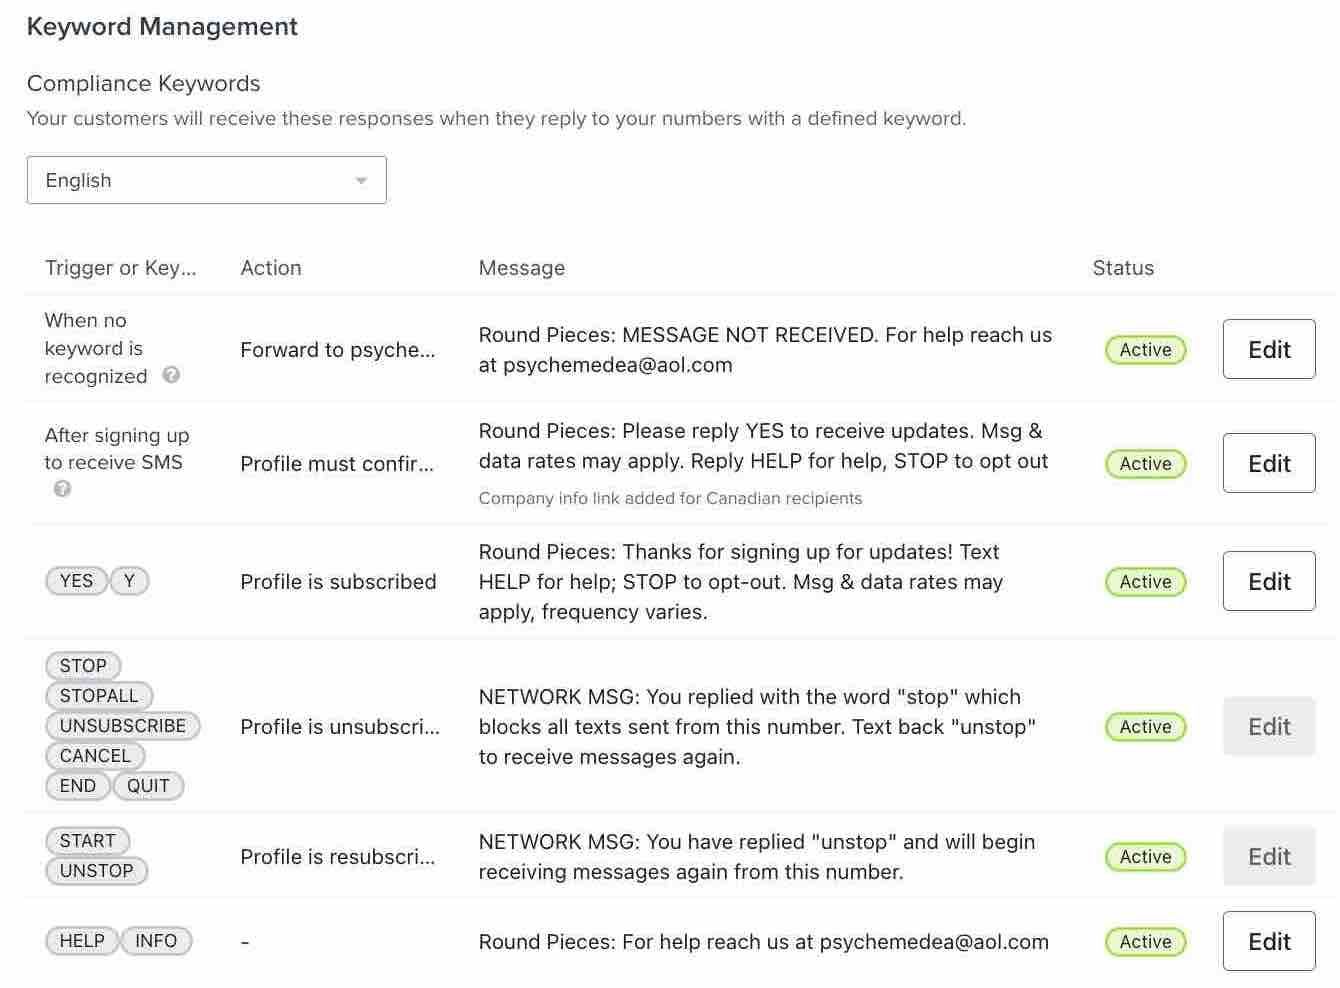
- Name the keyword, making sure it’s not similar to another keyword (in particular, do not use a variation of “Info” or “Help”).
- Set the new keyword to add subscribers to the list you just created before clicking Save.
After you save, you’ll see the new subscribe keyword along with the list it sends to and the $source profile property under Subscribe Keywords.
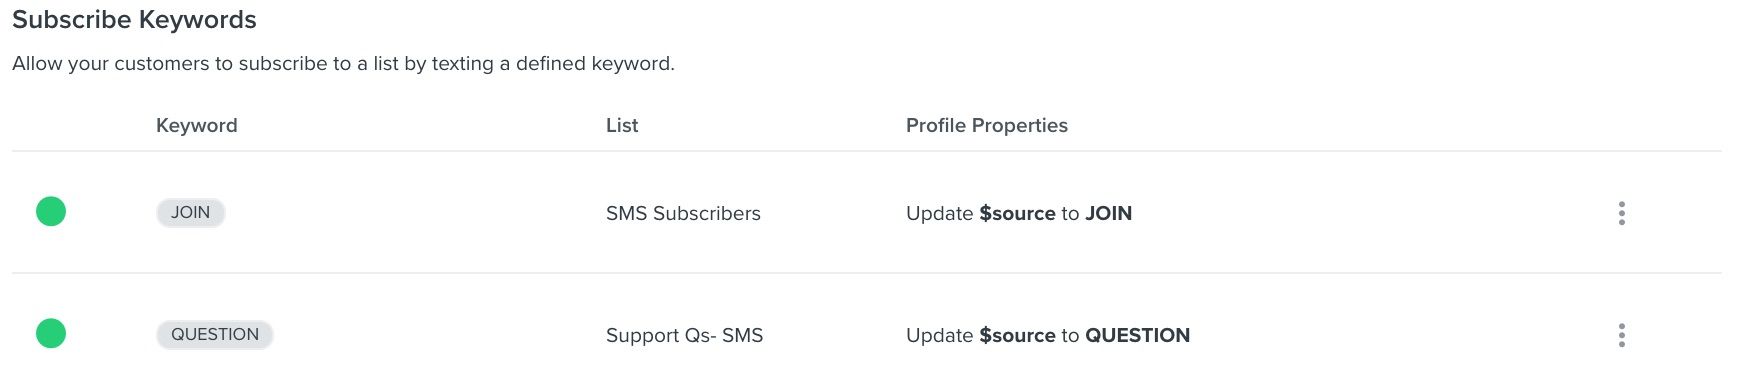
For more information about subscribe keywords, check out this guide on adding, updating, and deleting custom keywords.
Set up your forms
For the best customer experience, you’ll need to make 2 signup forms. The first is a click-to-text form for mobile users, and the second is simply a message for desktop users that says customers should text your number and use a subscribe keyword.
Below, we discuss creating embedded forms, but another good option for desktop is a flyout form. If you use a flyout form instead, consider setting them to appear a few seconds after a page loads, so that you're offering help to those who are "stuck." It's not recommended for mobile: only desktop.
Desktop form
Let’s start with the desktop embed form.
- Go to Sign-up forms on the left-hand sidebar.
- Click Create Sign-up Form > Create from Scratch.
- Name the form, select the list you just created, and choose Embed.
- Delete any unnecessary fields, such as email and buttons, and add in the text you want to show on your site.
- Drag in a text field.
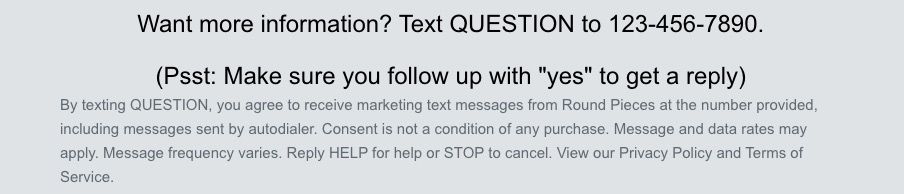
- In the field, add a message with your subscribe keyword and SMS number. For instance, “Want more information? Text QUESTION to XXX-XXX-XXXX.” (To find your SMS number, go to Settings > SMS .) If you have double opt-in enabled are sending to either the US or Canada, you may also want to call out that someone must then text “Yes” to get an answer.
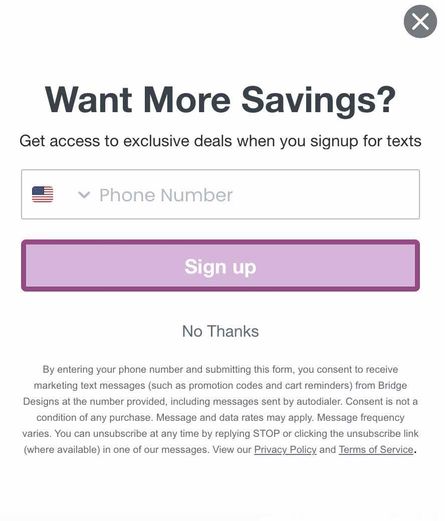
- Add in a phone number field.
- Check the Collect SMS consent box.
- Edit the disclosure language, making sure to link to your terms of service and privacy policy.
- Go to the Targeting & Behaviors tab.
- Change the form to Desktop Only.
- Add in any countries where Klaviyo SMS is available, as you can only collect consent from people in those regions.
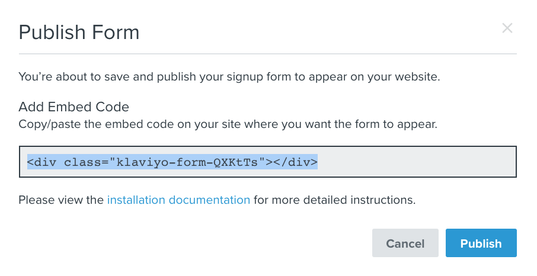
- In the upper right, set the form to Live and copy the embed code.
- Click Publish.
Mobile form
For your mobile form
- Clone the desktop form, name it, and use the same list as for desktop.
- Drag in a button to make it easy for customers to get their questions answered.
- Edit the text of your button to include a clear call-to-action, encouraging customers to click.
- Click the button on the form and change the action from Submit Form to Subscribe via SMS. This will automatically change the form to be mobile-only.
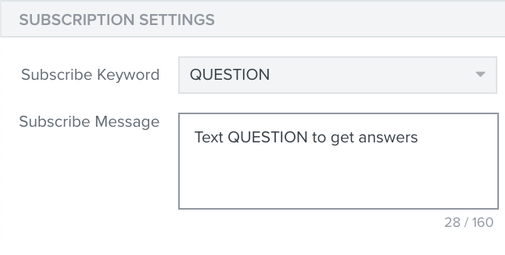
- Change the subscribe keyword to the one you created for customer support and add in your subscribe message.
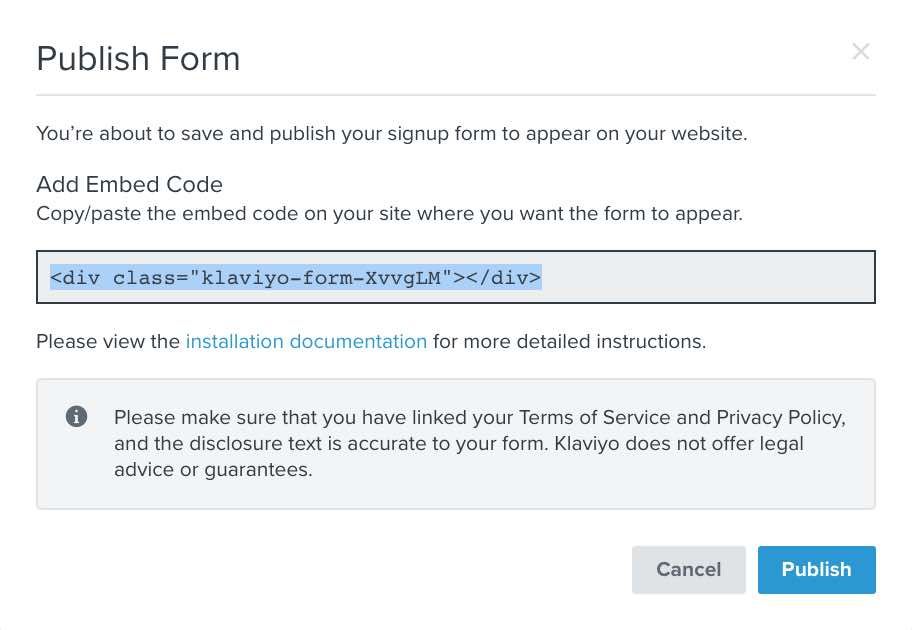
- In the upper right, click Publish. A modal will appear with the embed code and a warning to make sure you’ve linked to your terms of service and privacy policy.
- Click Publish to set the form live.
Embed the forms
There are several places where you might want to put these forms, including in the footer, product pages, and any contact or help pages on your website. How you embed the form depends on your integration, but generally, you’ll need to go into your theme, theme files, and then paste the embed where you want it to appear. This article on pasting embed codes provides more information.
Build a welcome flow for customer support
Your welcome flow for those texting in questions will not be your regular welcome flow.
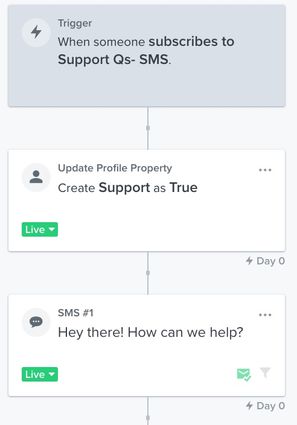
- Create a list-triggered flow using your SMS support list.
- Drag in an Update Profile Property action directly after the trigger. (Note that someone must have the property on their profile before it can be used in a flow.) For example, you may apply a profile property titled "Support."
- For the first message in this series, use something like, “Hey there! How can we help you? Please keep in mind that our office hours are 9 to 5 Mon–Fri, and we’ll respond as soon as we can.”
- Acknowledge that they’re looking for help.
- Don’t send a standard welcome series message where you thank them for subscribing, as this may make them worry that they joined your main subscription list when it’s highly possible that they only want answers to a specific question.
Optional: give recipients the choice to continue to hear from you
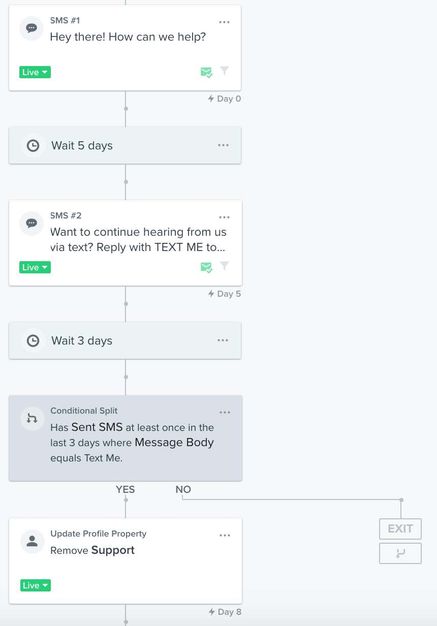
- After the first message, add a time delay.
Give enough time for you to have fully answered and followed up with the customer. We recommend between 3–7 days, depending on how much time you want to leave after your last response. - Add another message asking if they want to continue to hear from you.
For example, you can say: “Want to continue hearing from us via text? Reply with TEXT ME to get special deals, early access, + more. If you say NO or don't respond, we'll only text you if you’ve reached out with a question.” - Follow the message with a time delay to allow a little time for someone to respond (e.g., 2 to 3 days).
- Add a conditional split to separate who has sent an SMS in the last few days where the message body has the phrase you used in the previous message (e.g., TEXT ME).
- Drag in an Update Profile Property action to remove the profile property for anyone who responded with this phrase.
- For everyone else, keep the profile property in place, as we’ll use it to create a segment of those only interested in support.
Create a segment to exclude support-only subscribers
This is perhaps one of the most important things to set up. It’s critical that you don’t treat someone who’s looking for answers the same as someone who wants to hear from you on a regular basis. Instead, you’ll foster a relationship with these subscribers via the flow above.
To exclude this group from your regular communications, you’ll need to create a new segment. The conditions for this segment should be that someone is consented to SMS and is either not in your main SMS subscriber list(s) or has the profile property you used in your welcome flow.
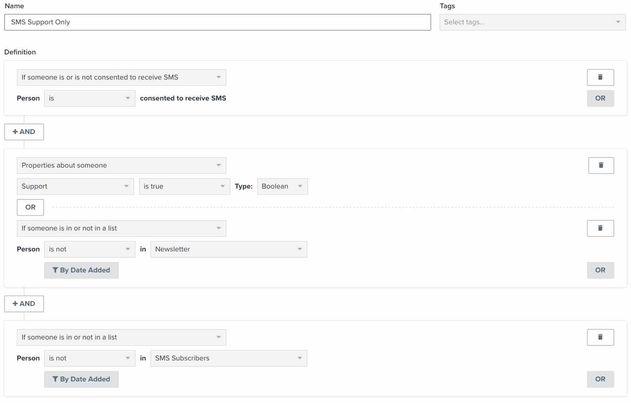
For instance, let’s say we have 2 lists with SMS subscribers named “Newsletter” and “SMS Subscribers” and our customer support welcome series adds Support equals true to profiles. In this case, the segment conditions would be as follows:
- If someone is or is not consented to receive SMS > Person is consented to receive SMS
AND - Properties about someone > Support is true
Or - If someone is in or not in a list > Person is not in Newsletter
AND - If someone is in or not in a list > Person is not in SMS subscribers
Once created, exclude this segment from all SMS campaigns going forward. This will help you avoid texting those who aren’t interested in SMS marketing content.
Additional resources
- Guide to Klaviyo Helpdesk
Learn about Klaviyo Helpdesk, which helps you manage support conversations across all channels, powered by the data you already have in Klaviyo.
- SMS marketing strategies for all levels [+12 Pro tips]