How to build a multi-metric report
You will learn
Learn more about the multi-metric report and how to customize it to suit your business and marketing performance needs in one, unified report. You can customize this report to account for your desired timeframe, properties, and groupings.
The multi-metric report helps you answer questions like:
- What do my key business KPIs over the last quarter look like?
- What do my key business metrics look like over the last month, attributed only to email campaigns?
- How are men versus women converting from cart to purchase, and who is spending more per order on average?
In this guide, you will learn more about what the multi-metric report offers and where to find it in Klaviyo.
Build your report
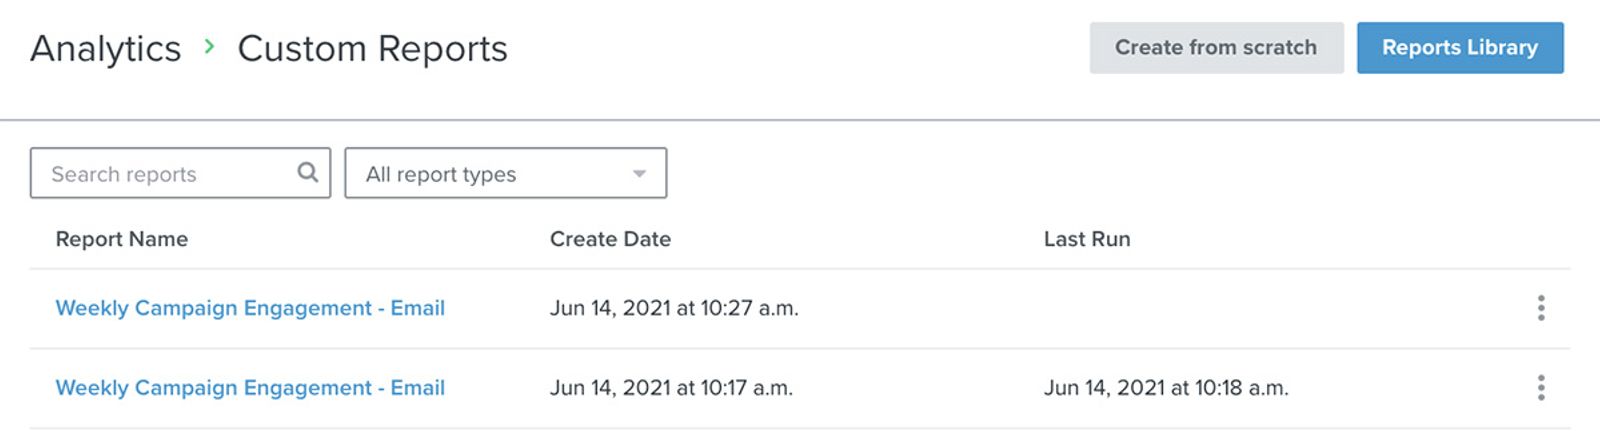
1. To create a new multi-metric report, navigate to Analytics > Custom Reports.
2. Click Create from scratch. To start with a prebuilt report instead, click Reports Library. The steps below describe creating a report from scratch.
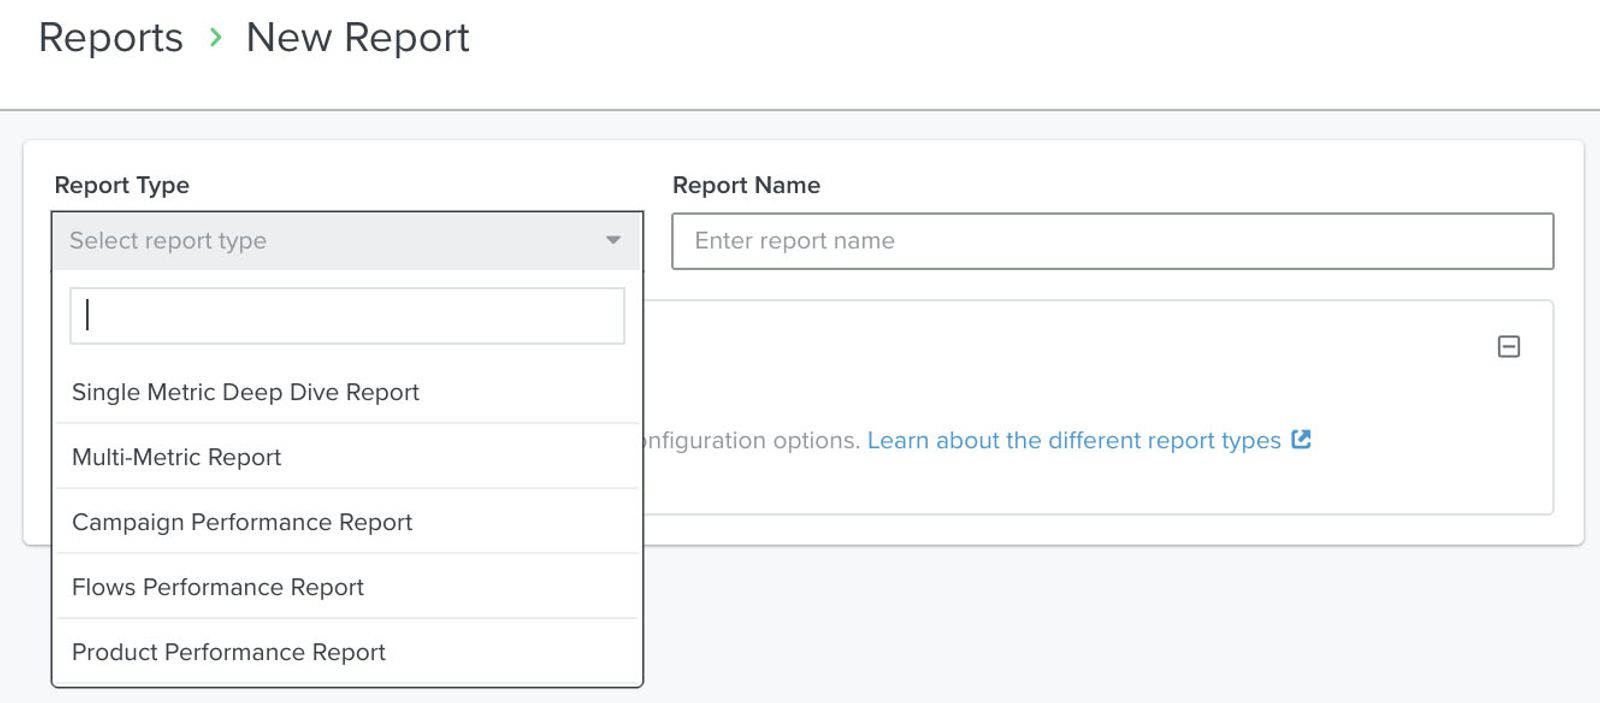
3. Under Report Type, select Multi-Metric Report from the dropdown, and give your report a name.
4. Select up to 10 metrics available in your account. To add an additional metric, select + Add Metric. Calculated rates such as Open Rate are not available in this report.
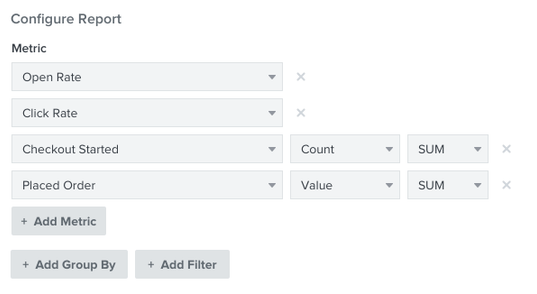
5. Next, decide how you want to analyze these metrics. All standard metrics support 2 different dropdowns to customize your analysis. Choose one of the values from the applicable dropdown menu.
- Total, Unique Profiles, or Value
You can report on the total number of instances of an event (Total) or the number of distinct profiles that performed that event (Unique Profiles). If the metric you select has a monetary value associated with it (e.g., Placed Order), you can also report on the value of the events (Value). - SUM or AVG
You can choose 1 of 2 aggregations: SUM or AVG. SUM adds the selected measurement. For example, if there are 2 Placed Order events within the timespan you select, both with a $15 value, Value with SUM will be $30 and Total with SUM will be 2. With Value, AVG is the average value per event, so this example gives $15. With Total, AVG is the average number of events per profile that performed the event. Use Unique Profiles with SUM to count distinct profiles.
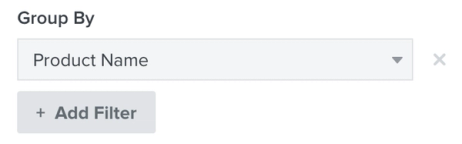
6. To group your results by a property, click + Add Group By and select an available attribution field or profile property. For example, choose Country to compare results by country.
- Add Group By
This option groups values within your report by 1 property. You can group by Attributed Flow, Attributed Message, or an available profile property. You can then add 1 filter on that same property to limit the values shown. Grouping and filtering by other metric event properties are not possible in this report, as the different metrics you select will all have different related detailed event data. Also, reports only include events filtered by a profile property starting after that property was created. Even if a property was retroactively applied, if it didn’t exist on profiles at the time the event takes place then it won't appear in the report. - For example, group by Attributed Flow to compare revenue across flows, or by Attributed Message to compare individual messages. To compare countries instead, select Country as your grouping. Then select + Add Filter and choose the countries to include.
- For more information on properties you can use for grouping, head to our Guide to Properties.
7. To limit your results, click + Add Filter and select the property and values to include. If you added a grouping, the filter uses that same property. To filter on several different properties, leave grouping unset or remove it first.
- Add Filter
Instead of grouping your report by specific attribution or profile properties, you can instead choose to limit your results by filtering what data is included. For example, if you only want to report on performance for a specific gender, you can add this as a filter. - Without a grouping, you can add subsequent filters to limit activity to several different criteria. These will all appear separated by the AND connector. At this time, it is not possible to report on a cross-section of filters separated by the OR connector. For example, you can report on all orders placed by those whose Gender equals Female AND whose Country equals United States. However, you cannot view activity only for those whose Gender equals Female OR whose Country equals United States.
- For more information on the distinction between AND and OR, head to our AND vs. OR Guide.
8. Finally, customize the time range of your report so that it only shows the data you care about. To adjust the timeframe, choose your selected time range and grouping from the associated dropdowns.
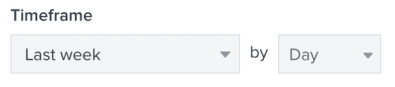
You can adjust the time range to:
- Today
- Yesterday
- This Week
- Last 7 Days
- Last Week
- This Month
- Last 30 Days
- Last Month
- This Year
- Last 90 Days
- Last 365 Days
- Last Year
- Custom
The available time groupings depend on your selected range:
- Day
- Week
- Month
- Entire Range combines the selected period without separate time groups. For a Custom date range, choose Day or Entire Range.
Note that timestamp data within your reports, including exported reports, will display in your account's local time from your settings. Additionally, if you are using custom date ranges, the maximum time range is 2 years. If you attempt to create a report with over 2 years of data, an error will appear.
Run and export your report
1. After you configure a new report, the next step is to click Save & Run Report to generate your results. A results summary will appear for you to review, and you can choose to export these results for further analysis.
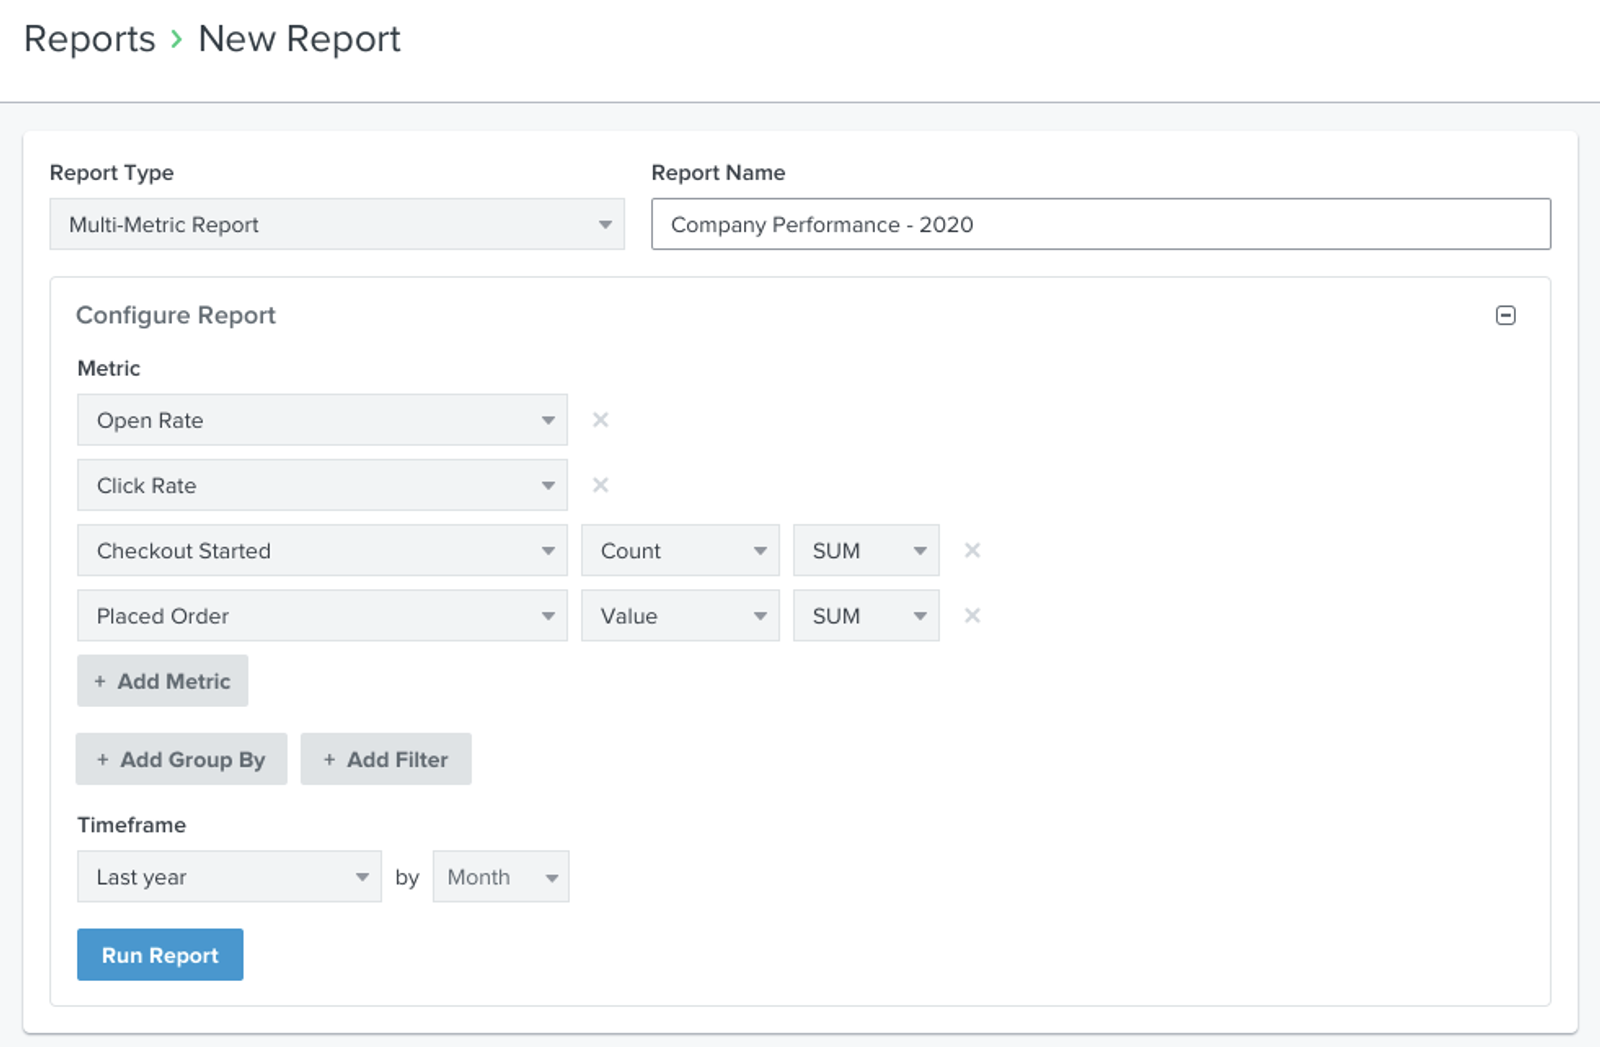
Your results appear when the report finishes running. If a report takes at least 20 seconds to generate, Klaviyo sends you an email when the results are ready.
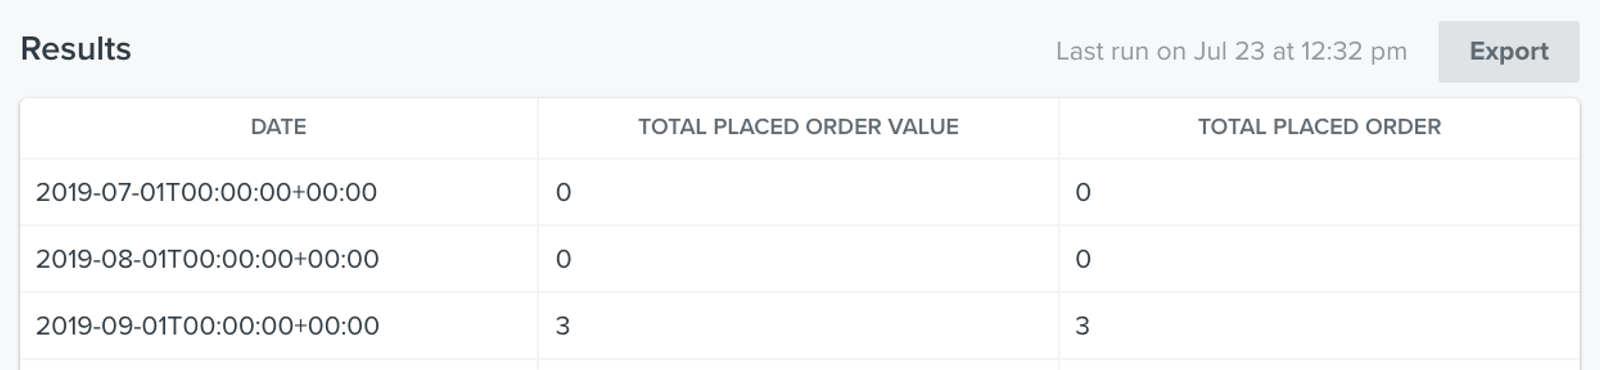
All of your previously run reports will be automatically saved in your Custom Reports page. It is not possible to save a partially configured report, but every report will be automatically saved after the first time it is run. When you navigate into an existing report, a timestamp of when the report was last run will appear above your results along with an Export CSV button.
2. To export the results of your report for further analysis, simply click Export CSV. The preview may show only part of a larger report; the CSV contains the full results.
Schedule your report
You also have the option to schedule a report to auto-run at a specific date and time and be notified via email when your results are ready. This way, you can set up your reports to automatically run and pull data for your review without manually rerunning them.
Head to our guide on How to Schedule Custom Reports and learn how to set this up for your reports.
Update report results
Unless you schedule them to run, reports do not automatically refresh with data over time if you are using a relative timeframe such as Last 30 Days.
1. To see when report results were last generated for a given report, look at the Last Run timestamp on the Custom Reports page or from within the report itself.
2. If you want to update your report results to pull in fresh data, navigate into the report and click Save & Run Report again.
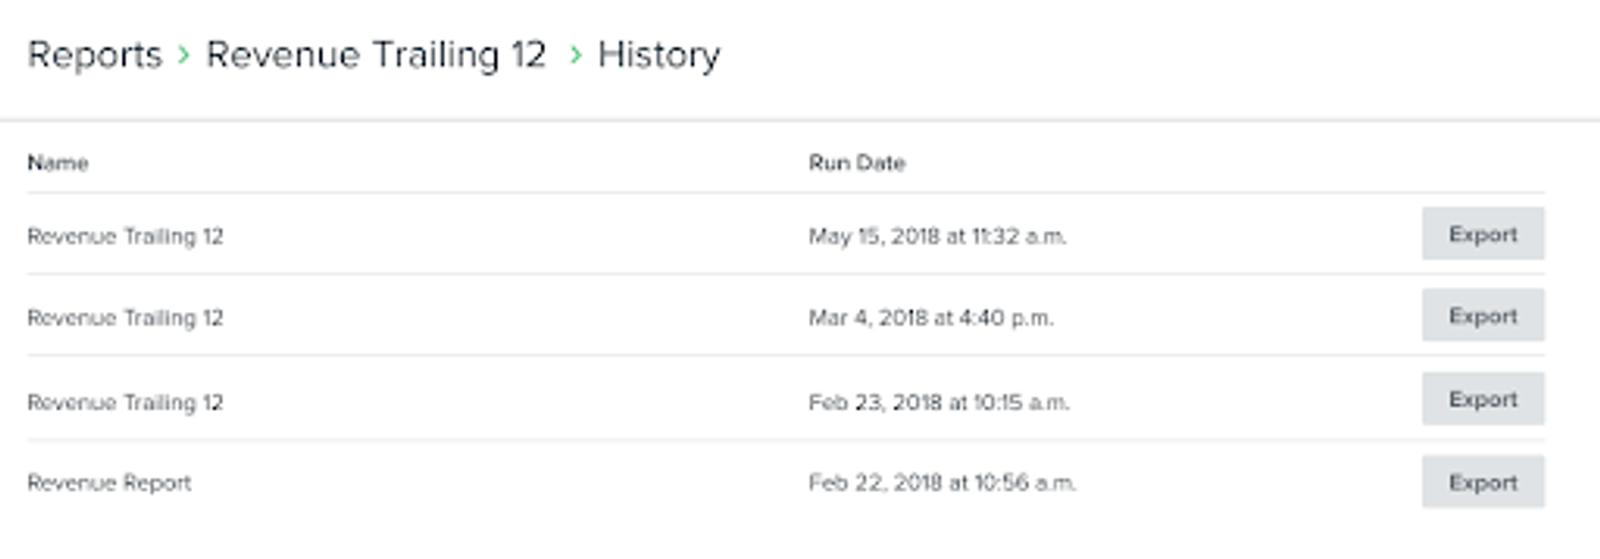
3. In the event that you need to see historical report results from previous runs, go to Custom Reports and open the 3-dot menu.
4. Then choose View History from the dropdown menu.
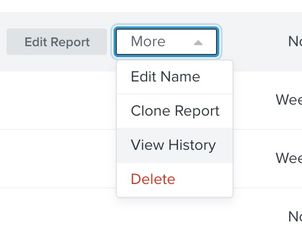
This will show completed historical runs for your report of interest.
5. To download the historical results of your report, open the 3-dot menu next to the run and select Export.
Clone and rename reports
If you have an existing report that you would like to copy, use the clone option.
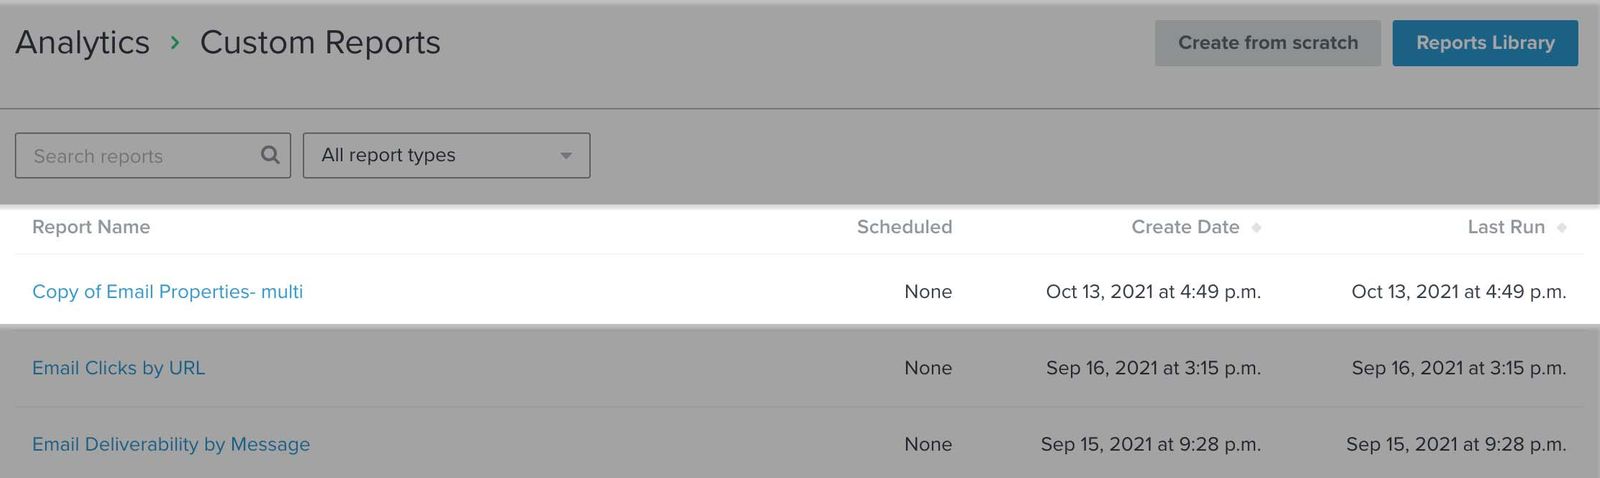
1. To clone a report, go to Custom Reports and find the report that you want to clone.
2. To the right of the report, open the 3-dot menu.
3. Then choose Clone Report from the dropdown menu.

Note that cloned reports do not include scheduling preferences from the original report. If you would like to schedule your copied report to deliver to you on a regular cadence, head to our guide on How to Schedule Custom Reports.
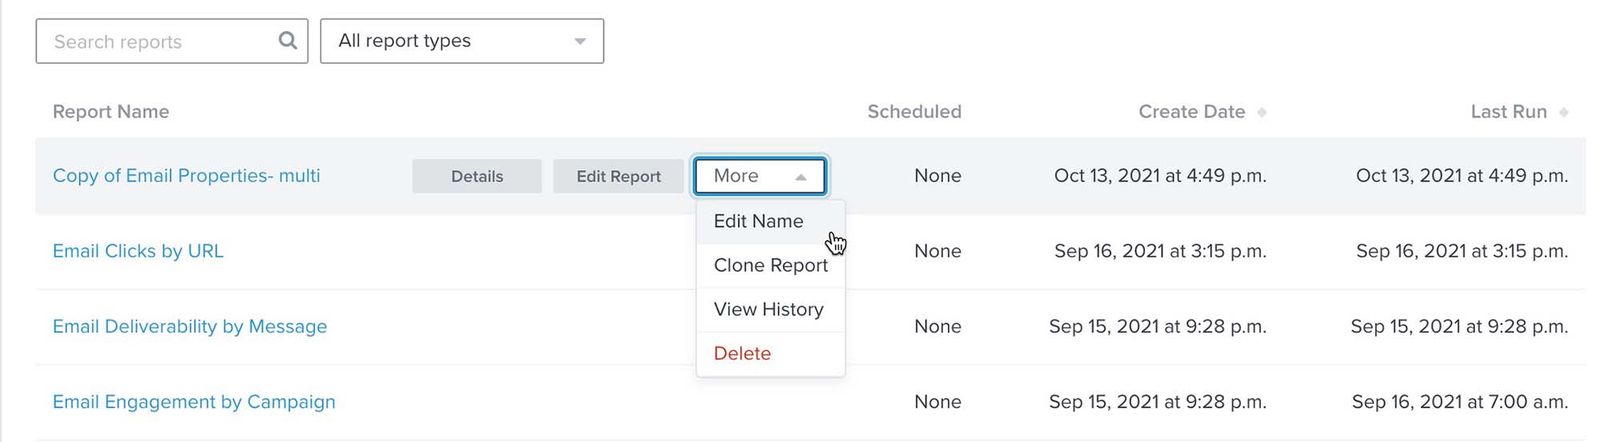
4. If you would also like to rename your cloned report, navigate to the right of the report and open the 3-dot menu, then choose Edit Name from the dropdown menu.
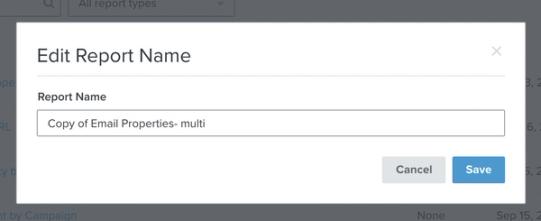
5. Rename your report in the modal that appears.
6. Once you have renamed your report, click Save.
Additional resources
- Getting started with custom reports in Klaviyo
Learn how to use Klaviyo custom reports to monitor your business' health across each of your marketing channels and individual products or services. By using these reports, you can leverage your data to uncover trends in customer behavior, align your team around a cohesive marketing strategy, and grow your business as you act upon new insights.Just starting out with Klaviyo reporting? Learn more about feature-specific reports and get a general overview of Klaviyo’s analytics tools.
- How to build a single metric deep dive report
Learn how to use the single metric deep dive report to get metric data for either a broad overview of activities or to understand trends by key event or profile properties. You can choose any metric in your account to build a report around and can further customize it by selecting different timeframes, properties, and groupings.
- Getting started with reporting
Learn about the different robust Klaviyo reporting tools available in your account. Klaviyo is built to help your business grow and strengthen your relationships with your audience by putting data to work. Segmentation and automation tools allow you to personalize and target your communication efforts across channels to boost engagement and drive business growth. However, in order to understand how well your business strategies and marketing efforts are working, you need proper reporting to measure and analyze performance trends over time.
- Getting started with a custom reporting strategy
Learn how to build a comprehensive reporting strategy to grow your business and answer any key performance questions that arise over time. Klaviyo’s robust, customizable analytics let you leverage your data to understand business and marketing performance. With our custom report builder you can understand how customers interact with your messaging over time, identify what owned marketing efforts need to be improved upon, and focus on where you should adjust your marketing strategy to grow your business.