Troubleshooting Meta Ads sync, credential, and authorization errors
You will learn
Learn how to resolve sync, credential, and authorization errors with your Meta Ads integration.
Have you received one of the following error messages or emails?
- Your Meta Ads integration is no longer syncing as expected. Klaviyo is no longer authorized to connect to Meta Ads.
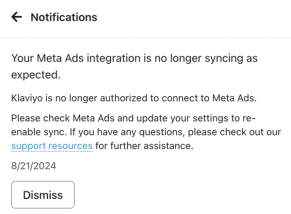
- Your credentials have expired. Check your Meta Ad Manager permissions and re-authenticate to resume syncing.

- Klaviyo is no longer authorized to connect to Meta Ads. Please check Meta Ads and update your settings to re-enable sync.
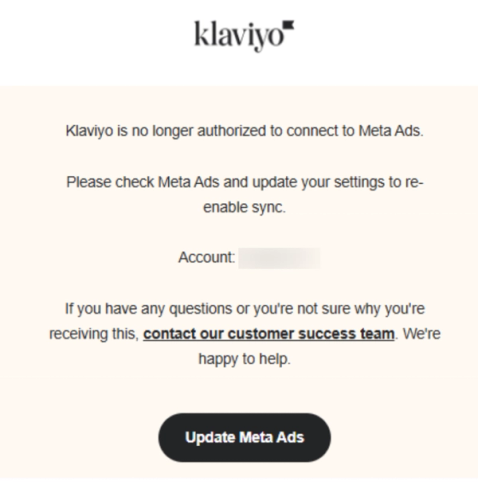
To solve these errors, we recommend updating your permissions, accepting Meta's terms of service, and then re-authenticating your Meta Ads integration by following the steps below. These errors can occur from a variety of root causes. Even if you’re not sure of the root cause, the steps below can solve a variety of issues.
Troubleshooting steps
Review your Meta account and settings
First, check the permissions of the Meta login you use to connect Klaviyo. The permissions you need depend on which data you sync.
- Visit your Meta Business settings.
- If you use Lead Ads, confirm that you have Facebook access with full control of the page connected to Klaviyo. If you need to change access, follow Meta’s instructions for managing Facebook Page access.
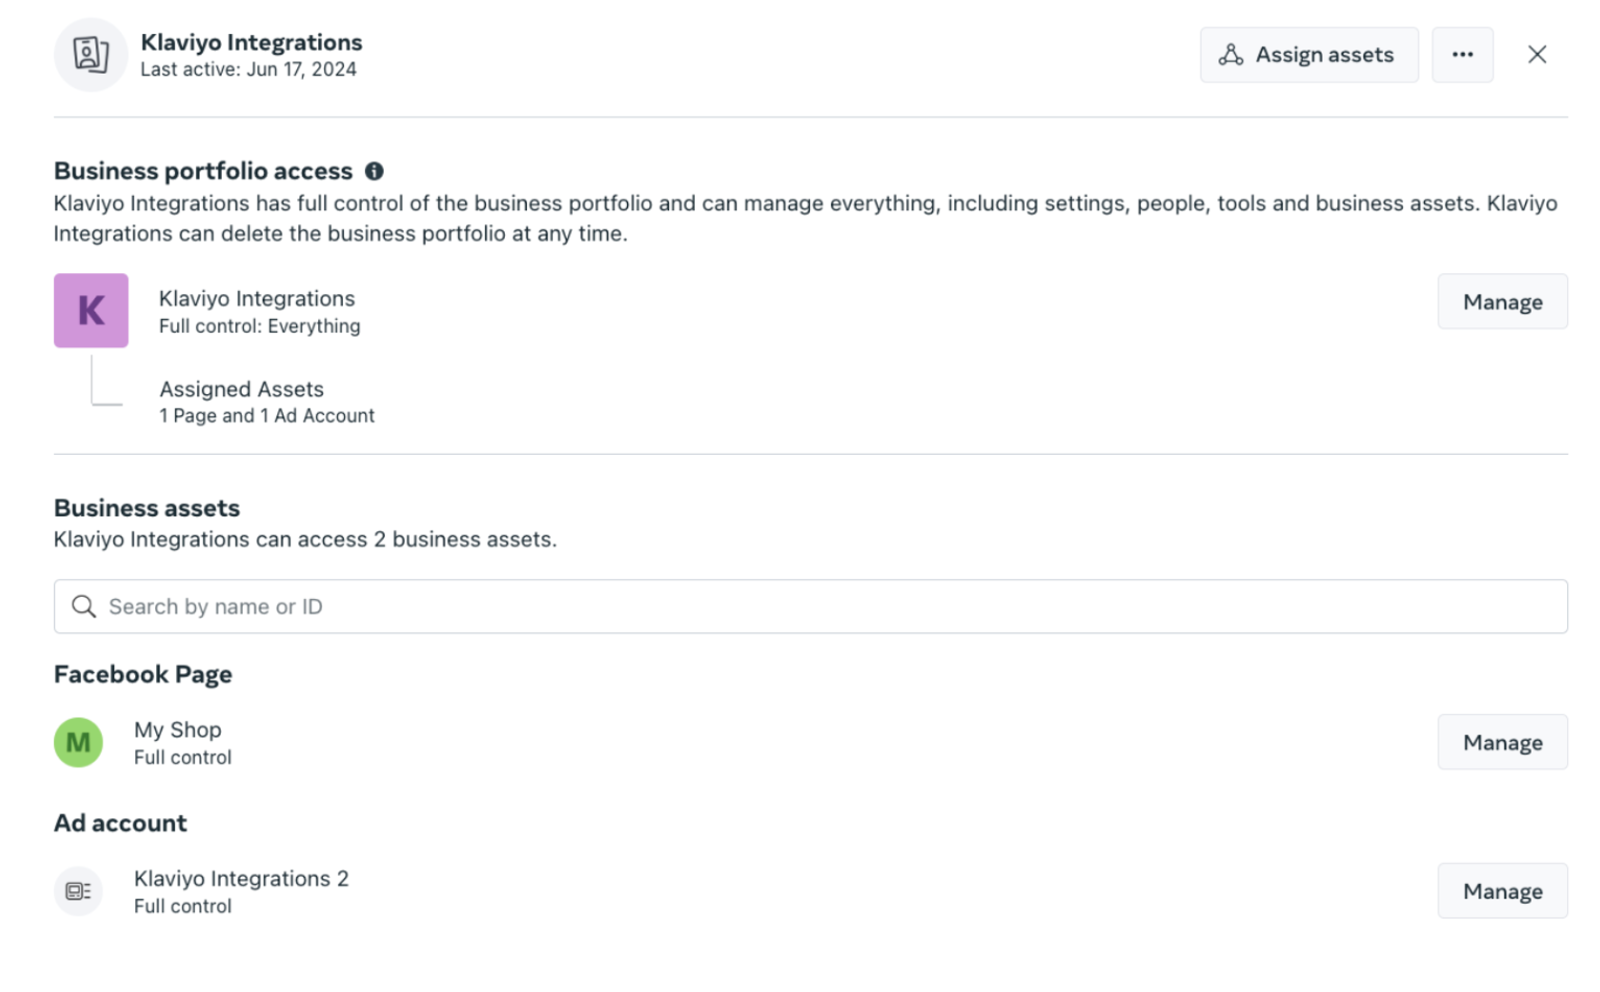
- If you use Custom Audiences, confirm that you have admin access to the ad account connected to Klaviyo. If you need to change access, follow Meta’s instructions for managing ad account permissions.
Accept Meta’s terms of service
Accept the terms for each sync type you use. You can follow the Meta Terms of Service link in a warning on the Custom audiences or Lead ads tab of your Meta Ads integration, or use the links below.
Custom Audiences terms
- Copy and paste the following URL into your browser, but do not hit enter:

https://business.facebook.com/ads/manage/customaudiences/tos/?act=AdAccountID- You'll need to update the link above by changing AdAccountID to your specific ad account ID from Meta. To find this ID:
- Open a new tab and navigate to Ad accounts in Meta’s business settings.
- Select your ad account on the left.
- Find the account ID, under the account name on the right.

- Copy the ID.
- In your original tab, replace AdAccountID with the ID you copied from Meta, then hit enter.

- Review and accept the terms of service.
Lead Ads terms
If you use Lead Ads, open Meta’s Lead Ads terms and accept them for the Facebook page connected to Klaviyo. If you also use Custom Audiences, accept the terms for both sync types before re-authenticating.
Re-authenticate Klaviyo and Meta Ads
You need permission to manage integrations in Klaviyo to re-authenticate.
- In Klaviyo, select Integrations.
- Find Meta Ads on the list and select it.
- Click Re-authenticate in the upper right corner. If you see Manage integration instead, select Manage integration > Re-authenticate.
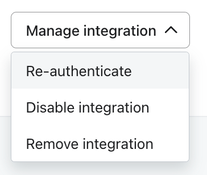
- Complete the authorization prompts in Meta using the login whose permissions you checked. Grant Klaviyo access to the business assets used by the integration. After authorization, you’ll return to Klaviyo, where the updated connection is saved automatically.
After successful re-authentication, your integration should resume syncing. Check the Custom audiences and Lead ads tabs for any remaining errors, depending on which syncs you use.
If you are still experiencing issues, try reaching out on the Community or to our Support Team.
Additional resources
- Getting started with Meta Ads
Learn how to integrate Meta Ads with Klaviyo. The advertising integration with Meta provides two main features: