How to Create a Personalized Onsite Banner
In this article:
- Understanding personalized onsite banners
- Design your banner
- Configure settings and targeting
- The onsite experience
- Reviewing analytics
Understanding personalized onsite banners
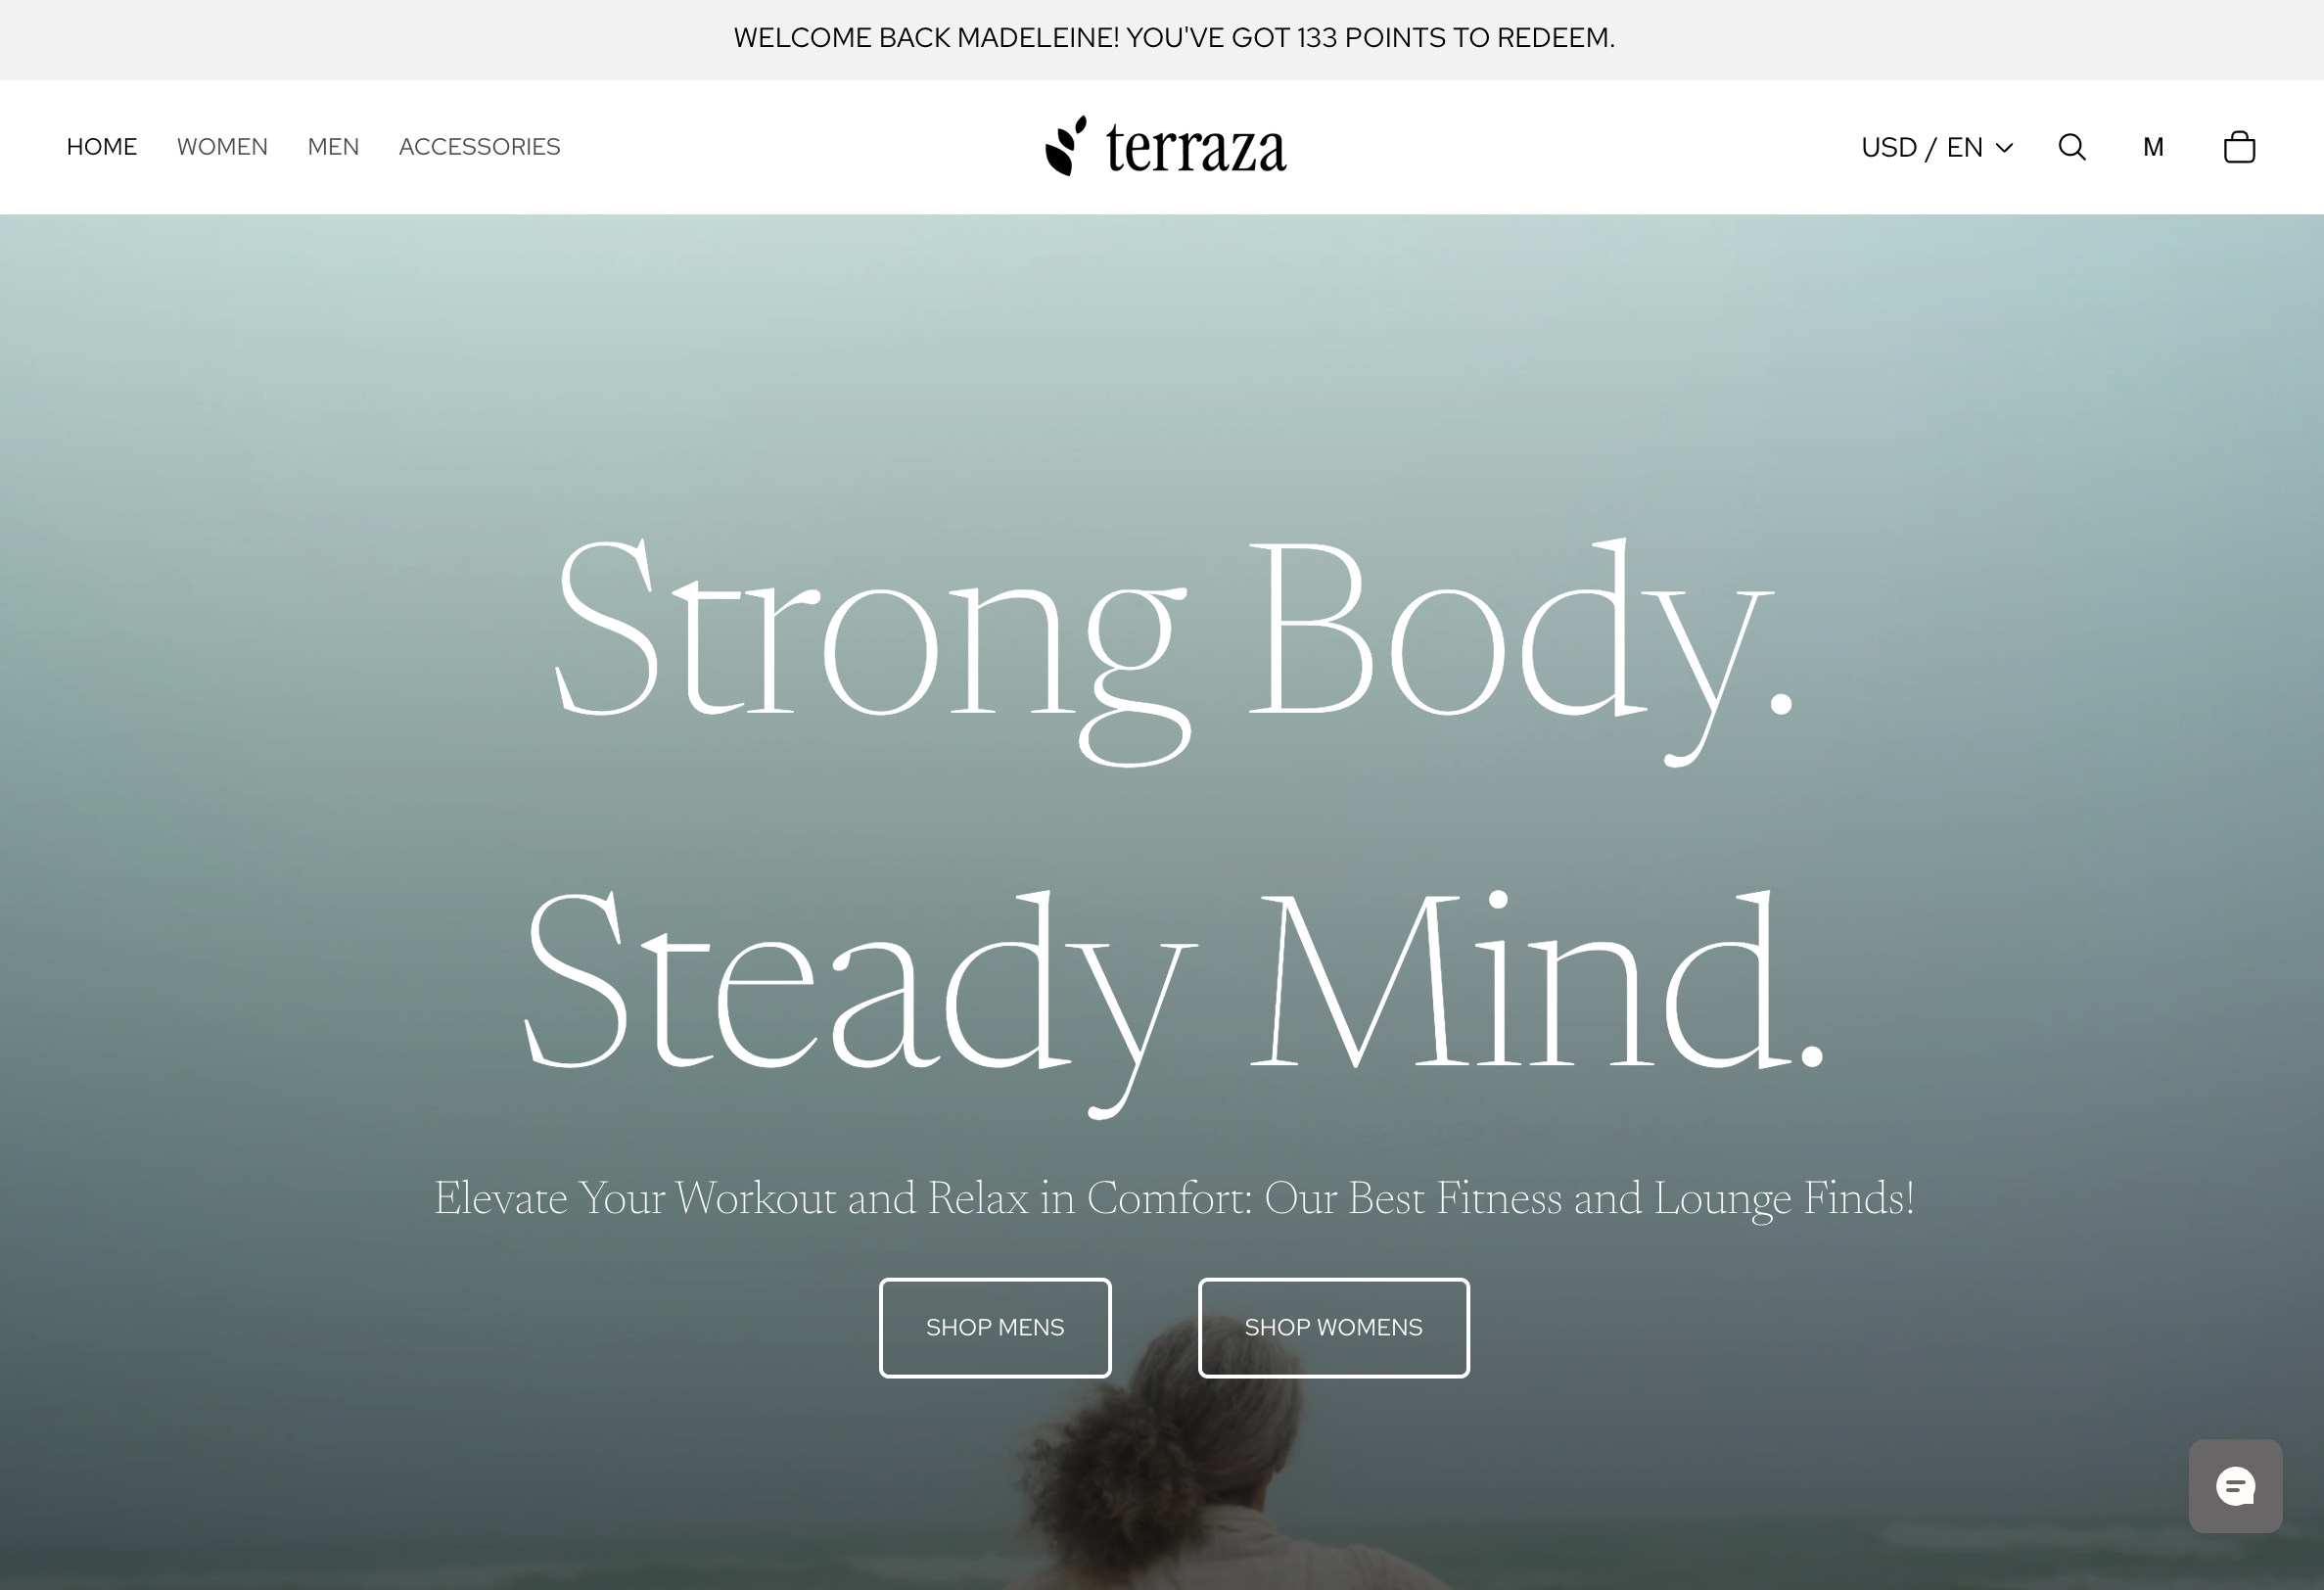
Personalized onsite banners allow you to greet visitors with highly visible, targeted messages directly at the top of your website—with zero code or manual installation required.
Because banners use the power of Klaviyo segments and profile data, you can move beyond generic announcements. Use onsite banners to:
- Show targeted offers: Display clear calls-to-action (CTAs) for specific promotions to drive conversions.
- Make marketing announcements: Alert all visitors to a new sale or product drop immediately upon arrival.
- Recognize VIPs: Greet your best customers by name and display their current loyalty point balance so they feel valued and ready to shop.
Design your banner
To build a new onsite banner, you will define both its content and its styling.
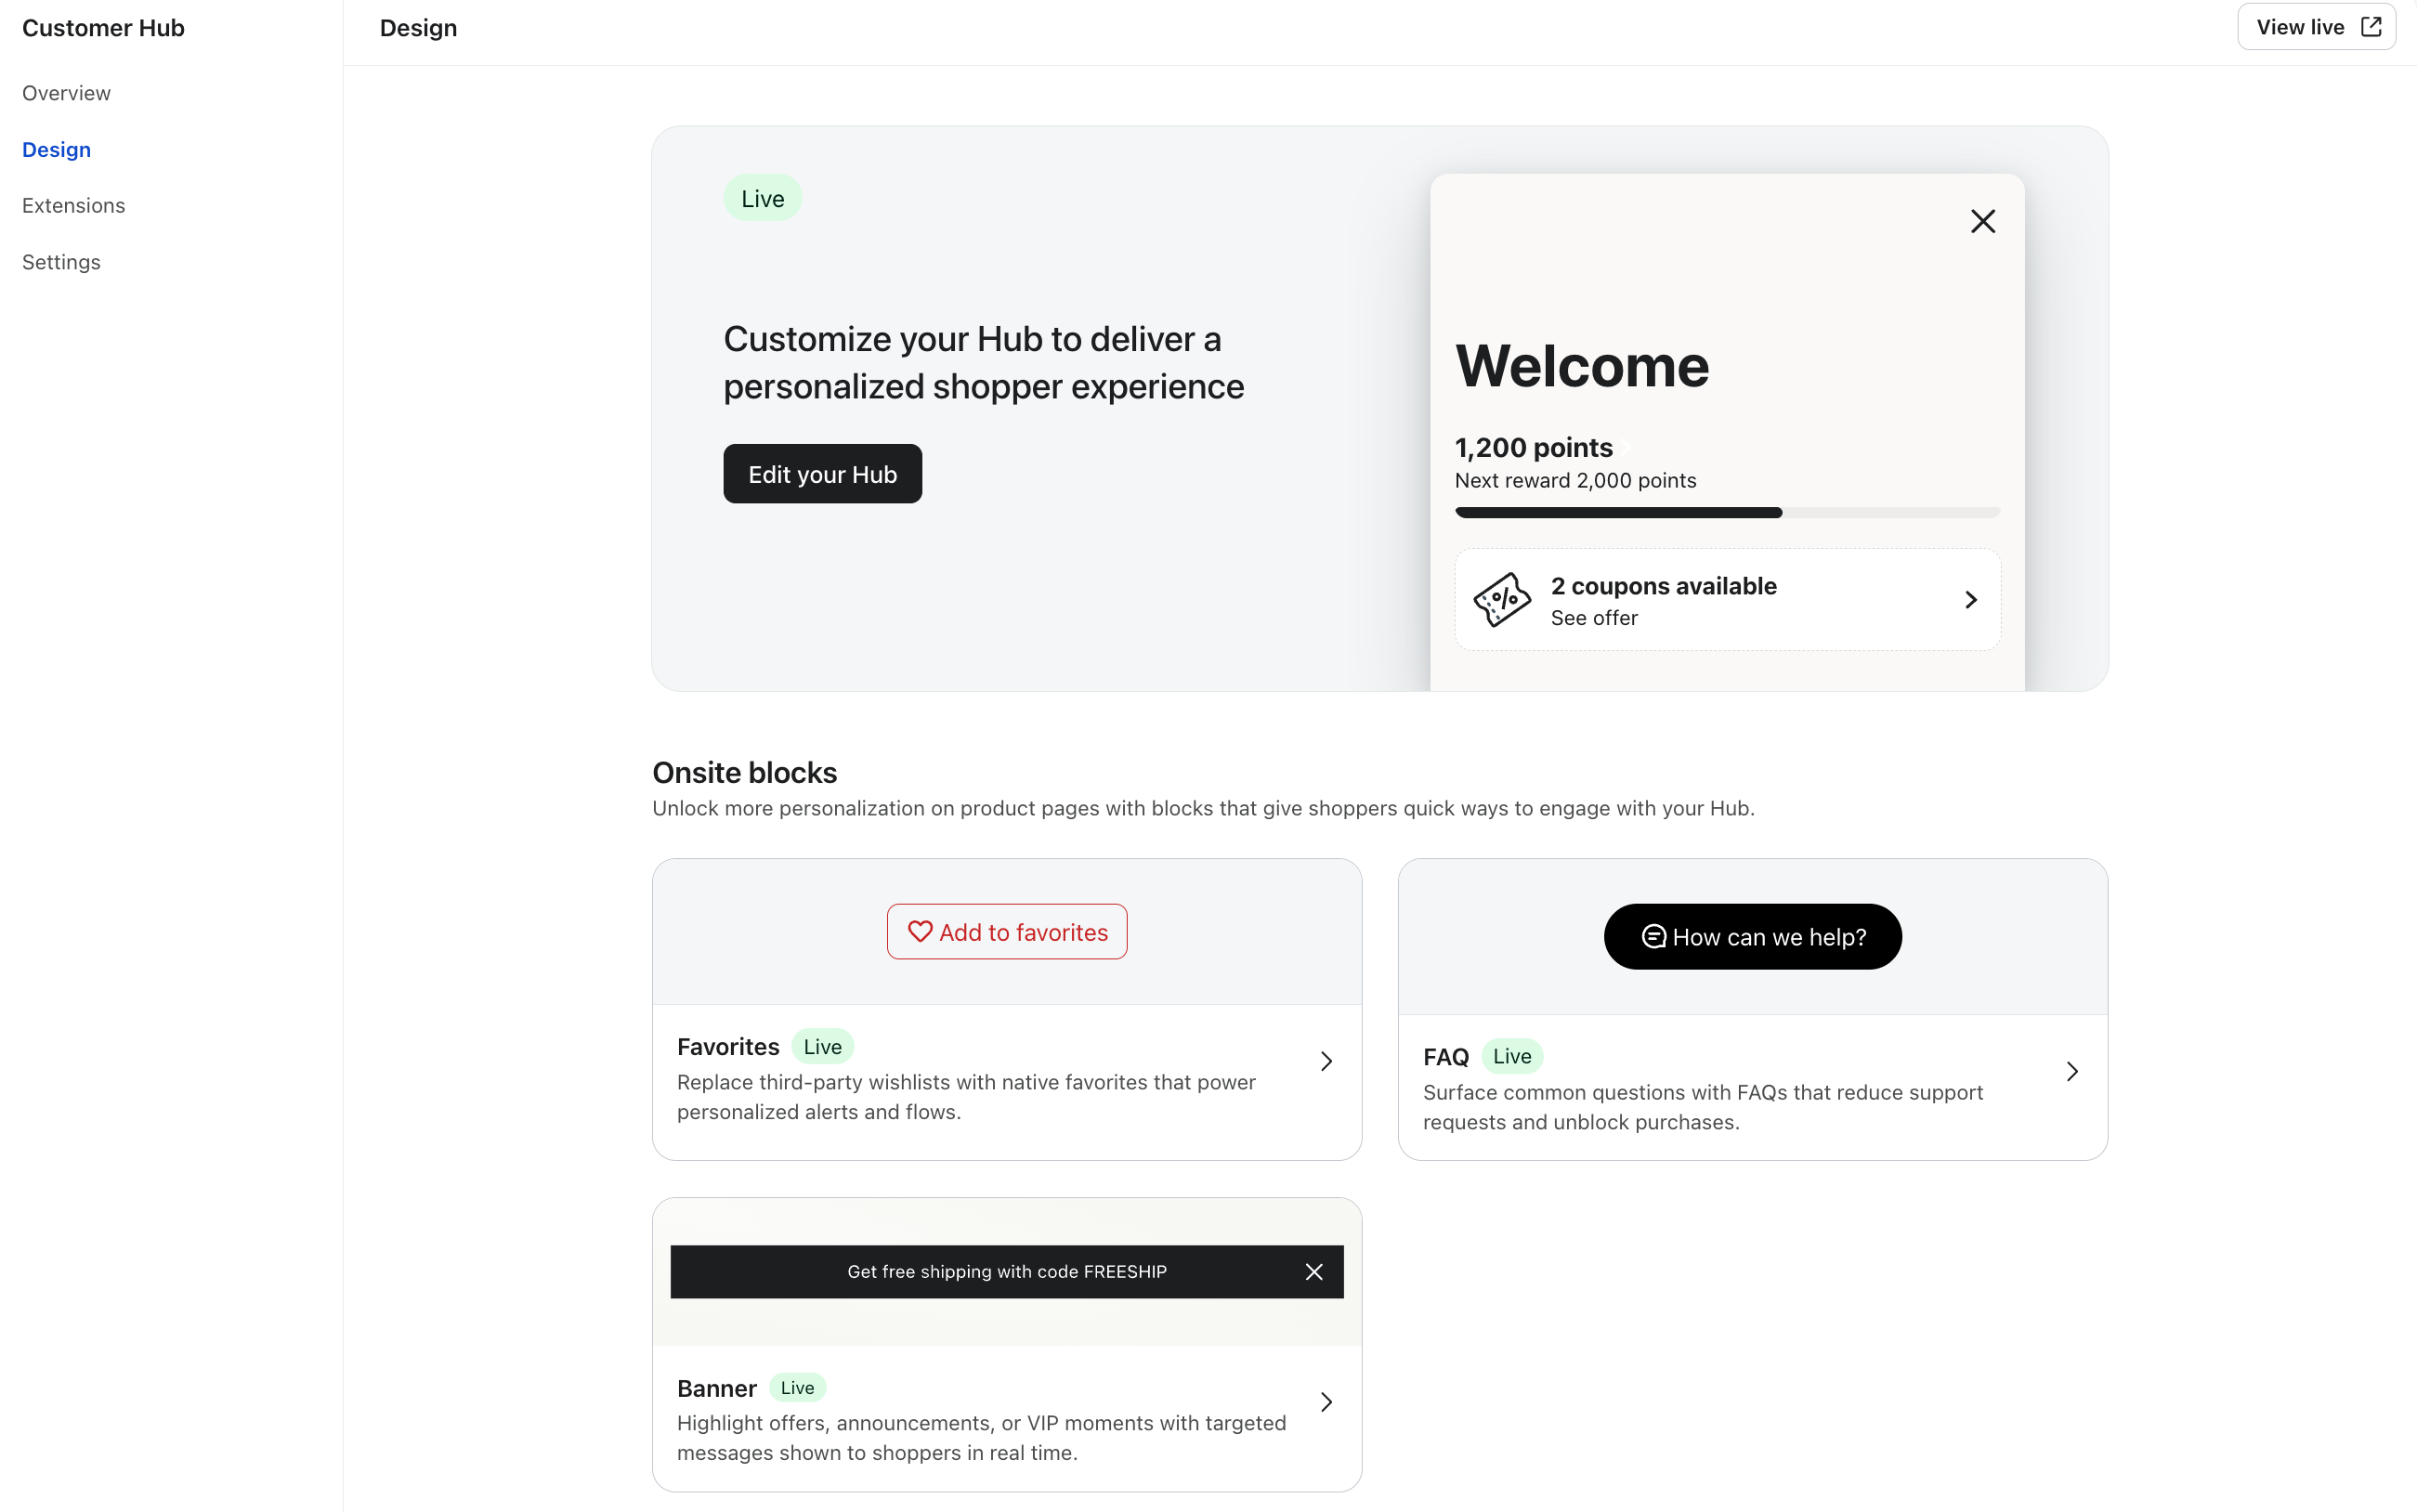
- Navigate to the Customer Hub (or Onsite) tab in your Klaviyo account.
- Select Create Banner.
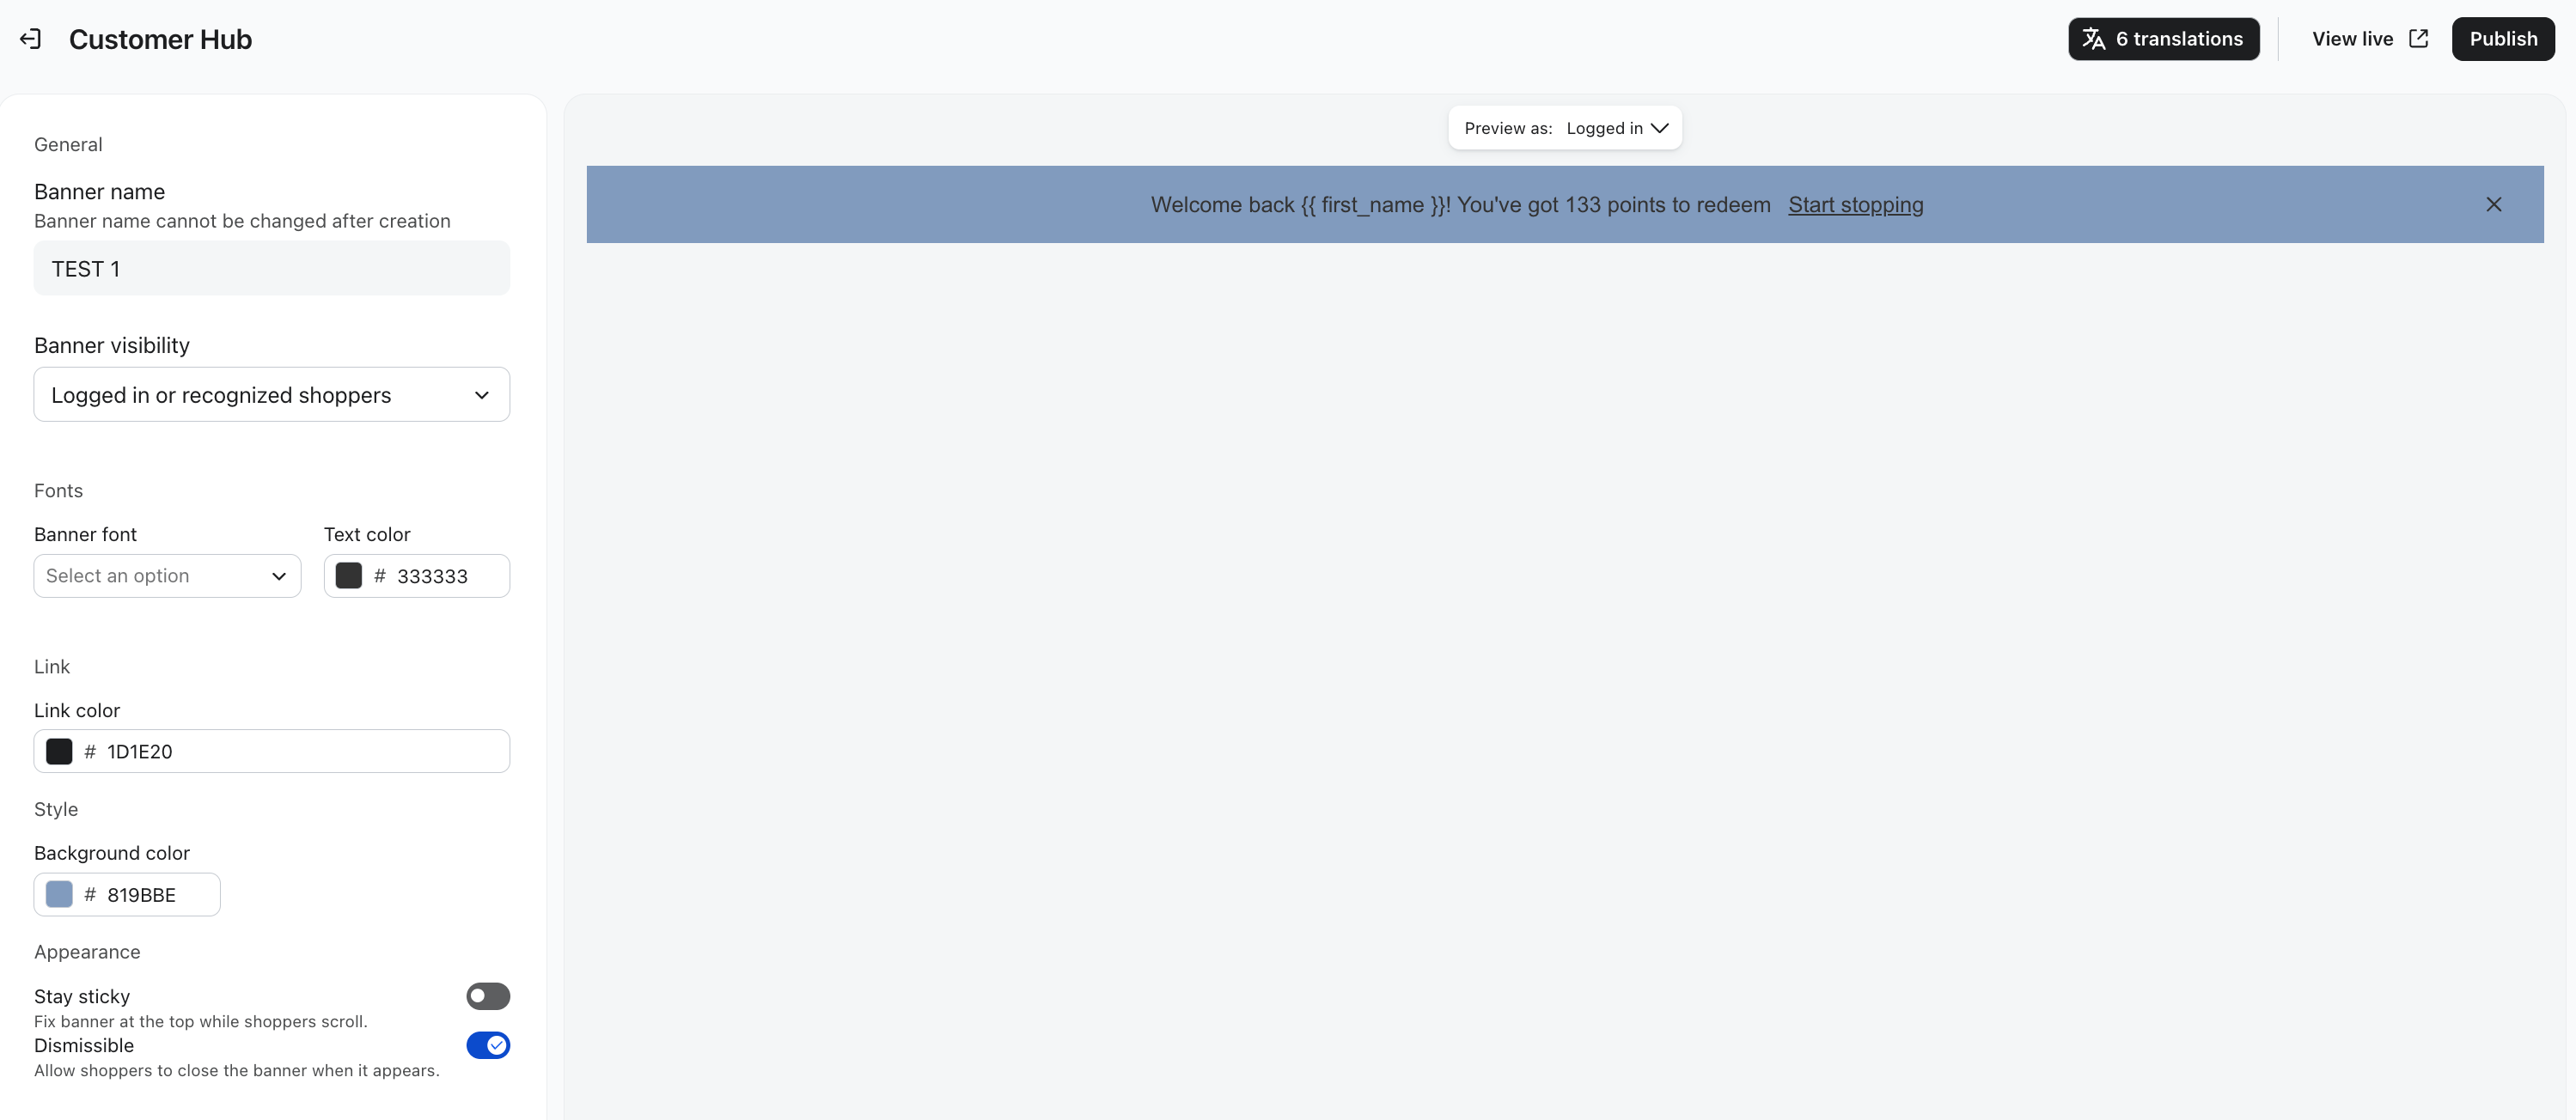
- Under the Content section, input your messaging:
- Body text: The main message of your banner. You can include profile variables (like first name or point balance) to personalize the greeting.
- CTA text: The text for your call-to-action (optional).
- CTA type: Choose whether the Whole banner is clickable or just the CTA link.
- CTA link: The destination URL where users will be directed when they click.
- Under the Styles section, customize the look and feel to match your brand:
- Background color
- Text font & color
- CTA link color (By default, this will be the same as your text color, but underlined).
Configure settings and targeting
Once your banner looks the way you want it to, you need to define how it behaves and who will see it.
- In your banner editor, navigate to the Settings panel.
- Configure your display rules:
- Stickiness: Toggle this ON if you want the banner to stay pinned to the top of the screen as the user scrolls. (This is toggled OFF by default).
- Dismissal: Toggle this ON if you want users to be able to "X" out of the banner. (This is toggled ON by default).
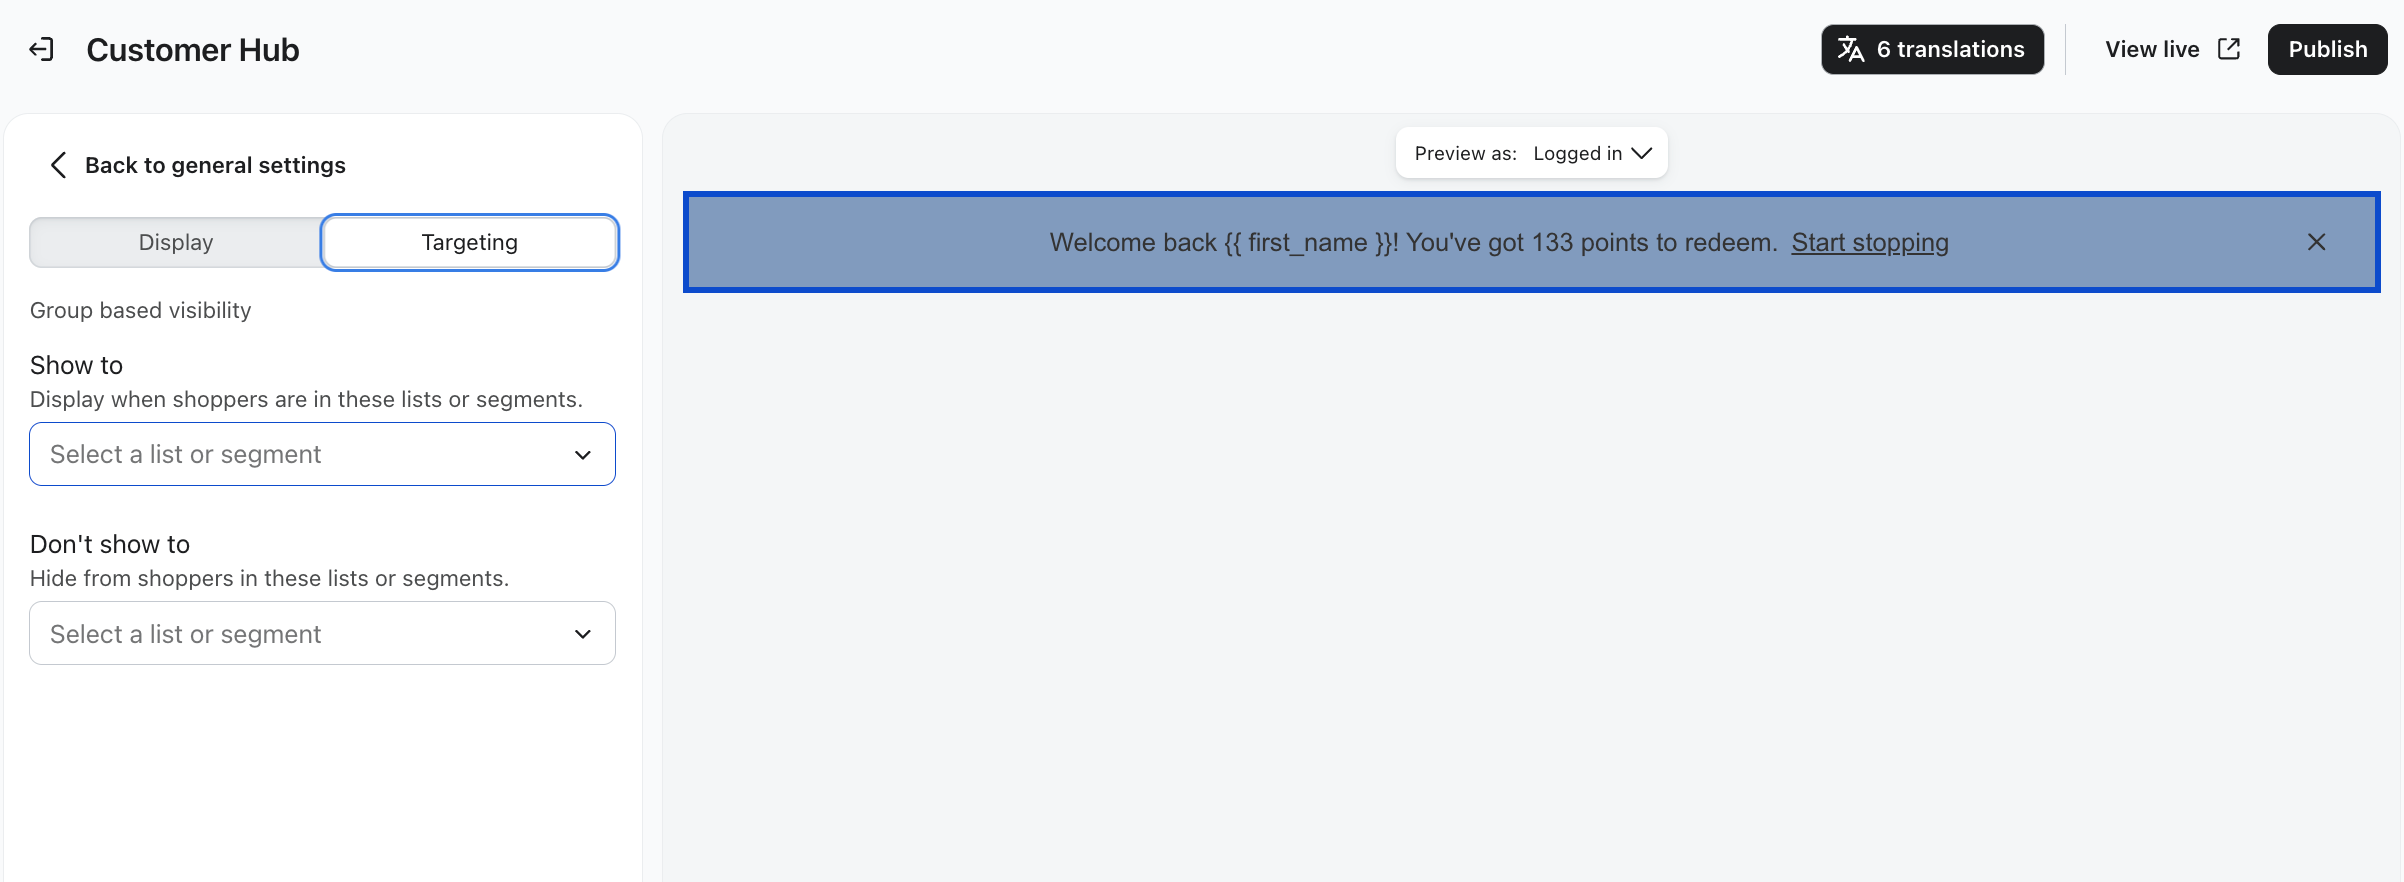
- Under Targeting, select the specific audiences who should see this banner. You can target based on:
- Specific Klaviyo Segments.
- Visitor state (Anonymous vs. Identified / Logged-in).
- Personalization tags are only compatible with logged in and/or recognized shoppers.
- Click Publish to set your banner live.
Content

Targeting
The onsite experience
Once published, your banner will load at the top of your website for visitors who meet your targeting criteria. There may be a slight delay from when you publish your banner and when it will appear on your website.
If you enabled the dismissal setting, visitors can close the banner. Klaviyo will persist this dismissal state per user and browser, ensuring they aren't repeatedly shown a banner they have already closed.