Getting started with Landing Pages
You will learn
Learn how to create and customize landing pages in Klaviyo so you can share a dedicated, hosted page in your campaigns, collect email and phone number subscribers, and measure performance.
You will:
- Confirm that landing pages are available in your account
- Set a goal for your landing page
- Create a landing page from scratch
- Design the page and form
- Publish your landing page and share its URL
- View basic performance (views, submits, submit rate)
Before you begin
Before you create a landing page:
- If you plan to collect subscribers, choose an email or SMS list for them to join. You can create the page before choosing a list.
- (Optional) Set up a custom hosted pages domain if you want landing pages on your own domain (for example, pages.yourbrand.com) rather than a Klaviyo domain.
Adding links and using redirects on landing pages requires a paid account if your account was created after March 5, 2026. Older free accounts can also use these features.
Best practices for landing pages
If you are not sure where to start, use landing pages for:
- Campaign‐specific list growth – send ad or social traffic to a landing page that collects email and SMS.
- Launches and promotions – create a page that explains the offer and includes a form and optional coupon.
- Waitlists – collect email plus 1 or 2 key preferences for upcoming products.
Set a goal for your landing page
Before building, decide what you want this landing page to achieve. For example:
- Grow your email and SMS/WhatsApp lists from paid traffic
- Convert social followers into subscribers
- Collect interest for a product waitlist
- Capture answers to a short questionnaire alongside an opt‐in
Once you choose a goal, you are ready to create the page.
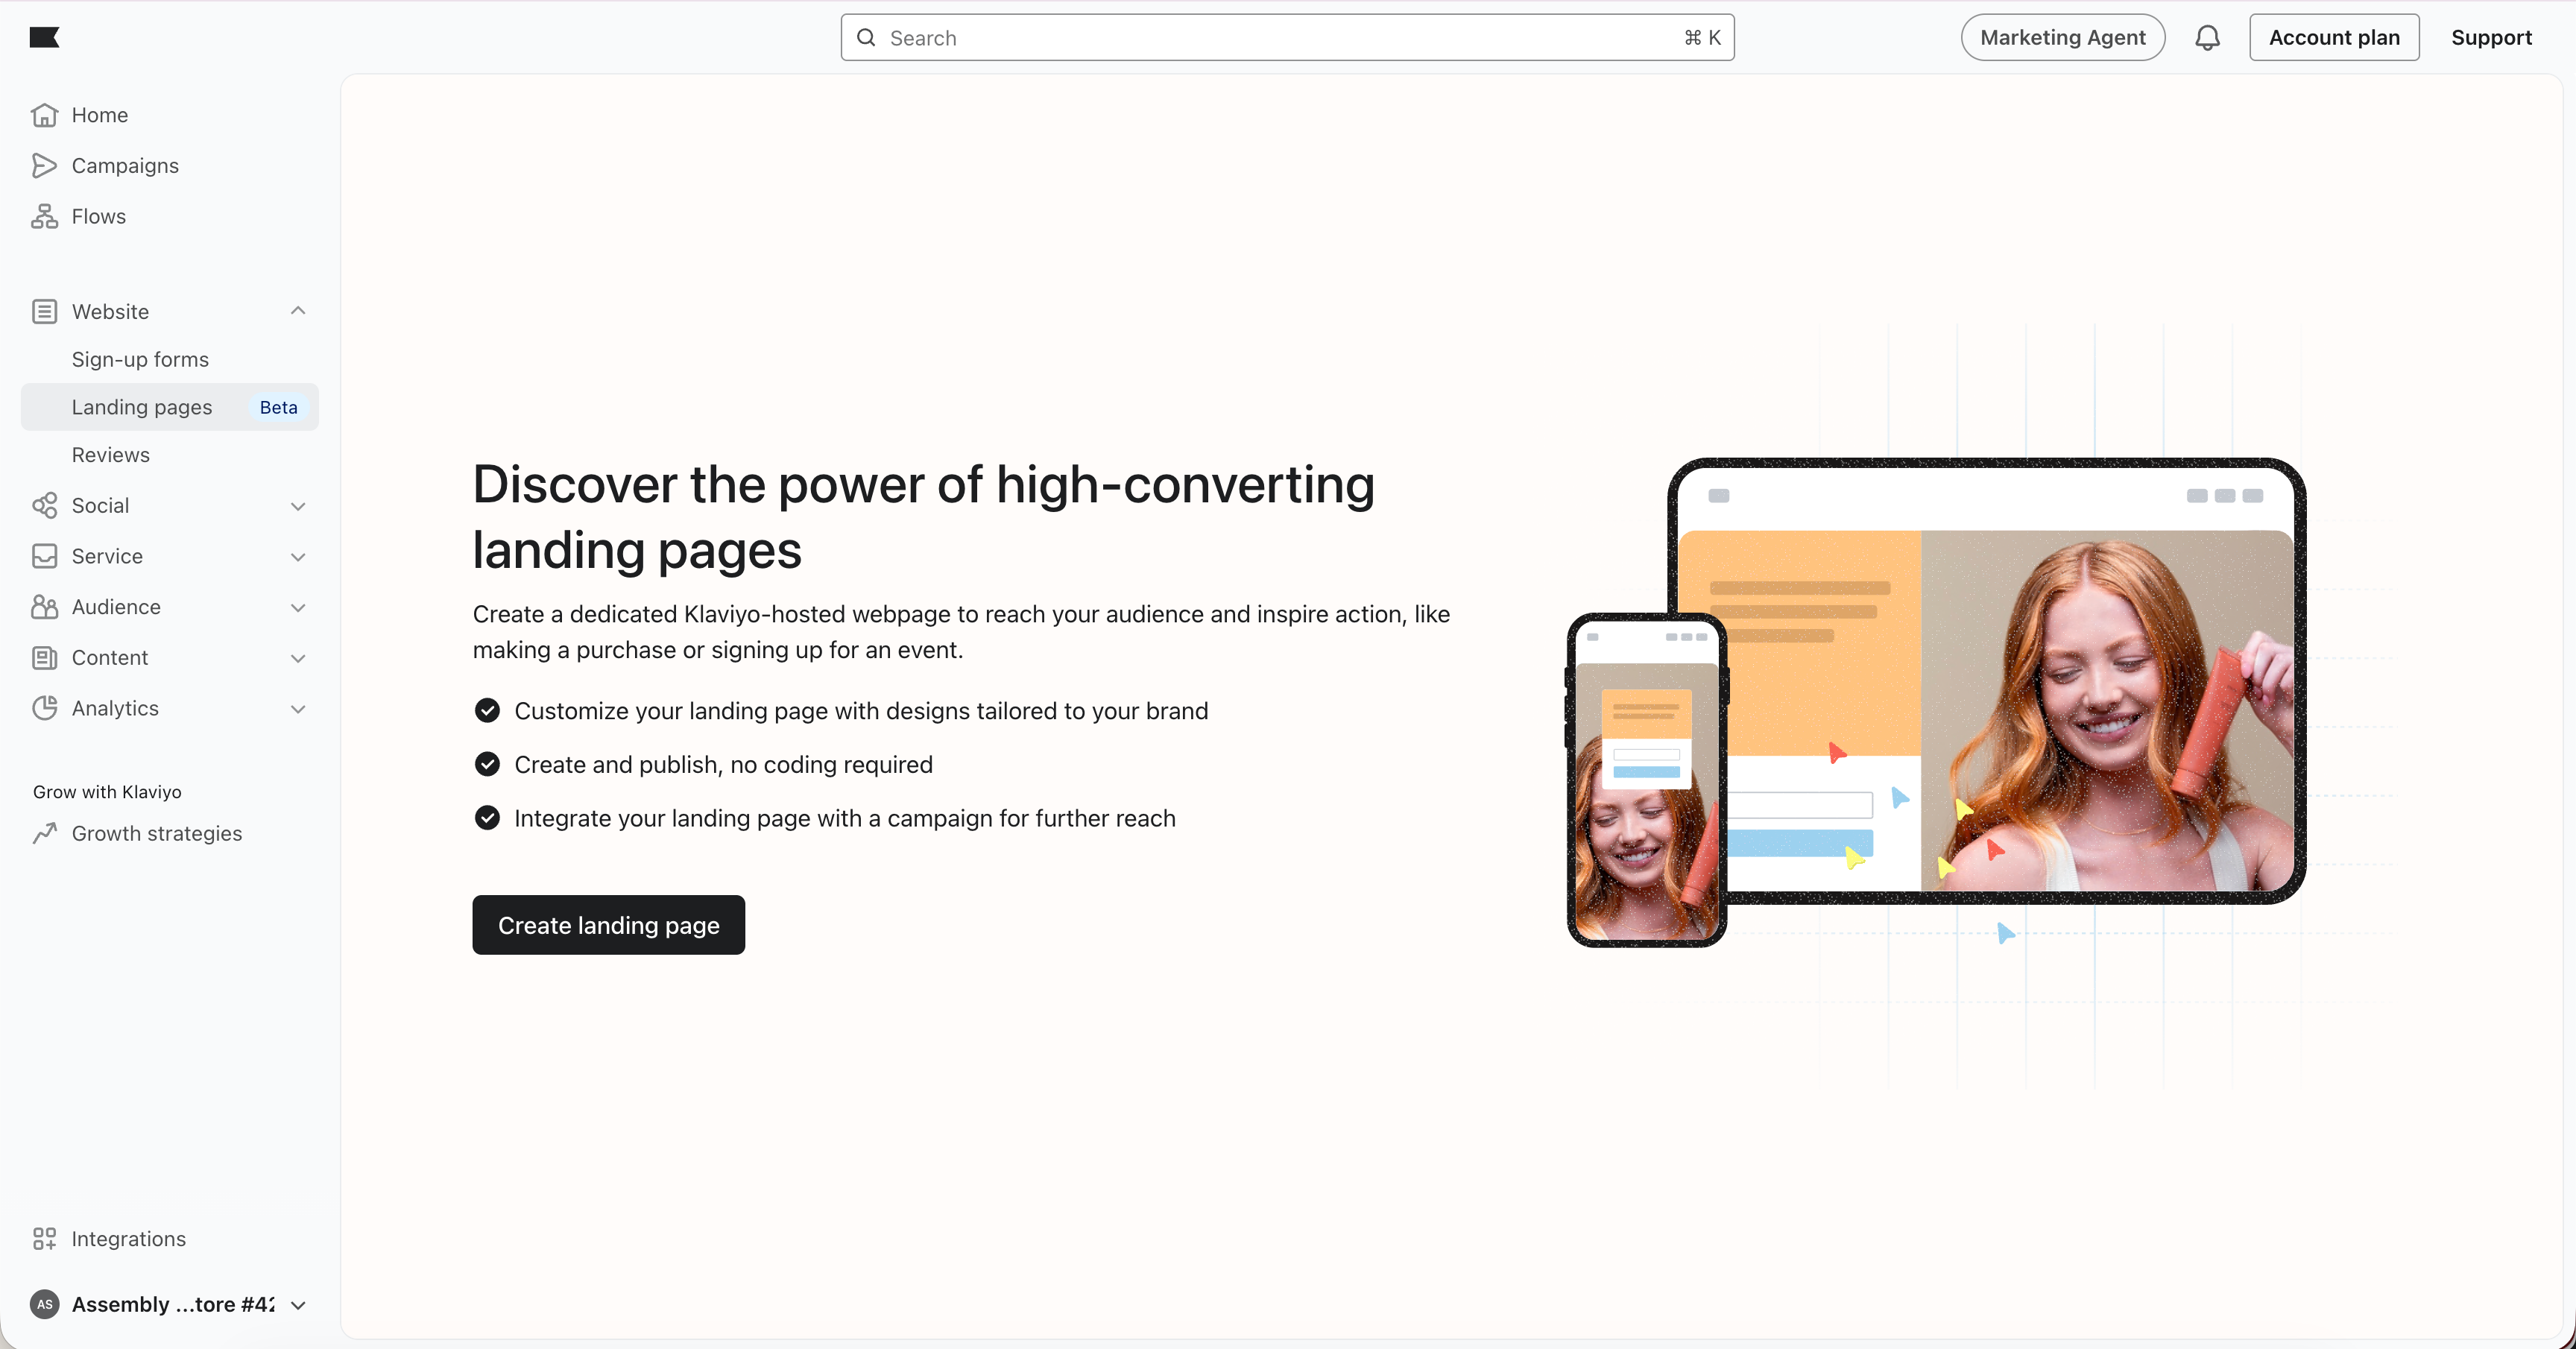
Create a basic landing page
To create a new landing page:
- In Klaviyo, go to Website.
- Select Landing pages.
- Click Create landing page.
In the Create landing page panel:
- Enter a Landing page name (internal only).
- Enter a Landing page title (shown in the browser tab and used for search).
- Under Subscriber list (optional), choose the list that new subscribers should join when they submit the form. You can change the list in the editor.
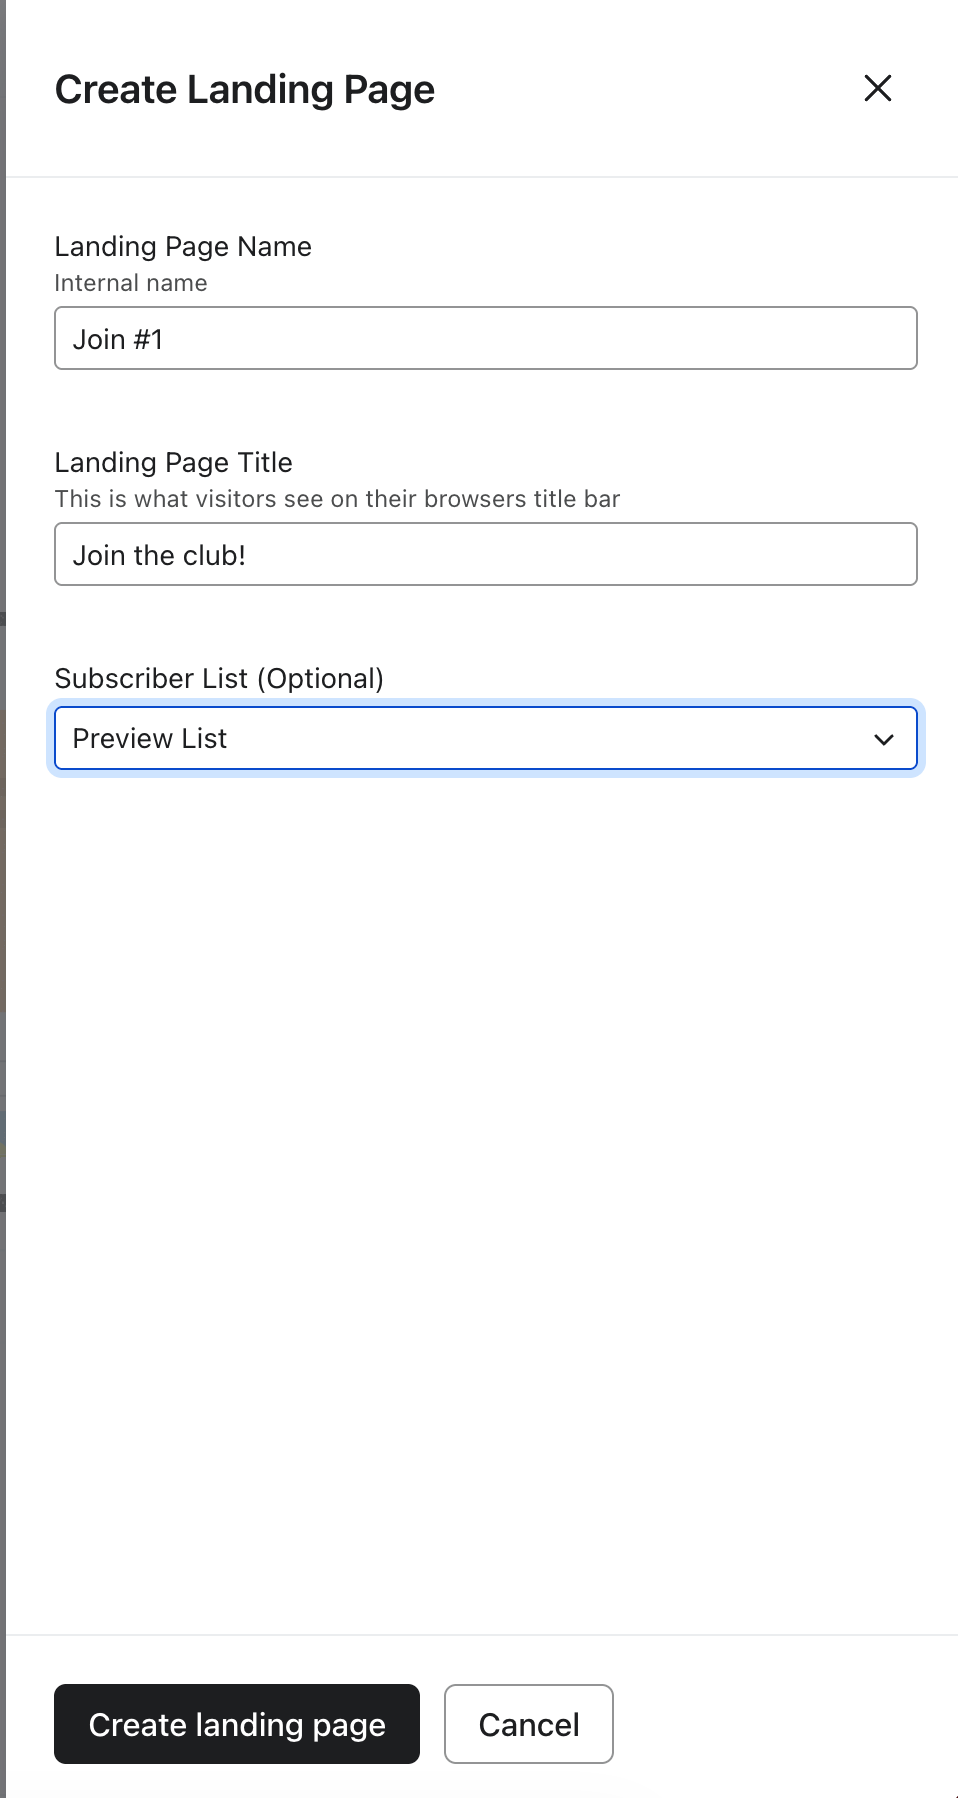
Click Create landing page to open the landing page editor.
Design your landing page
You design both the page and the embedded form in a tailored version of the form editor.
- Select Add content and drag the text, images, buttons, or input fields you need onto the page. Click a block to edit its content and settings.
- Use Edit styles to adjust the page’s colors, fonts, and layout.
- If you are collecting subscribers through input fields, click the form’s submit button and choose the intended list under List to Submit. Check this setting on each step that submits to a list.
If you plan to ask for multiple pieces of information (for example, email, phone, and preferences), create a multi‐step form by adding an extra step. Multi‐step forms prevent visitors from seeing too many fields at once. Learn more about form blocks and fields.
On landing pages:
- The form is always embedded in the page.
- Pop‐ups, teasers, timing rules, frequency rules, and on‐site behavioral targeting are not used. People reach the page directly via its URL.
Share your landing page
When your page and form are ready:
- Resolve any blocking form alerts, then click Publish.
- In Share your landing page, click Copy to copy the URL. You can also return to Website > Landing pages and choose Actions > Copy link for the page.
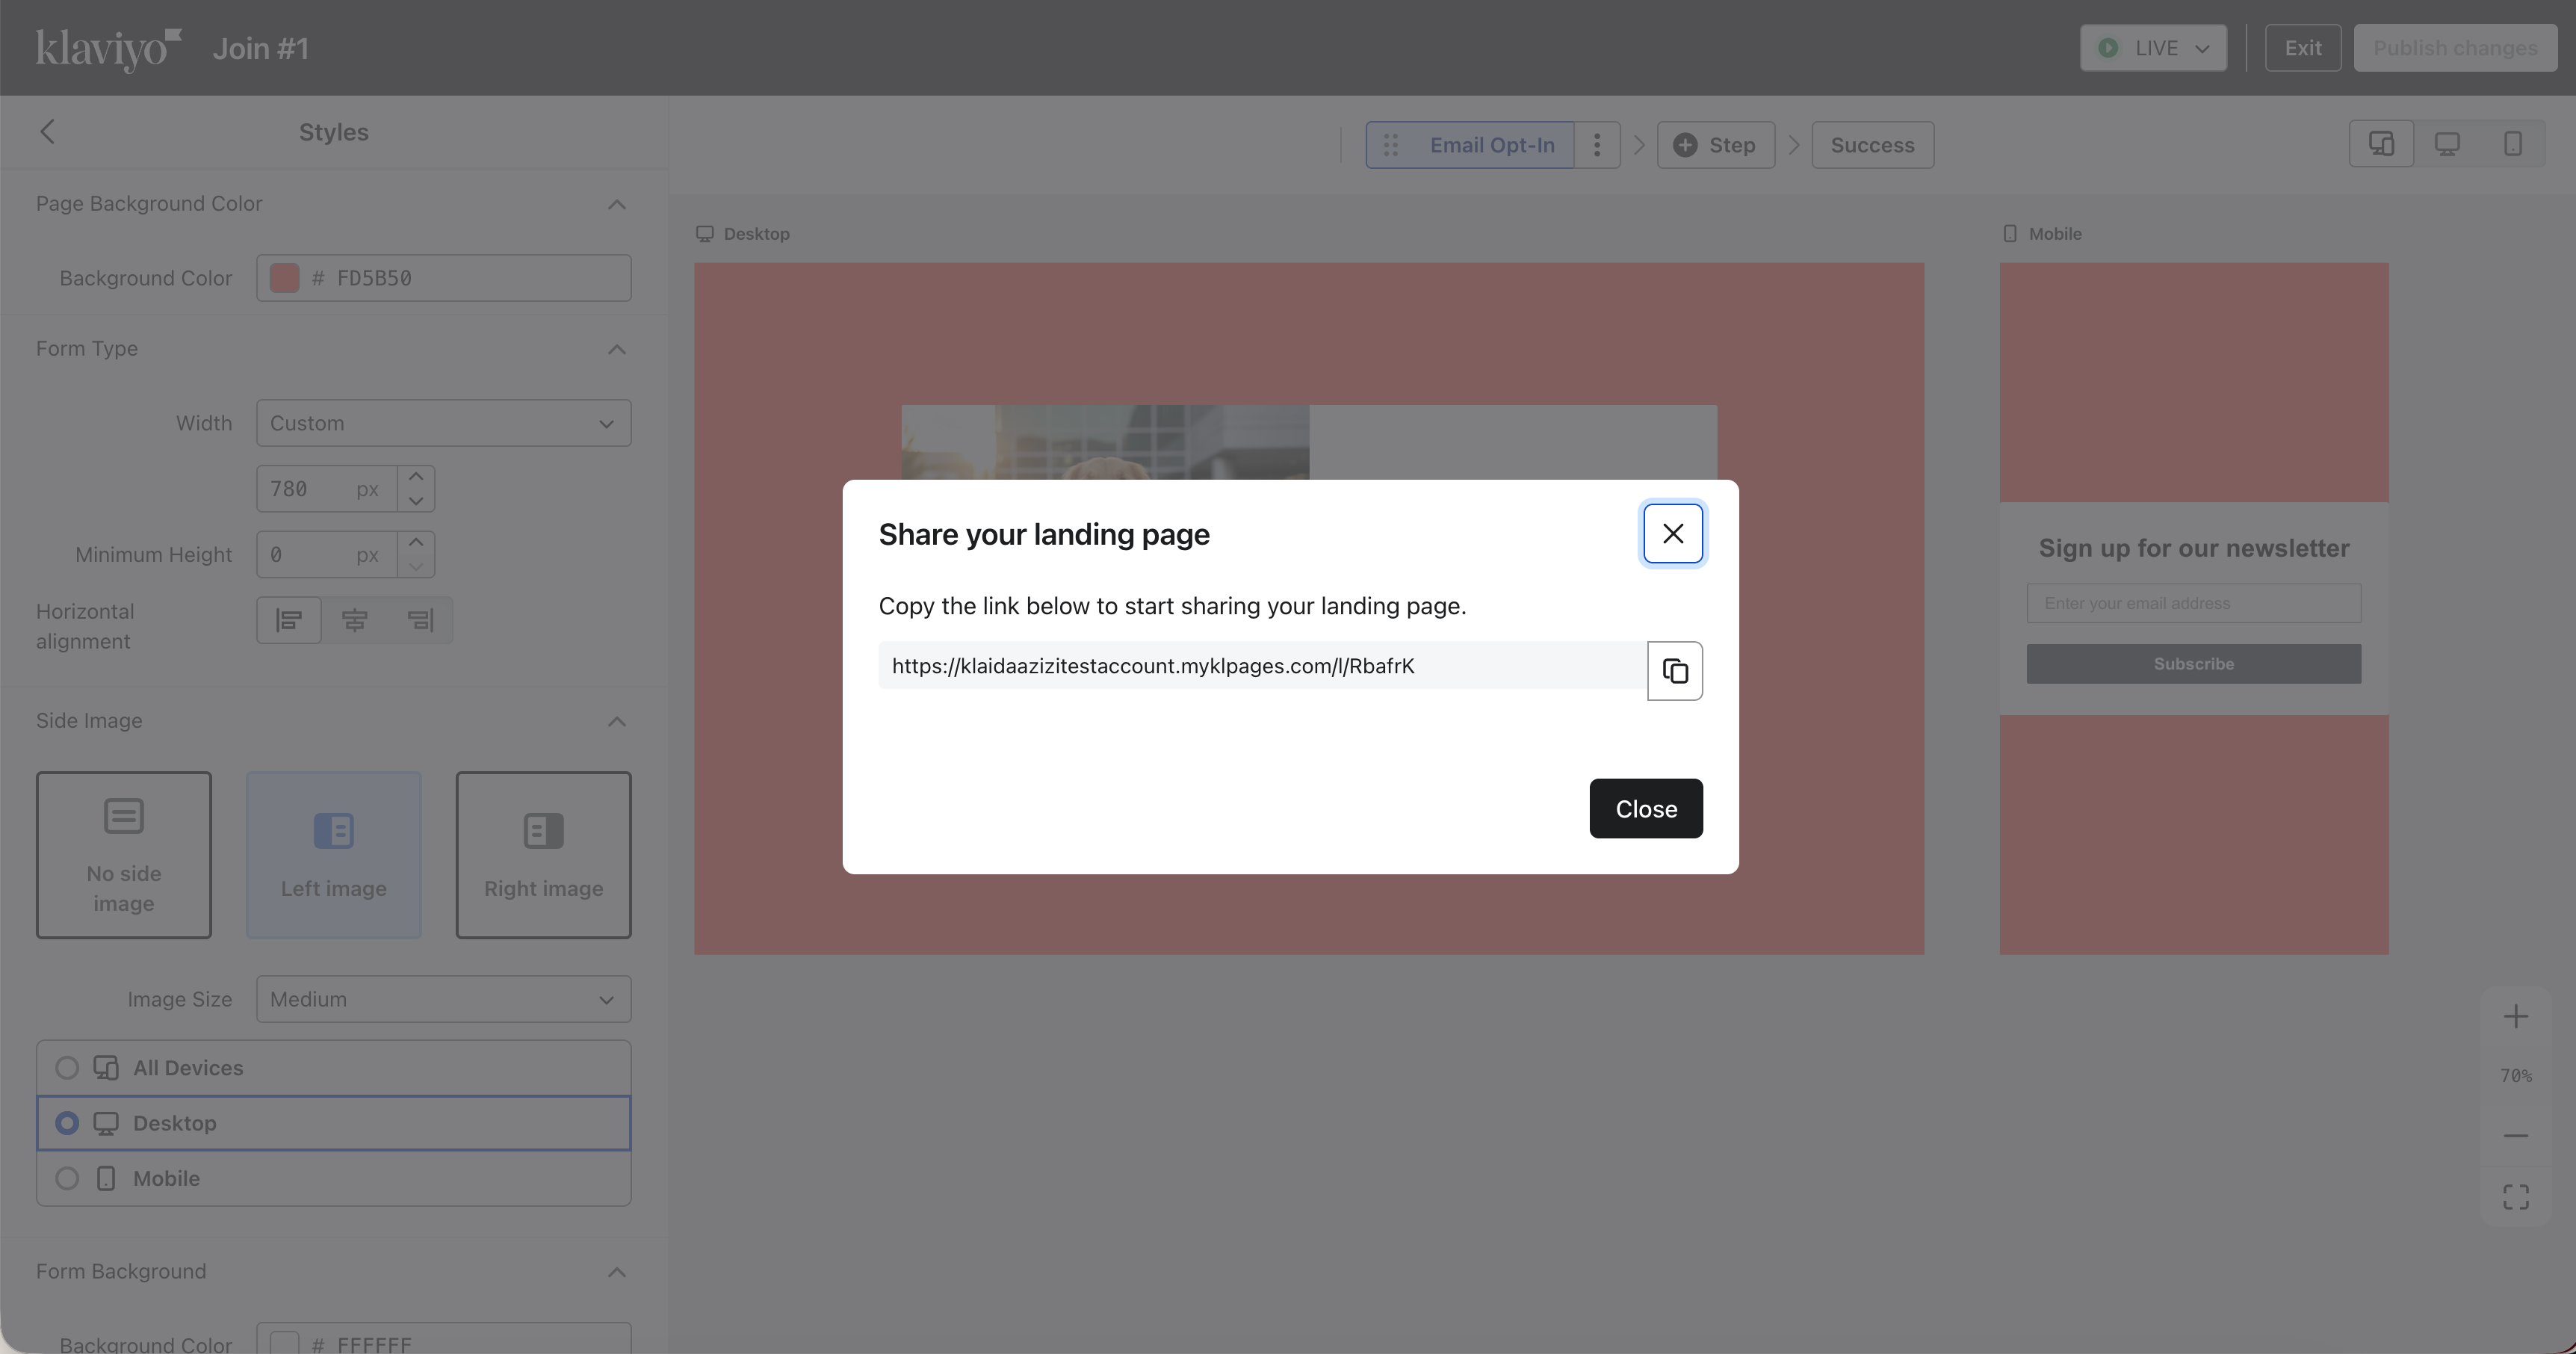
URL format
By default, your landing page uses a Klaviyo‐managed domain such as:
- company_name.myklpages.com/l/random_id
If you have a custom hosted pages domain, that domain will be used instead.
Share the landing page URL in:
- Email, SMS, and WhatsApp campaigns
- Paid ads
- Social posts
- QR codes or other off‐site placements
UTM parameters
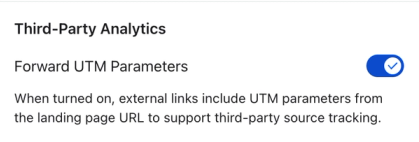
When someone visits your landing page with UTM parameters in the URL (for example, ?utm_source=facebook&utm_campaign=spring_launch), Klaviyo:
- Captures those UTM values for landing page analytics
- By default, forwards the same UTM parameters to any “Go to URL” buttons
This means that when a visitor clicks a button on your landing page (for example, a “Shop now” button on the success step), the destination URL also includes the original UTM parameters so your third‐party analytics tools can attribute the visit correctly. If a destination URL already has a value for the same UTM parameter, the landing page’s value replaces it.
To stop forwarding UTM parameters, open Settings in the landing page editor and turn off Forward UTM Parameters under Third-Party Analytics. For a live page, click Publish changes to apply the change. When this setting is off, Klaviyo will not append UTM parameters to your button URLs unless you add them yourself.
View performance
In the landing pages list view, you see metrics for the last 30 days:
- Views – number of page views
- Submitted – number of times visitors submit the form or click a Go to URL button. This is not a count of new subscribers.
- Submit rate – Submitted divided by Views
From the Actions menu, you can:
- Edit the landing page
- View its analytics
- Clone it
- Rename it
- Copy the link
- Delete it
The analytics view shows:
- A traffic source table, using UTM parameters on the URL
- Multi‐step form analytics, similar to sign‐up form analytics
Troubleshooting
Unpublishing a landing page
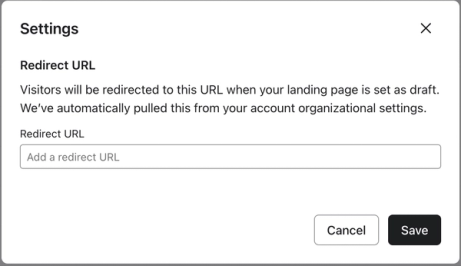
When you unpublish or delete a landing page, visitors are redirected to your custom redirect URL, or to the website URL in your account if no custom URL is set. If neither URL is set, visitors see a 404 Not Found page. Free accounts created after March 5, 2026 cannot redirect visitors, so visitors see a 404 page instead.
To set the redirect for your account’s landing pages, go to Website > Landing pages, click Settings, enter a Redirect URL, and click Save. This setting is available for accounts that can use redirects.
To unpublish a live page, open it in the editor, change its status from Live to Draft, then click Set to draft in the confirmation dialog.
Next steps
After your landing page is live, you can:
- Test different offers, copy, or layouts by cloning a landing page and comparing performance over time.
- Use the landing page URL in campaigns, flows, and ads to drive traffic.
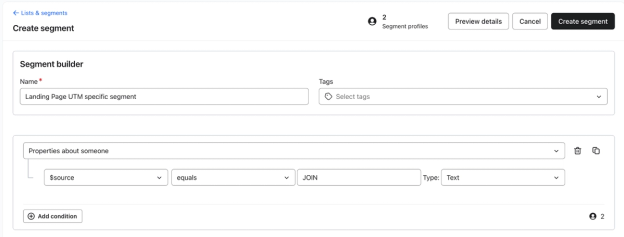
- Once your page receives a submission, build segments or metric-triggered flows for people who submitted it. Use Form submitted by profile and filter by landing_page_id, using the ID at the end of the landing page URL. Add the appropriate marketing consent condition when you want to target subscribers.
Additional resources
- Getting started with sign-up forms
Learn how to create and customize sign-up forms in Klaviyo to publish on your website so you can engage shoppers, collect emails and phone numbers, and build long-lasting customer relationships.
- Understanding form blocks and fields
Learn how to use various content blocks from the form editor (i.e., elements and input fields) in your sign-up form to customize its appearance and the type of information you collect from subscribers.
- How to segment for form results
Learn how to create segments to see who submits your Klaviyo forms and how they responded. By creating and analyzing the right segments, you can glean information about who enters your account through Klaviyo forms. This information will show you which forms work best for your audience, and allow you to analyze customer behavior and properties over time.