How to update your Zendesk integration
Learn how to update your Zendesk integration, if you integrated Klaviyo and Zendesk before Klaviyo introduced OAuth for Zendesk and support for multiple Zendesk brands. It is important to update to gain the benefits of the new integration, and only our new integration will be updated going forward.
On April 23, 2025, Klaviyo released OAuth for Zendesk and support for multi-brand Zendesk accounts. Connecting Zendesk and Klaviyo via OAuth provides a more secure authentication experience. You can now sync tickets from specified Zendesk brands to Klaviyo, and create tickets in Zendesk from inbound SMS messages under a specific Zendesk brand.
If you have more than one brand set up under a Zendesk Enterprise account, syncing one Zendesk brand per Klaviyo account makes it easy to use your ticket data and organize your SMS conversations.
Below, we’ll detail how to remove older Zendesk profiles from Klaviyo and update your integration.
Looking to integrate for the first time? Head to Getting started with Zendesk.
Before you begin
Please note that when you update your Zendesk integration, historical data previously synced through the integration will remain in your account, unless you choose to manually remove Klaviyo profiles.
Update your Zendesk integration
To update your Zendesk integration to the new version:
- In Klaviyo, select the Integrations tab.
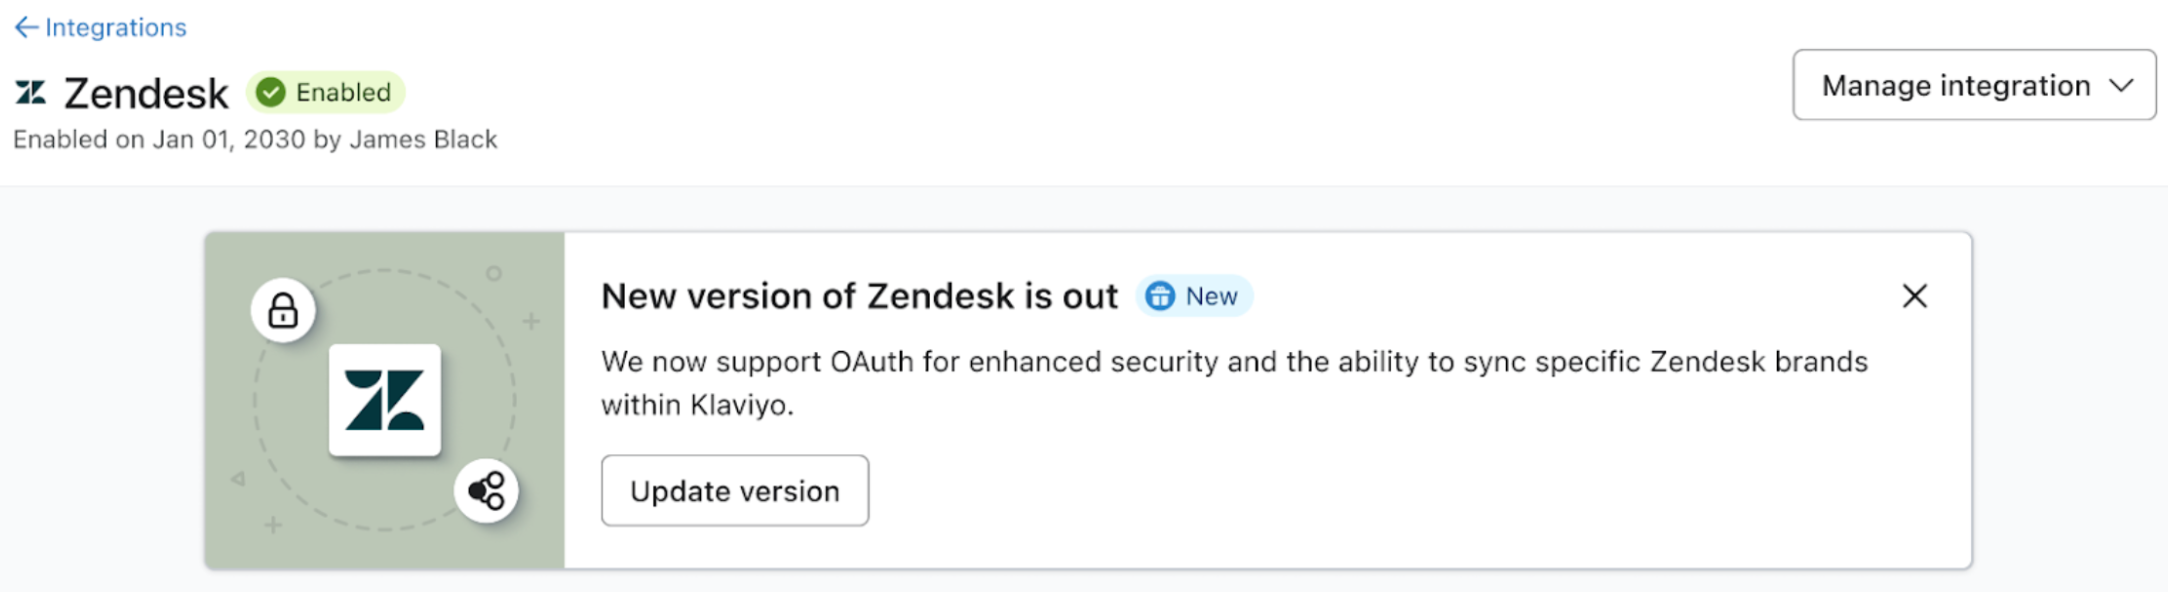
- Select Zendesk from the list of enabled integrations.
- On the next page, click Update version.
- Log in to Zendesk if needed.
- Review the permissions and approve them. You’ll then be brought back to Klaviyo.
- Under Tickets, choose whether you want to sync Zendesk Opened and Resolved ticket metrics from all brands, or specific brands. If you select Specific brands, you’ll be prompted to choose the brands you’d like from a dropdown.
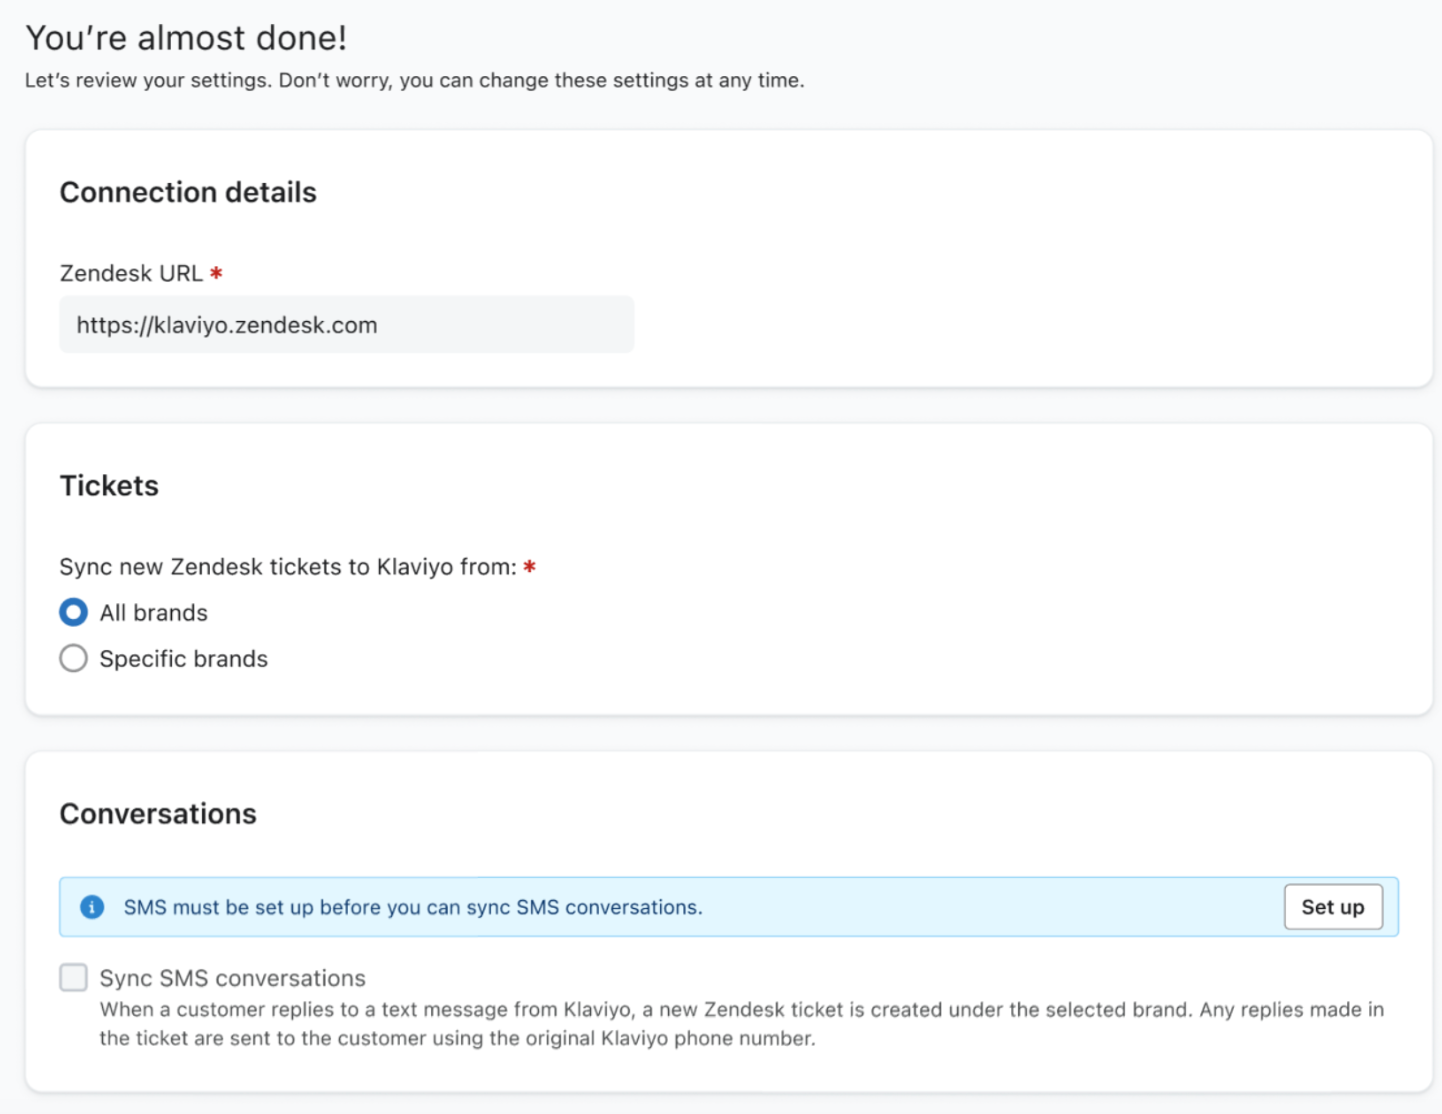
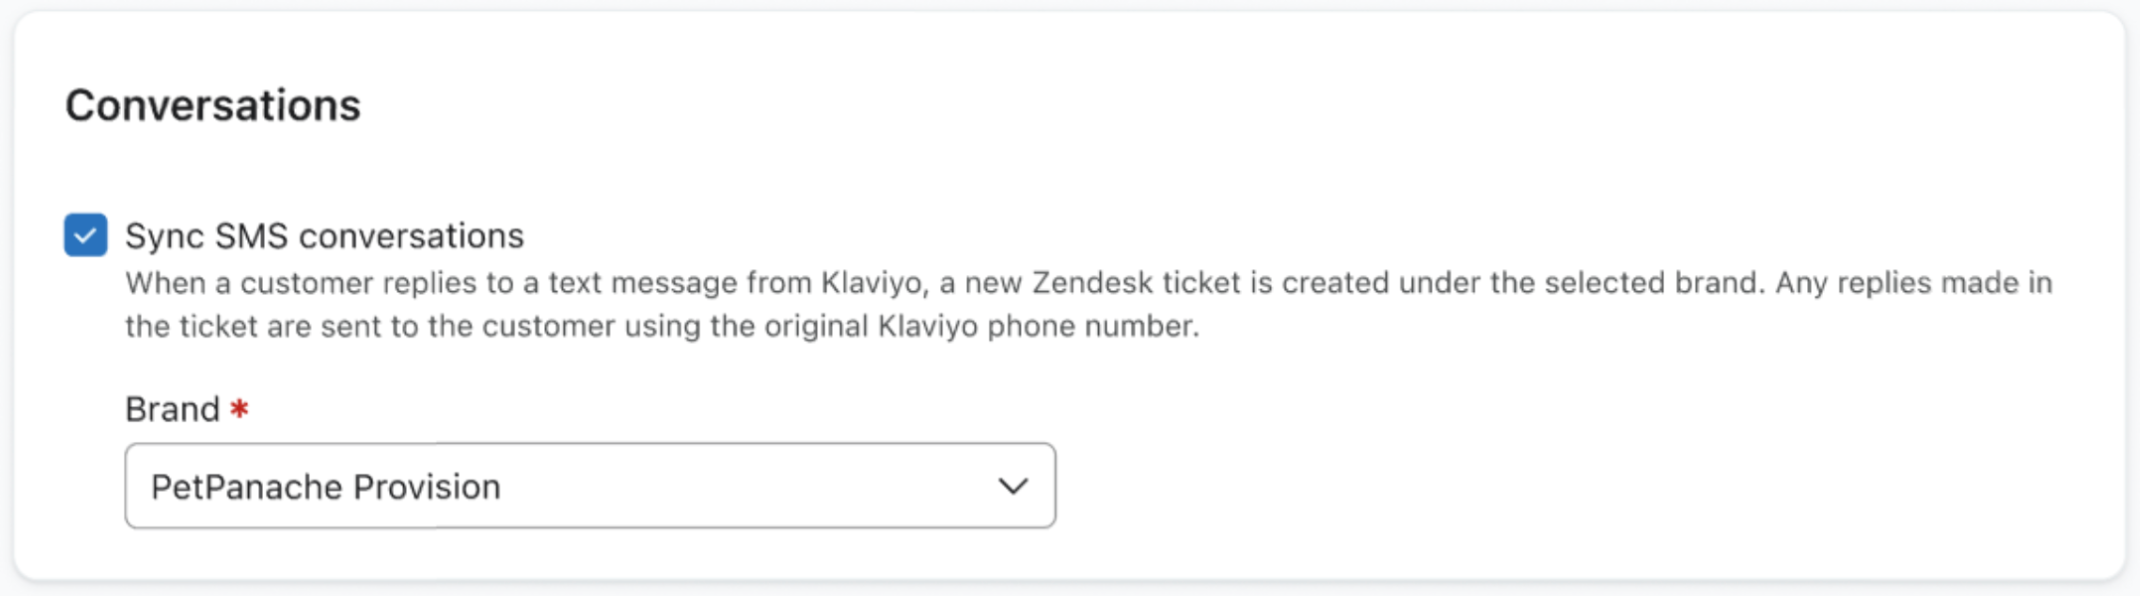
- If you want to reply to inbound SMS messages via Zendesk, check the box next to Sync SMS conversations. If you’d like these inbound messages to create Zendesk tickets under a specific brand, select the brand from the dropdown.
- When you’re done, click Complete setup.
Additional resources
- Getting started with Zendesk
Learn how to integrate Zendesk with Klaviyo in order to improve your support experience for customers. This integration allows you to:
- Guide to Klaviyo Helpdesk
Learn about Klaviyo Helpdesk, which helps you manage support conversations across all channels, powered by the data you already have in Klaviyo.