Understanding account notifications and updates in Klaviyo
You will learn
Learn about how Klaviyo notifies you about significant changes in your account. Notifications may be delivered in 1 of 2 formats:
- Email updates
- In-app notifications
These notifications may relate to various topics, including:
- New feature releases
- Errors with integrations
- Failed payments
- General account updates or alerts
Email updates
The account Owner may receive email alerts from Klaviyo regarding important updates or account alerts.
To ensure you receive these notifications, maintain accurate contact information and regularly check your inbox.
The main categories of email updates (with examples) are as follows:
- Deliverability
Alerts you about a high bounce rate or a cancelled campaign. These alerts are only sent for bounces due to content or reputation issues, and the bounce rate must be at least 25% for a specific inbox provider. - Billing
Sent when you reach 95% of your account sending limit (in a free plan), or if a payment fails. Note that the account Owner or Admin can update who receives billing notifications. - Integrations
Provides updates when you successfully integrate your website or when an integration fails. - Lists & segments
Informs you when a list import is successful. - Conversations
If SMS email notifications are enabled, you can receive an email when a subscriber texts your SMS sending number without a recognized keyword. Blocked conversations do not trigger these emails. Learn how to change your SMS email notifications.
In-app notifications
In-app notifications offer important information about your account, including:
- Platform updates
- Access to Benchmarks report downloads
- Account updates
If you have access to multiple Klaviyo accounts, some in-app notifications, such as Benchmarks download notifications, can relate to another account. Notifications sent to all users of a particular account appear only when you are logged into that account.
Accessing in-app notifications
Click the bell icon to open Notifications. Look for the bell in the left sidebar or the header, depending on your layout. The badge shows your unread count, but the list includes both read and unread notifications, with the most recent first.
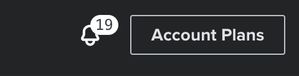
The badge shows 99+ when you have more than 99 unread notifications. Additional notifications are still available in the list.
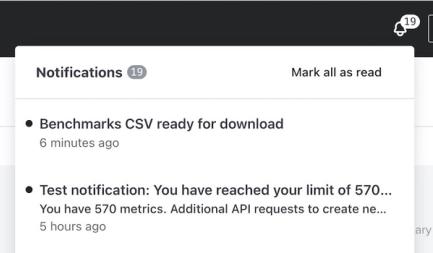
How to read individual notifications
- Click the bell icon to open your notifications list.
- Scroll through the notifications and click Load more, if shown, to see older messages. After you load the remaining messages, you'll see You've reached the end.
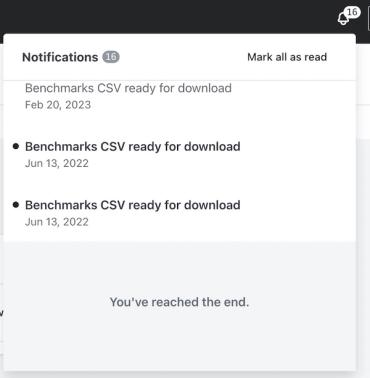
- Select a notification to expand it for more details. Each notification also includes the date of when it was generated. These details may relate to:
- How to adjust your account settings or other account information
- How to fix a specific error
- More information on a recent feature release
- Opening an unread notification marks it as read: the unread count decreases, its text is no longer bold, and its status circle disappears.
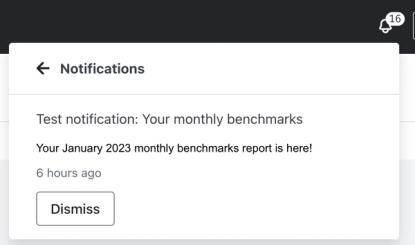
- Click the back arrow to return to the list and keep the notification available, or click Dismiss to remove the notification from your list and return to the remaining notifications.
How to mark all messages as read
To mark all messages as read at once while keeping them in your notifications list:
Read each notification and understand its details before marking all messages as read. Take any necessary action it describes.
- Click the bell icon to open your notifications list.
- Select Mark all as read.
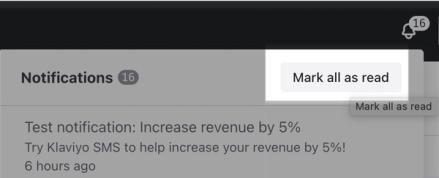
Once you have marked all your notifications as read, the unread badge disappears. The notifications remain in the list without bold text or status circles.
Additional resources
- User management and privileges reference for Static User Roles
Learn about the different Klaviyo user roles, their account permissions and access, as well as their potential restrictions inside the platform. Depending on your role, the view of Klaviyo may look different. For instance, Owners see different account setting options than Admins do.
- How to use the Klaviyo setup wizard
Learn how to configure your account using the Klaviyo setup wizard. This guide summarizes each step and assists you through the quick setup process.