Understanding push notification consent
You will learn
Learn about push notification consent and best practices for compliance. These guidelines can help you be compliant in your consent collection practices and maintain a positive relationship with your customers.
The information provided here is intended to be educational and should not be construed as legal advice. Klaviyo encourages all of our customers to seek legal advice from their counsel on how they specifically should comply with applicable privacy and marketing laws.
What counts as push notification consent
Before sending marketing push notifications to a profile, collect their explicit consent through clear opt-in language in your app.
For push notifications, consent is tracked per push token. A push token (also called a device token) identifies your app on a particular device. Your app must forward the token to Klaviyo, where it is stored on a profile along with its notification authorization status. A token alone does not establish explicit consent to marketing push notifications. A profile can have multiple push tokens. If someone consents to push notifications on both their phone and tablet, that profile will have 2 different push tokens, 1 for each device.
Further, consenting to push notifications on one device means you can only send push notifications to that device. It does not mean you can send push notifications to any other device, even if you know it's for the same profile.
Push notification consent is also collected separately from email and SMS consent. If you have consent for a different channel, that does not mean that you can send push notifications to that contact until they specifically opt in to receive push notifications.
Where to view a profile's push notification consent
- Open the profile you want to check and select the Details tab.
- In Channel consent, expand Mobile push notifications to view each token’s Platform, Token, Date, and Authorization.
Klaviyo displays Subscribed when at least 1 token is recorded as Authorized or Provisional. Provisional iOS authorization allows trial notifications without an explicit permission prompt.

What does it mean when there are multiple push tokens on a profile?
If a profile has multiple push tokens, they can represent multiple devices, such as an iPhone and an iPad. Check each token’s authorization status to see the notification permissions recorded for that device.
Multiple tokens can also belong to the same device. For example:
- A user uninstalls your app. The old token can remain on their Klaviyo profile.
- The user later reinstalls the app. If the push notification service issues a new token and your app forwards it to Klaviyo, both the old and new tokens can appear on the profile.
- When Klaviyo attempts to send to the old token, the push notification service can return an error indicating that the token is invalid.
- Klaviyo removes the invalid token from the profile.
Best practices for push notifications
Permission primer
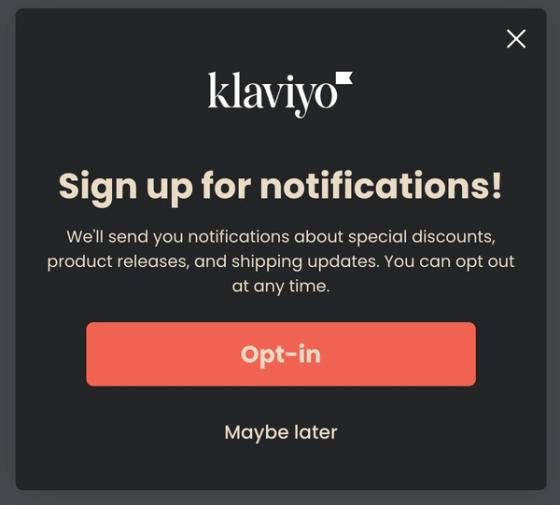
This permission primer (also known as an opt-in prompt) is an in-app message; it is not a form you design in Klaviyo.
A permission primer (also called a pre-permission prompt) is a screen in your app that tells customers what notifications you send and why they’re worth turning on. It appears right before the native iOS or Android permission prompt.
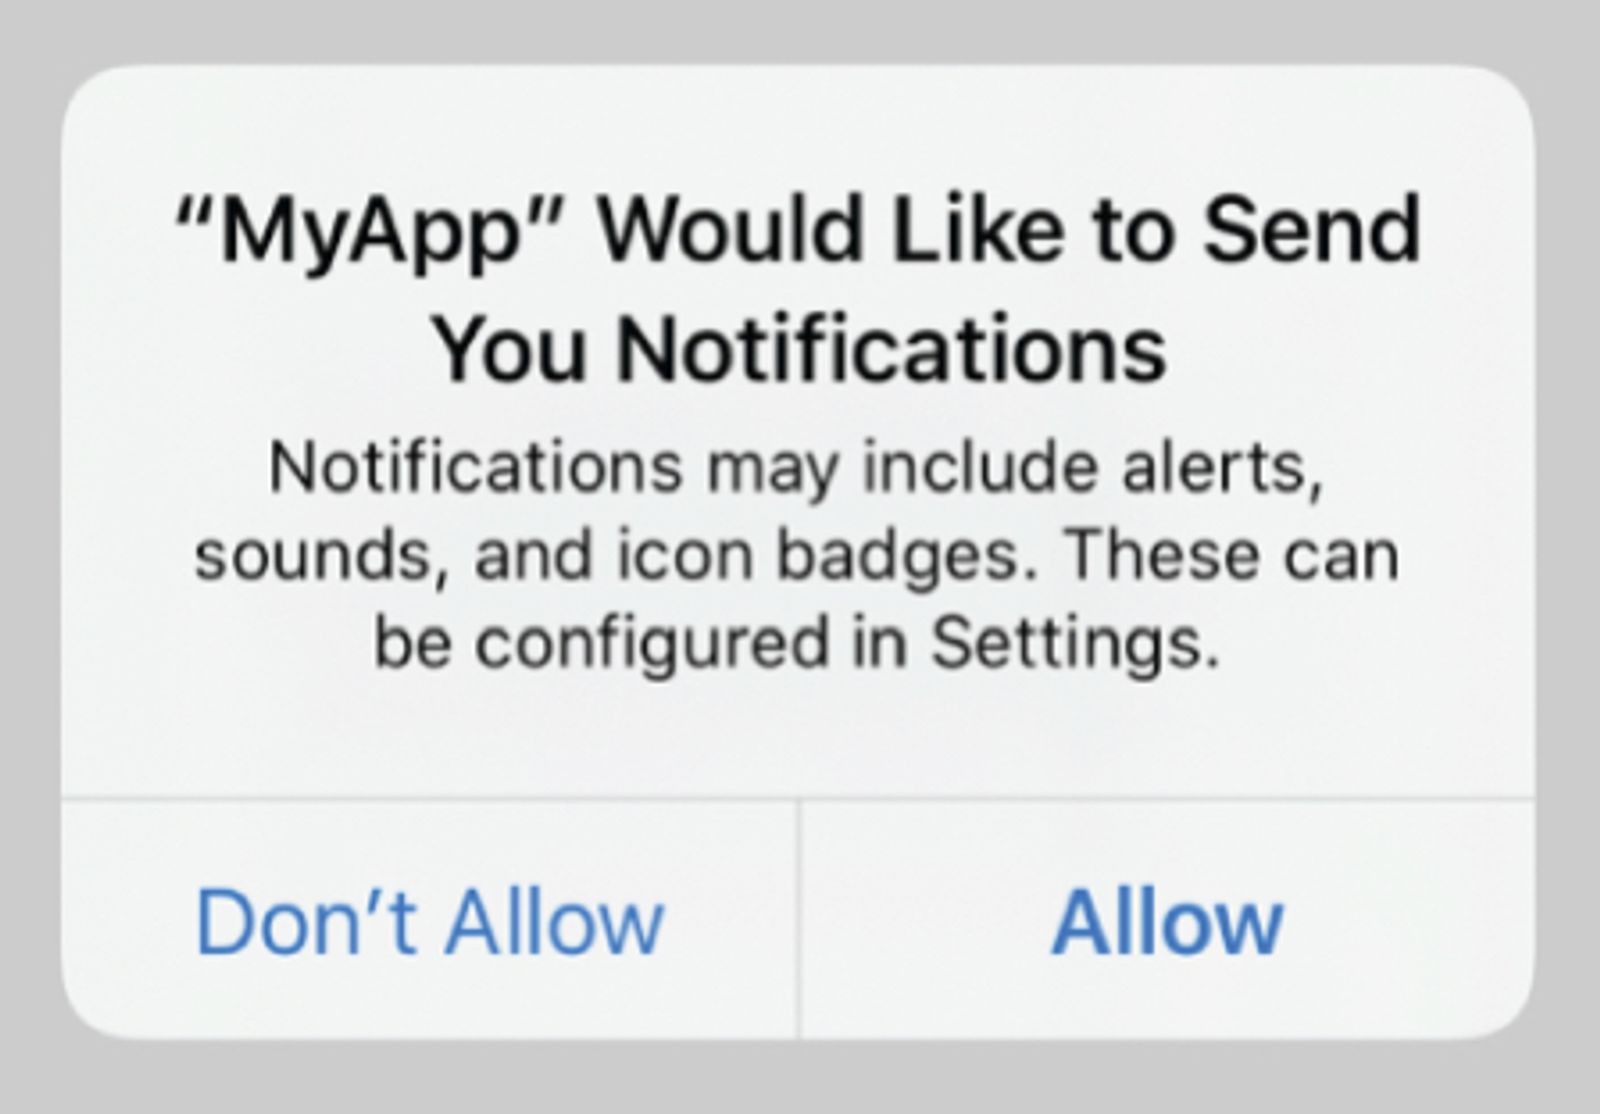
The primer doesn’t collect consent on its own. Customers only opt in when they tap Allow on the native prompt. But the primer matters, because you usually get 1 shot at that native prompt. If someone taps Don’t Allow on iOS, the prompt won’t appear again, and they’ll have to turn notifications on in their device settings. On Android 13 and later, the system stops showing it after a customer declines twice.
Your app developer builds the primer and sets up when your app requests the native prompt. A strong primer covers 2 things:
- What you’ll send
List the types of notifications customers can expect, such as order and shipping updates, back-in-stock alerts, reminders, and exclusive discounts. - Why it’s worth it
Give customers a reason to say yes, like early access to sales or real-time delivery updates.
Timing helps too. Showing the primer after a meaningful moment, like a customer’s first order, gives customers a reason to opt in right then.
After a user chooses to opt in through your primer, your app should request notification permission through the native iOS or Android prompt. The native prompt appears only if the user has not already granted or denied permission. If they previously denied permission, they need to enable notifications for your app in their device settings.
Example opt-in language
It is best practice for your pre-permission prompt to include details regarding the specific push notifications you plan to send. This information lets app users know exactly what they can expect to receive and builds trust with potential subscribers.
An example of such language is:
“[Company/We] would like to send you notifications about special discounts, product releases, and shipping updates. You can opt out at any time.”
However, you can also choose for your pre-permission prompt to more broadly describe the types of notifications you plan to send:
“[Company/We] located in XXX would like to send you notifications with marketing and service-related messages. You can opt out at any time.”
Notification content
Push notification content must comply with applicable laws, app-store policies, and Klaviyo’s acceptable use policy. For example, Apple’s push notification guidelines prohibit sensitive personal or confidential information in push notifications and require an explicit in-app opt-in for promotional messages.
Quiet hours
Push notifications generally do not have any requirements for quiet hours, although in certain countries, quiet hours apply for all marketing communications, including push notifications. As such, it is good practice to avoid sending notifications between the hours of 8 p.m. and 8 a.m. in the recipient's local time zone.
Notification preferences
Explain the types of push notifications customers can receive in a section they can revisit in your app. This section lets them review what they subscribed to and opt in later if they skipped notifications during app setup.
You can build a notification preferences section in your app that displays the notification types a customer has opted into and lets them change their preferences. For iOS promotional notifications, Apple requires a way for users to opt out within your app.
Additionally, it is always best practice to send relevant notifications to customers by collecting information around their interests and creating targeted segments.
Note that Klaviyo does not support the creation of a push notification preference center. Klaviyo recommends working with your app’s development team to build this section into your app. If you have additional questions about managing your customers’ push notification preferences with Klaviyo, reach out to our support team or ask a question on our community forum.