Getting started with Square
You will learn
Learn how to easily integrate Klaviyo with your Square Online site in order to sync customer profile, order, and catalog information to Klaviyo, along with order data from your Square Point of Sale (POS). With this data, you’ll be able to reach customers with targeted messaging through segmentation, automated flows, and campaigns.
Before you begin
When you integrate Square with Klaviyo, only 1 Square account can be connected to your Klaviyo account. If you have multiple Square accounts you will need to integrate each with a separate Klaviyo account.
Square POS order events will sync to Klaviyo (and profiles will be created) if there is an email address and/or phone number associated with the order which the customer directly shared with your company.
Use the Source Name property on Square Placed Order events to distinguish POS orders from online orders and segment these events in Klaviyo.
Integration video
Check out our step-by-step video on integrating with Square.
How to integrate with Square
- In your Klaviyo account, select Integrations in the left-hand navigation.
- Select Explore apps, search for Square, and click the card. Then, click Install.
- Click Connect to Square.
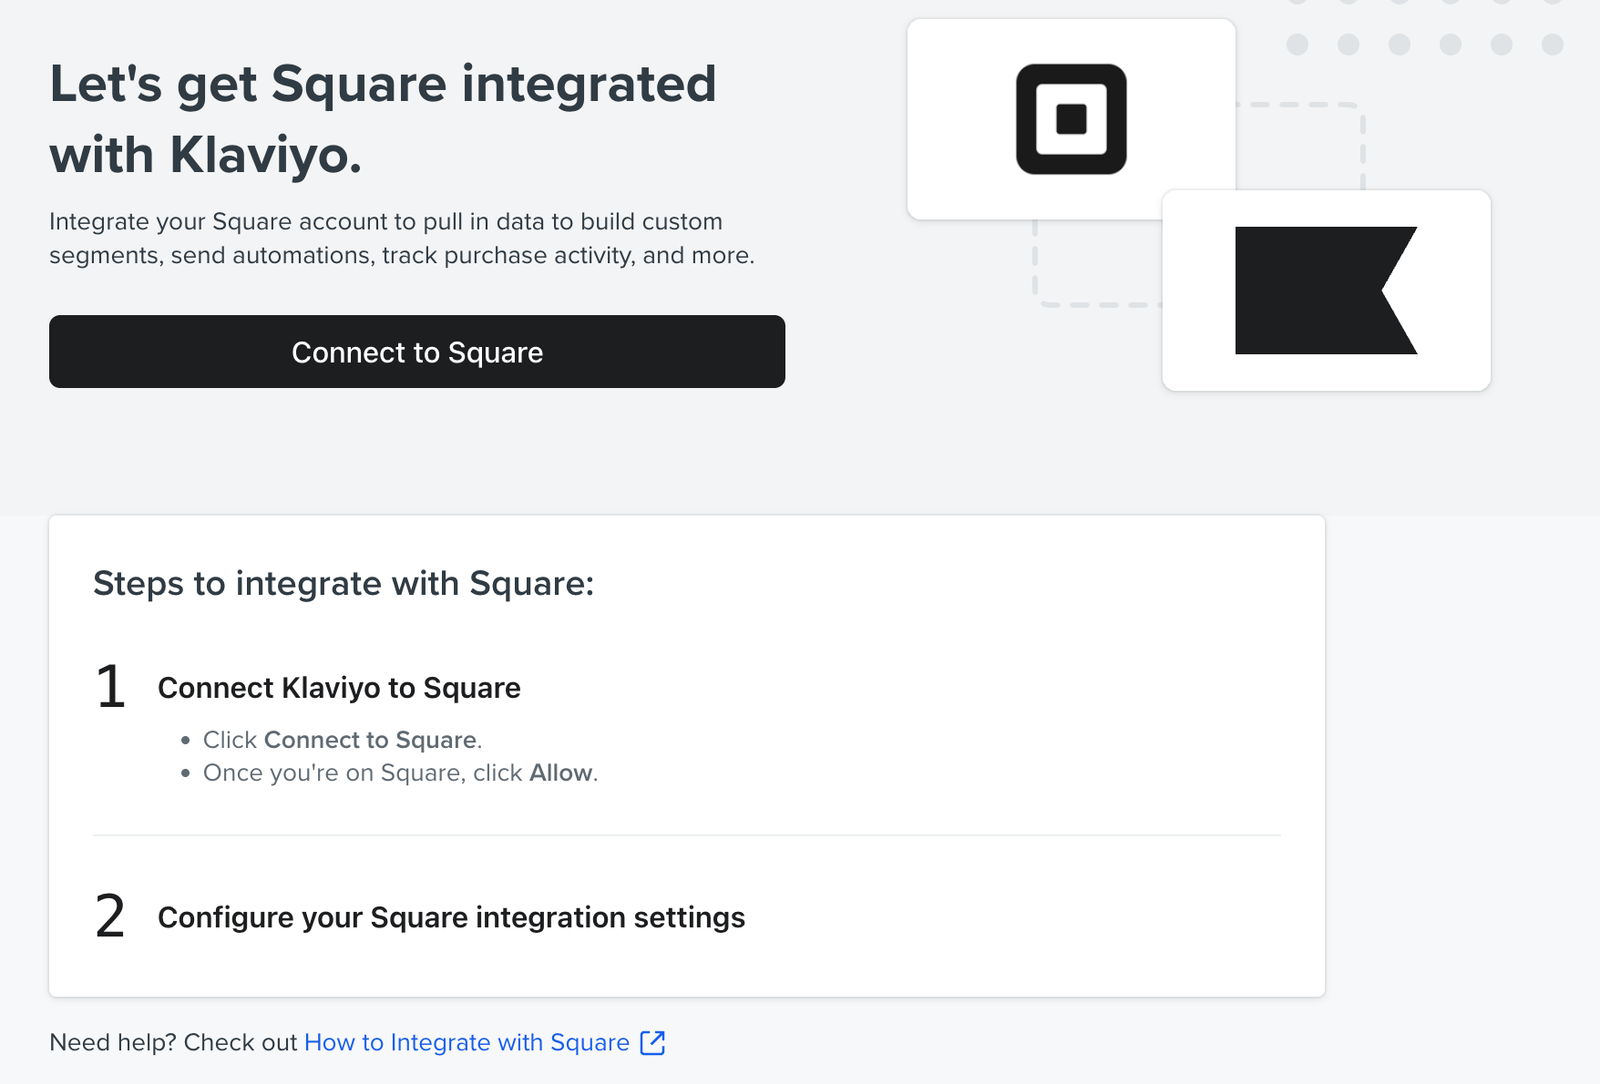
- You’ll be brought to your Square account and prompted to log in (if you are not currently logged in).
- Once you’ve logged in, review the permissions and click Allow to be brought back into Klaviyo.
- Review the Business name to make sure that you’ve chosen the correct Square account to integrate with Klaviyo.
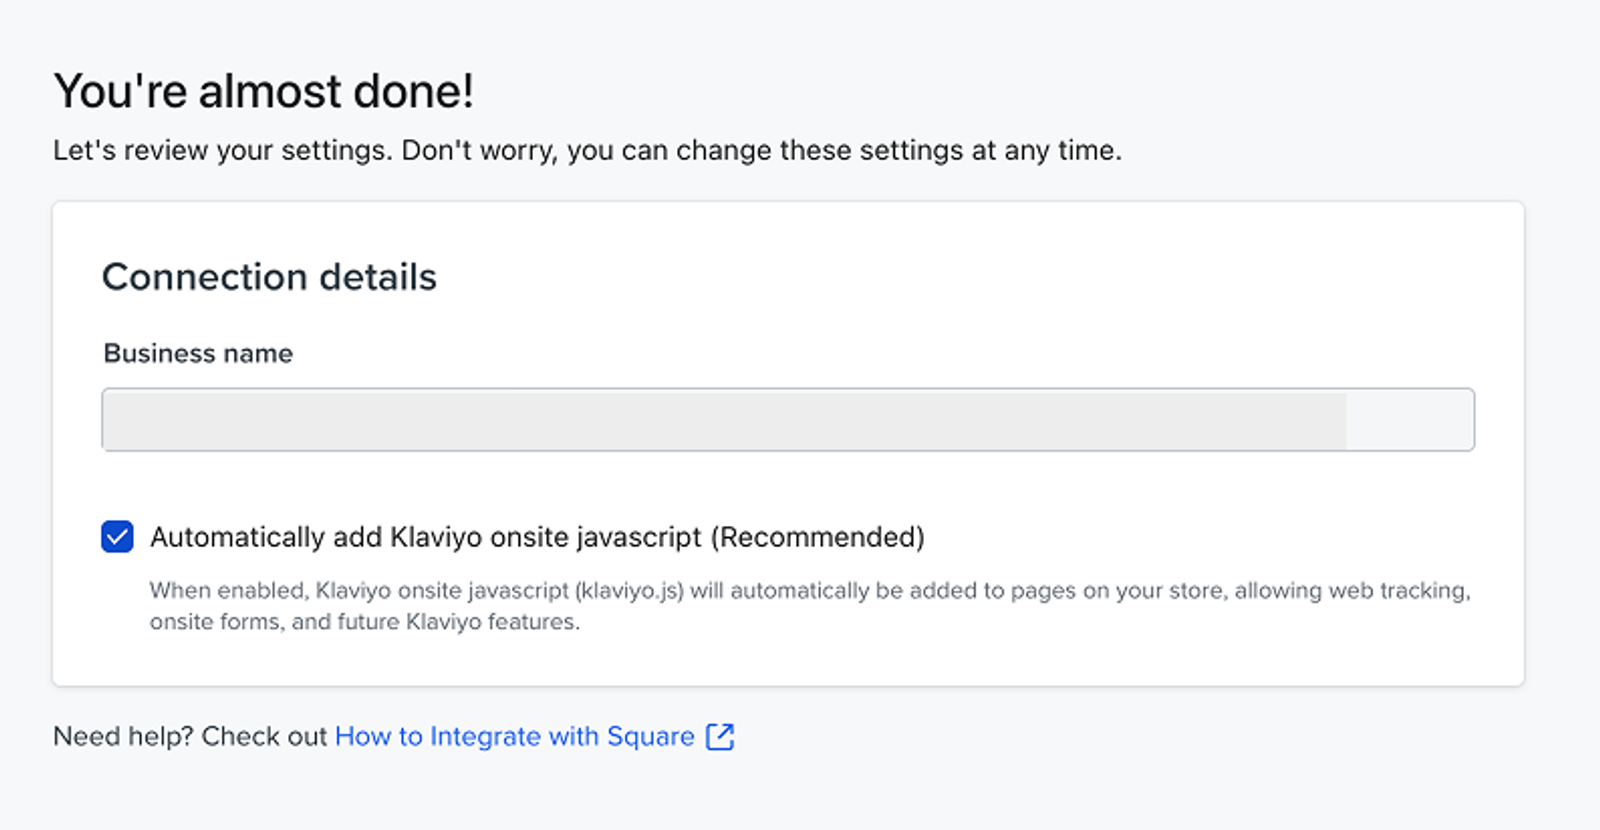
- The setting Automatically add Klaviyo onsite javascript (Recommended) is checked by default; leave it checked if you would like to enable Klaviyo’s Active on Site tracking and sign-up forms.
- Click Complete setup.
- After a loading screen, you should see a success message reading Your Square account is now connected to Klaviyo!
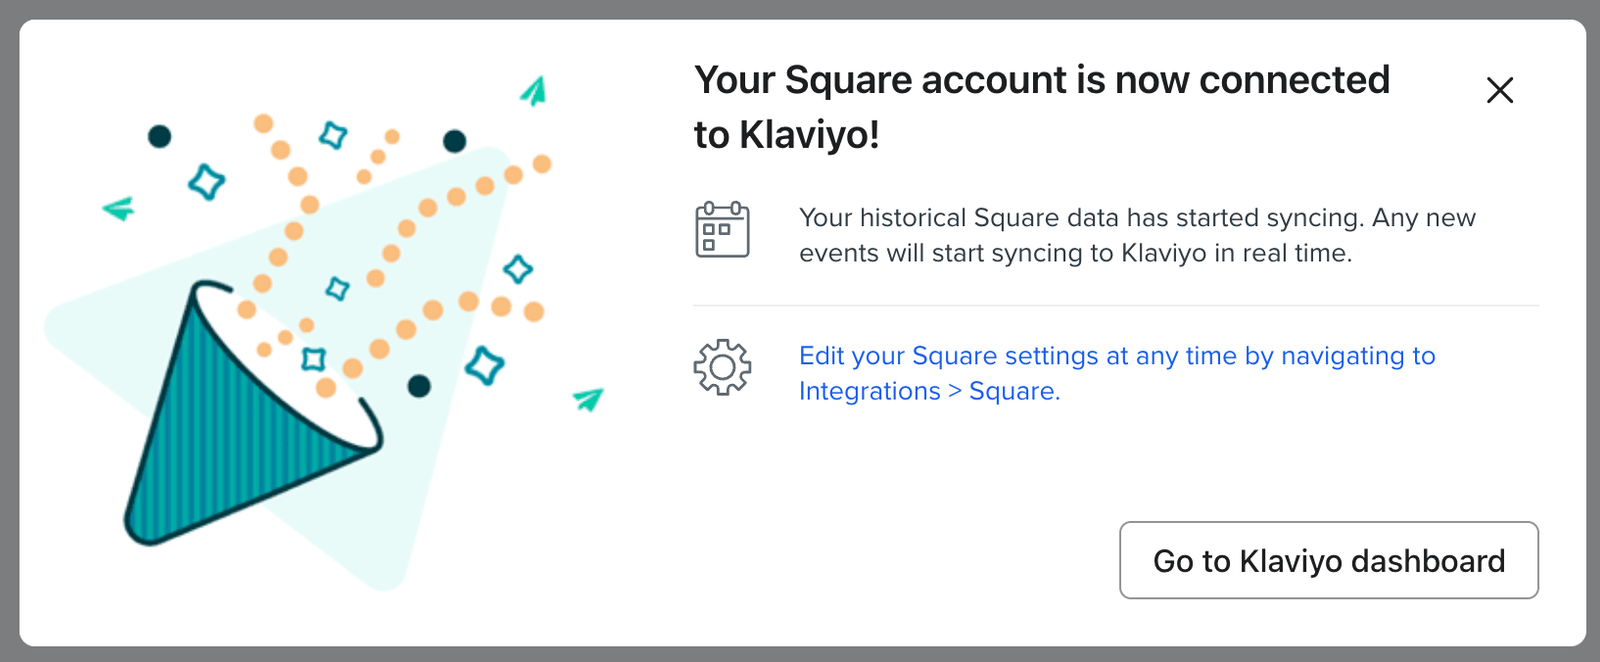
You’ve finished integrating and your historical Square data will start syncing to Klaviyo. Any new events from Square Online will start syncing to Klaviyo in real time, and events from Square POS will sync every 30 minutes.
If you ever need to edit your Square settings:
- In your Klaviyo account, select the Integrations tab.
- Select Square on the list.
- You’ll be brought to the integration settings page, where you can make changes.
- Click Save settings.
Data synced from Square to Klaviyo
To check on the data sync from Square to Klaviyo:
- In your Klaviyo account, select the Integrations tab.
- Select Square on the list.
- Select the Data tab at the top.
Here, you’ll see recent data synced from Square to Klaviyo, and a sync progress bar for your historical data sync.
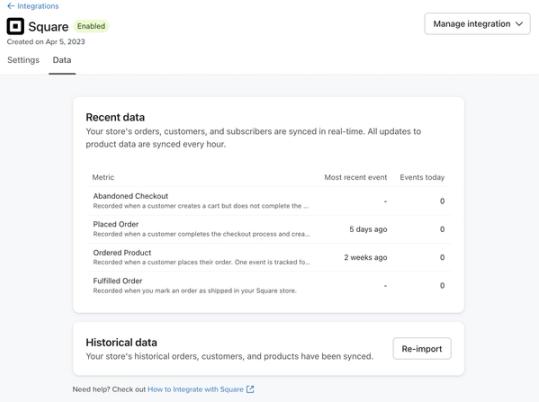
If you are experiencing issues with your sync while it is ongoing, select Restart import here to restart the historical data sync. After the sync finishes, the button changes to Re-import.
The data synced from Square to Klaviyo includes:
- Known site visitors tracked as Active on Site events (if you left the onsite JavaScript setting checked)
- Email unsubscribes
- Customer profile information
- Your Square catalog (including POS-only items)
- The following order events:
- Abandoned Checkout
- Placed Order
- Ordered Product
- Refunded Order
- Cancelled Order
- Fulfilled Order
- Fulfilled Partial Order
Use the Source Name property on Square Placed Order events to distinguish POS orders from online orders and segment these events in Klaviyo.
For more information on the properties associated with each event synced from Square, check out our article Square data reference.
The integration syncs email unsubscribes, but it does not sync email or SMS opt-in consent. Use Klaviyo sign-up forms to collect email and SMS subscribers.
Create a Klaviyo sign-up form for your Square site
Learn how to create Klaviyo sign-up forms to collect email and SMS subscribers on your Square site. With the Automatically add Klaviyo onsite javascript (Recommended) setting selected, published popup, flyout, full page, and banner forms display according to their targeting and behavior settings. Embed forms also require the installation steps linked below.
You can create the following types of Klaviyo forms:
- Popup
- Flyout
- Full page
- Banner
- Embed (make sure to follow our guide to adding an embed form to a Square site)
Create automated messaging with Square data
There are a number of pre-built flows for Square in Klaviyo’s flow library, which you can use to personalize customer messaging.
To access these flows:
- Select the Flows tab in Klaviyo.
- If you already have flows, click Create flow. If this is your first flow, click Build your own or View flows library.
- Select Square from the filter dropdown next to the search bar.
- Click a flow template, enter a name, select a trigger if prompted, and click Create flow.
These pre-built flows include:
- Abandoned Checkout
- Customer Winback
- Shipping Confirmation
- Replenishment Reminder
- Repeat Purchase Nurture
- Abandoned Cart Reminder
- Customer Thank You
- Product Review / Cross Sell
- Abandoned Cart Reminder; High Value Cart vs. Low Value Cart
- Tag First Purchase Date
- Post-Purchase Bounce Back
- Delayed Fulfillment
- Fulfilled Partial Order
- Order Confirmation
Review and customize the flow’s messages before setting it live. Follow Getting started with flows for the setup and activation steps.
Outcome
You’ve integrated Square with Klaviyo and verified your synced data. Now, you can create automated flow messages, personalize campaigns, segment your lists, and more based on data synced from Square.
Additional resources
- Square data reference
Learn what data is synced from Square to Klaviyo, how to view it, and what properties Square events contain. Additionally, learn how to view your Square data in Klaviyo.
- Getting started with sign-up forms
Learn how to create and customize sign-up forms in Klaviyo to publish on your website so you can engage shoppers, collect emails and phone numbers, and build long-lasting customer relationships.
- Getting started with flows
Learn how to use flows, also known as automations or drip campaigns, in Klaviyo for personalized and automated communications to your customers, and learn how to set your first flow live.