How to resend a campaign that exceeded account sending limits
You will learn
Learn how to resend a single-channel email or SMS campaign to recipients skipped because your account reached its sending limit. You may see a notification that your campaign was canceled because it exceeded your monthly sending limit.
Why a campaign was canceled
When your account reaches its sending limit, Klaviyo can cancel a campaign or skip recipients who exceed the remaining allowance. This is not limited to A/B tests. If a campaign is canceled for this reason, it does not automatically continue sending if you later upgrade your plan.
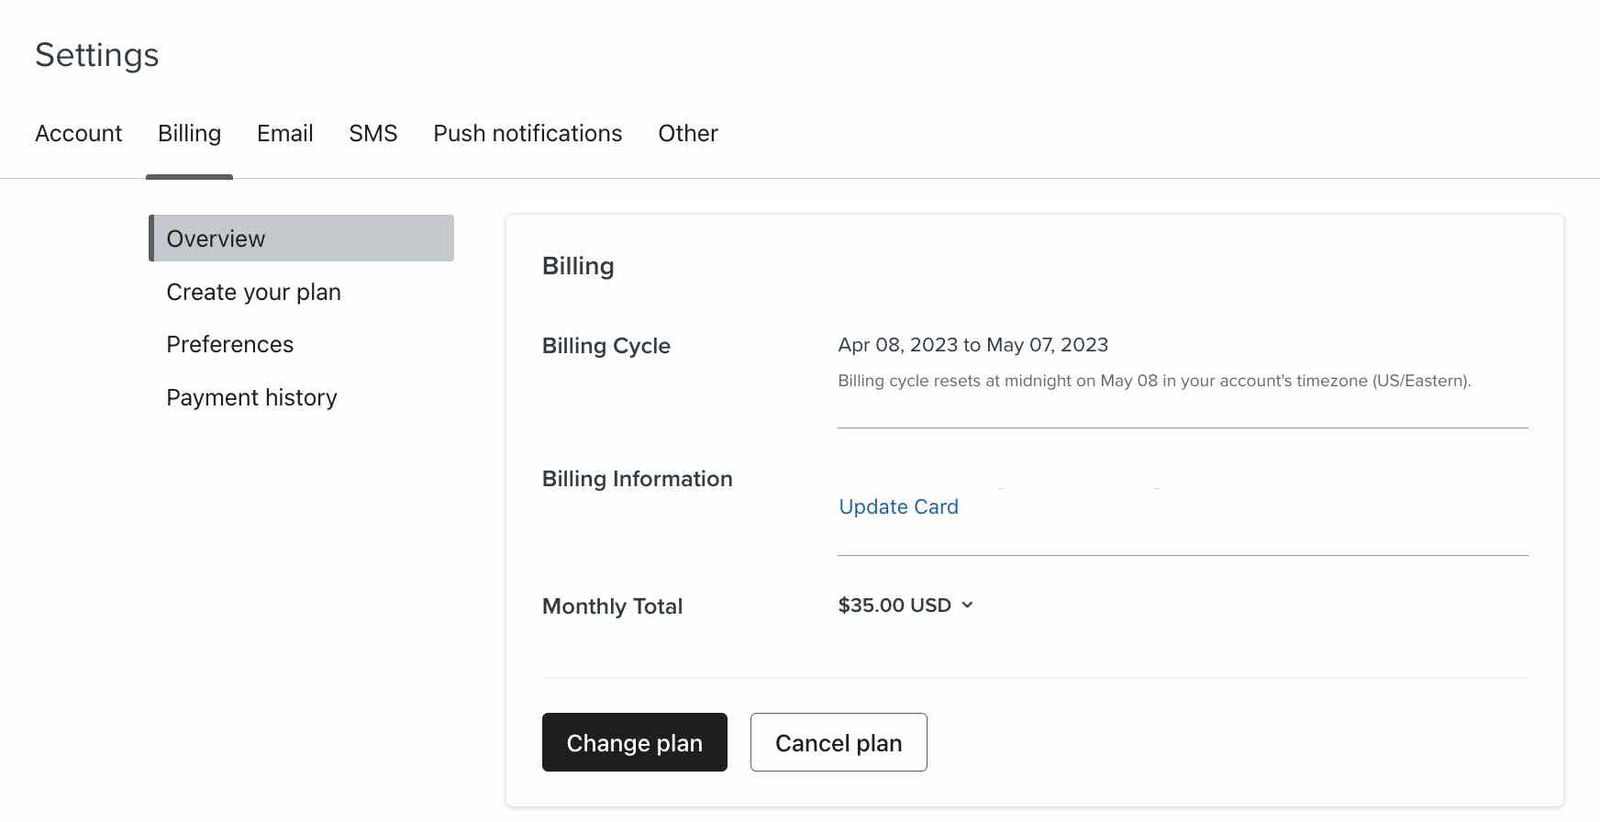
To view your account's current monthly sending limit:
- Click your company name in the bottom-left corner of Klaviyo.
- Click Billing.
- In Overview, check your email limits and usage in the Profiles and emails card (or Emails), and your SMS limits and usage in the Mobile messaging card.
How to avoid exceeding sending limits
For paid email and mobile messaging plans, choose Automatically upgrade to move to a higher plan when you reach your sending limit. You can also use Flexible overages if your plan supports them, which adds capacity for a one-time fee without changing your plan. Alternatively, upgrade manually before sending. Changing billing preferences requires billing permissions. Learn how to choose your upgrade preference.
Resend your campaign
Once you have enough sending capacity, follow the steps below to send a copy of the canceled campaign.
First, copy the ID of the original campaign’s message:
- Navigate to the Campaigns tab.
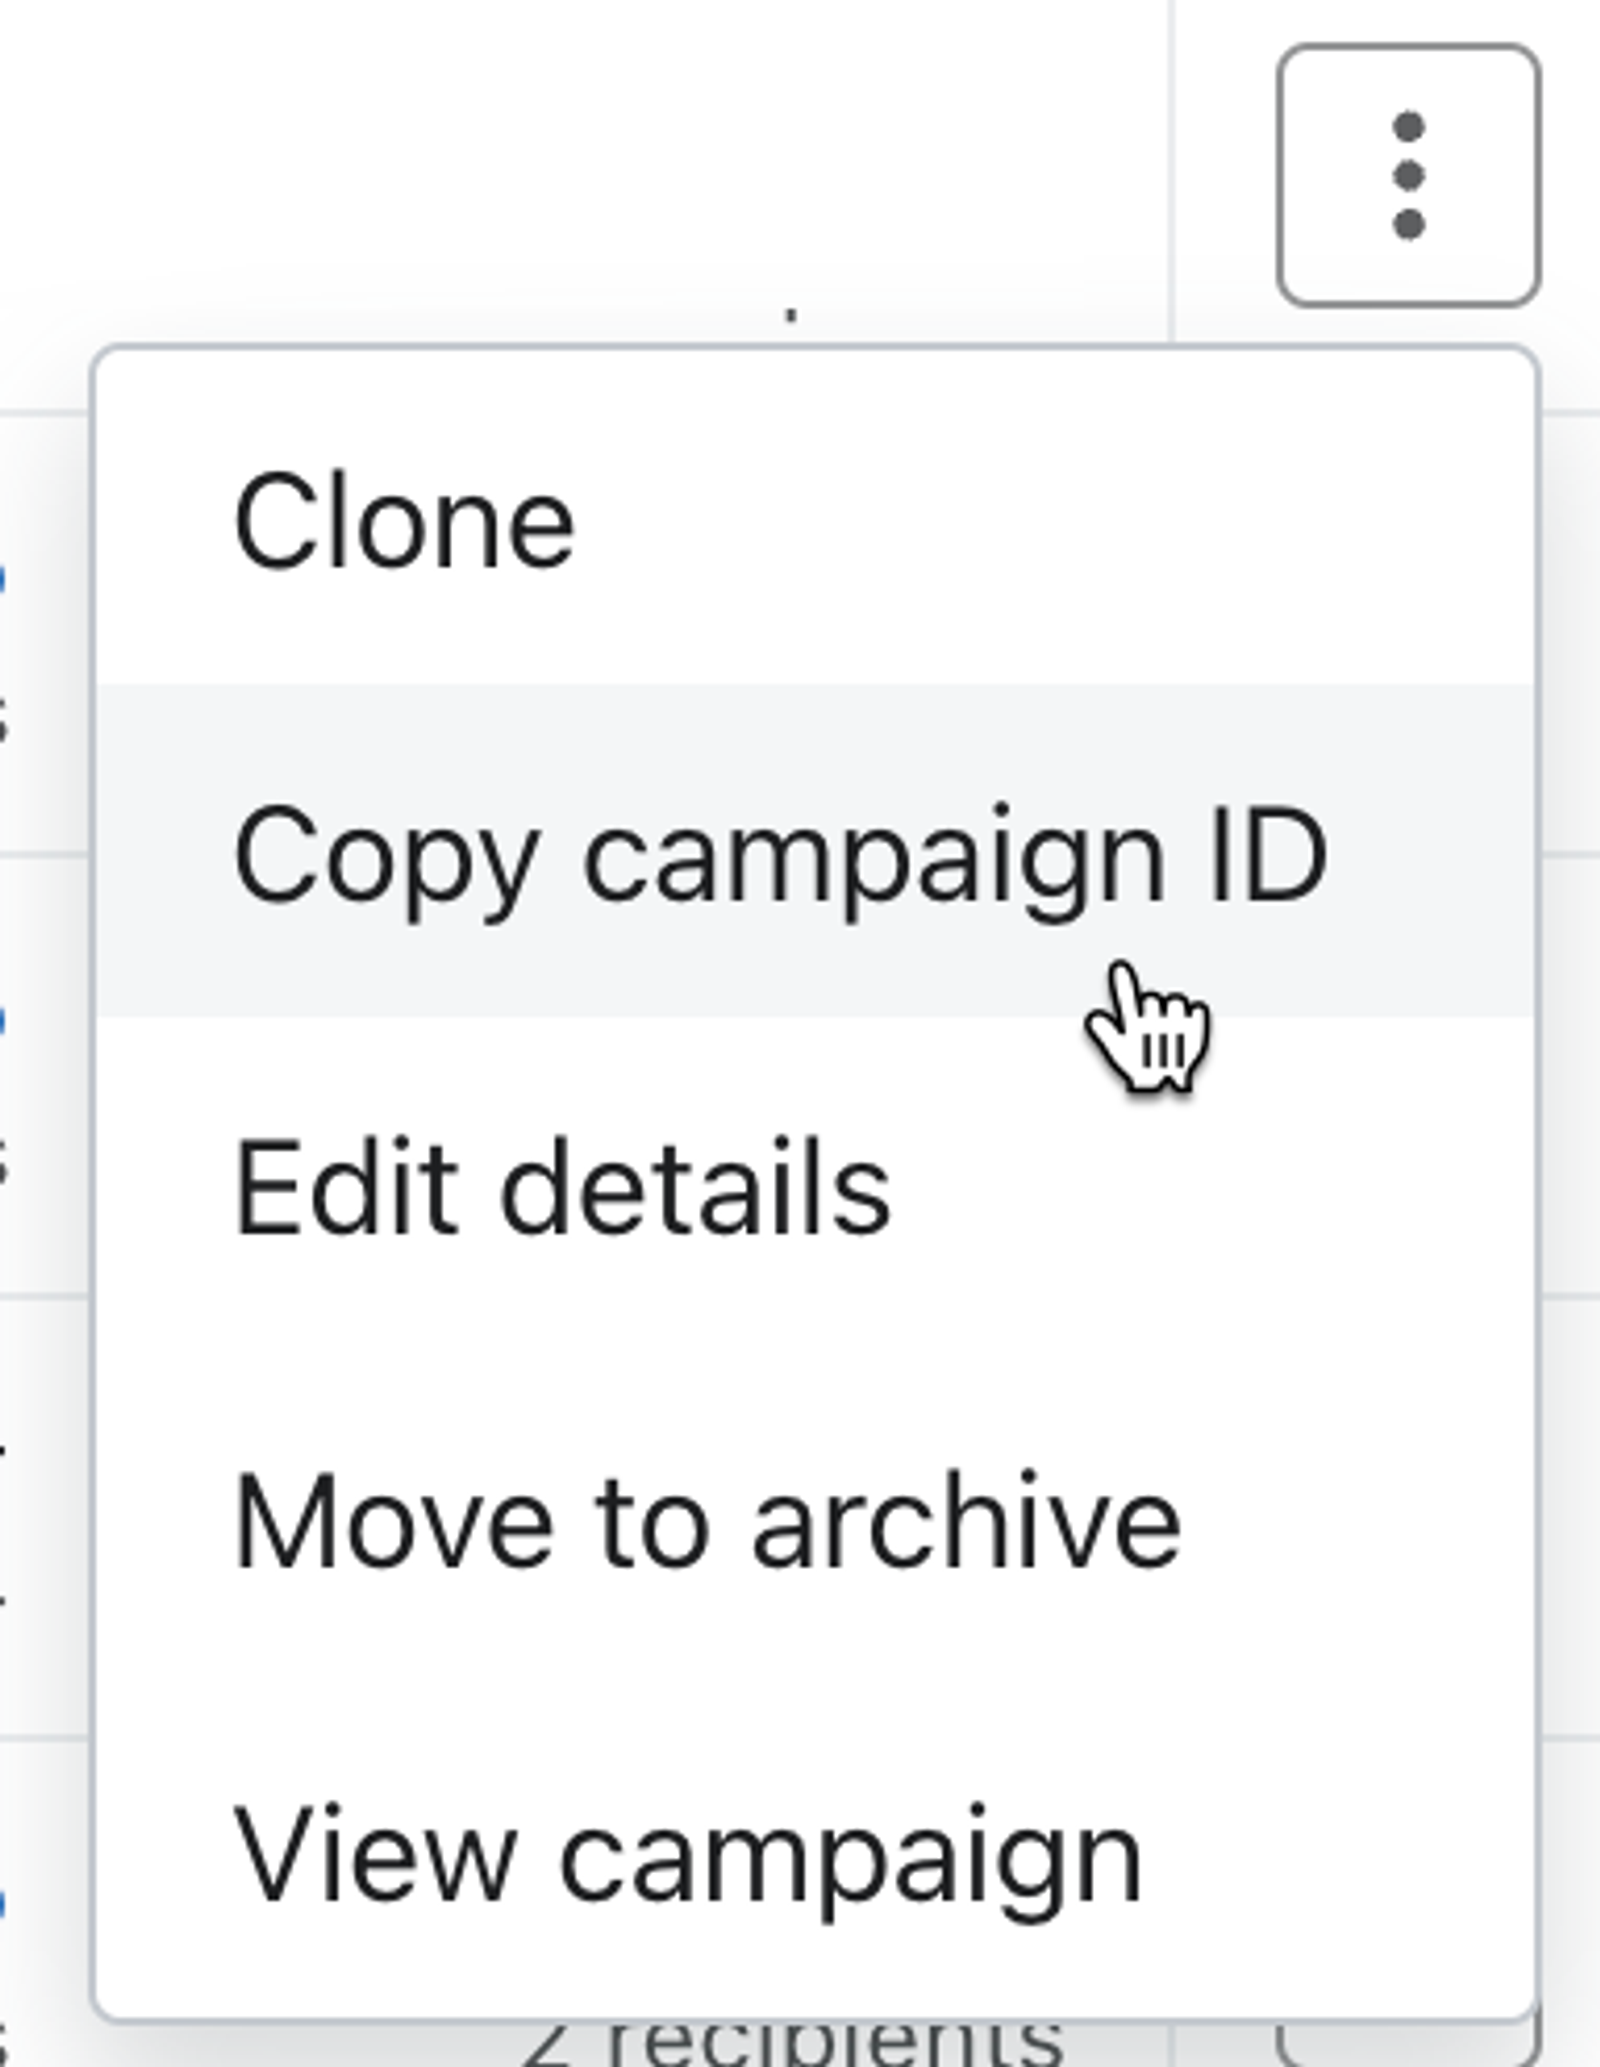
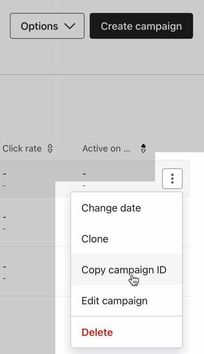
- From the list view, click the 3-dot menu next to the canceled campaign.
- Click Copy ID.
Then, resend the campaign.
- Navigate to the Lists & segments tab.
- Create and name a segment with the following definition:
- What someone has done (or not done) > Received Email or Received SMS (match the original campaign’s channel) > at least once > over all time > where Message ID equals the ID you copied.
- Click Create segment to save the definition.
- Navigate to your Campaigns tab and find the canceled campaign.
- Click the 3-dot icon on the far right of the campaign, then click Clone.
- In the clone panel, keep Single channel selected. Review the campaign name and send date, choose Clone to the current account if the account choice appears, and click Clone campaign.
- In the cloned campaign’s Audience step, keep the original audience in Send to and add the segment you created to Don't send to. Keep any other exclusions from the original campaign.
- Click Next to save the audience. Review the content and any A/B test settings, then continue to Review.
- Click Schedule or send. Choose Send now and click Send now to confirm, or choose Schedule, set the date and time, and click Schedule message.
By excluding this segment, people who already received your message will not receive the resent campaign.
Additional resources
- How Klaviyo billing works
Learn how Klaviyo bills customers for Profiles and Emails, Mobile Messaging, Reviews, Advanced Klaviyo Data Platform (formerly “CDP”), Marketing Analytics, Customer Hub, Helpdesk, and Customer Agent.
- Best practices for A/B testing reference
Learn best practices for using Klaviyo's A/B testing features to help optimize your communication with customers.