How to make an add to calendar event in a button, link, or image
You will learn
Learn how to add calendar links to buttons, images, or text in your emails so subscribers can save your virtual or in-person events to their calendars. If you need to collect registrations or RSVPs, include a separate registration link.
This article covers Google Calendar, Apple Calendar, and Outlook. If you’re unsure which calendar applications your customers use, include multiple links so they can choose.
Before you begin
Before you create the links in your emails, prepare the following event details:
- Name of event
- Location, date, start and end times, and time zone
- A description (e.g., any important information that subscribers need before joining the event)
- URL of event, if applicable
The Google Calendar method below uses a public event link and does not require file hosting. For the Apple Calendar and Outlook methods below, host the .ics file on your website or another publicly accessible file host.
Generate a calendar link
Google Calendar
For this method, use Google Calendar on a computer and set your calendar to Public. To do this:
Use a separate calendar for public events if your main calendar contains private information. Public sharing can expose other events on that calendar. If public sharing is unavailable, contact your Google Workspace administrator.
- In your Google Calendar, scroll down on the left-side menu to My calendars.
- Hover over the calendar you'd like to share.
- Click the 3 dots to the right of the calendar name.
- Click Settings and sharing.
- Under Access permissions for events, check Make available to public and allow viewers to see event details.
- Click OK.
If you do not make the event public, recipients will see the message "Event not found" when they click the link.
To create an “Add to Calendar” link in your template for a Google Calendar:
- Create and save the event on your public Google Calendar.
- Open your event and select More actions at the top right.
- Click Publish event in the dropdown.
- Copy the event link.
- Follow the steps below to add the link to your template.
If a Google Calendar link opens a blank event in the mobile app, open the link in a web browser and save the event there.
Apple Calendar
To create an “Add to Calendar” link in your template for an Apple Calendar:
- Open the Calendar app on your Mac.
- Select a date.
- Click the + button at the top of the window.
- Enter the event name, date, and time, then press Return.
- Double-click the event to add its location, description, and event URL, if applicable.
- Once the event is saved, drag it onto your desktop or a folder to save it as an .ics file.
- Upload the .ics file to your website or another publicly accessible file host, following your provider’s instructions.
- Copy the direct URL of the hosted .ics file.
- Follow the steps below to add the link to your template.
Outlook Calendar
To create an "Add to Calendar" link using classic Outlook for Windows:
- In Calendar, select Home > New Appointment.
- Enter the event name, location, start and end times, and description.
- Select Save & Close.
- Select the saved appointment. On the Appointment tab, open the Forward dropdown and select Forward as iCalendar.
- In the new message, right-click the .ics attachment and select Save As. Choose a location on your computer, then click Save.
- Upload the .ics file to your website or another publicly accessible file host, following your provider’s instructions.
- Copy the direct URL of the hosted .ics file.
- Follow the steps below to add the link to your template.
Create an add to calendar link in your template
In Klaviyo’s drag-and-drop email editor, add your calendar link to a button, image, or text. Use the Google Calendar event link or the direct URL of your hosted .ics file.
Button block
Buttons are the most straightforward way of getting a customer to add an event to their calendar.
- Drag and drop a Button block into your template, then select it.
- Paste your calendar link into Link address.
- Enter a label in Text (e.g., “Add to Google Calendar”), then click outside the block to save your changes.
You can create a button for each type of calendar if you are unsure of which one your customers use.
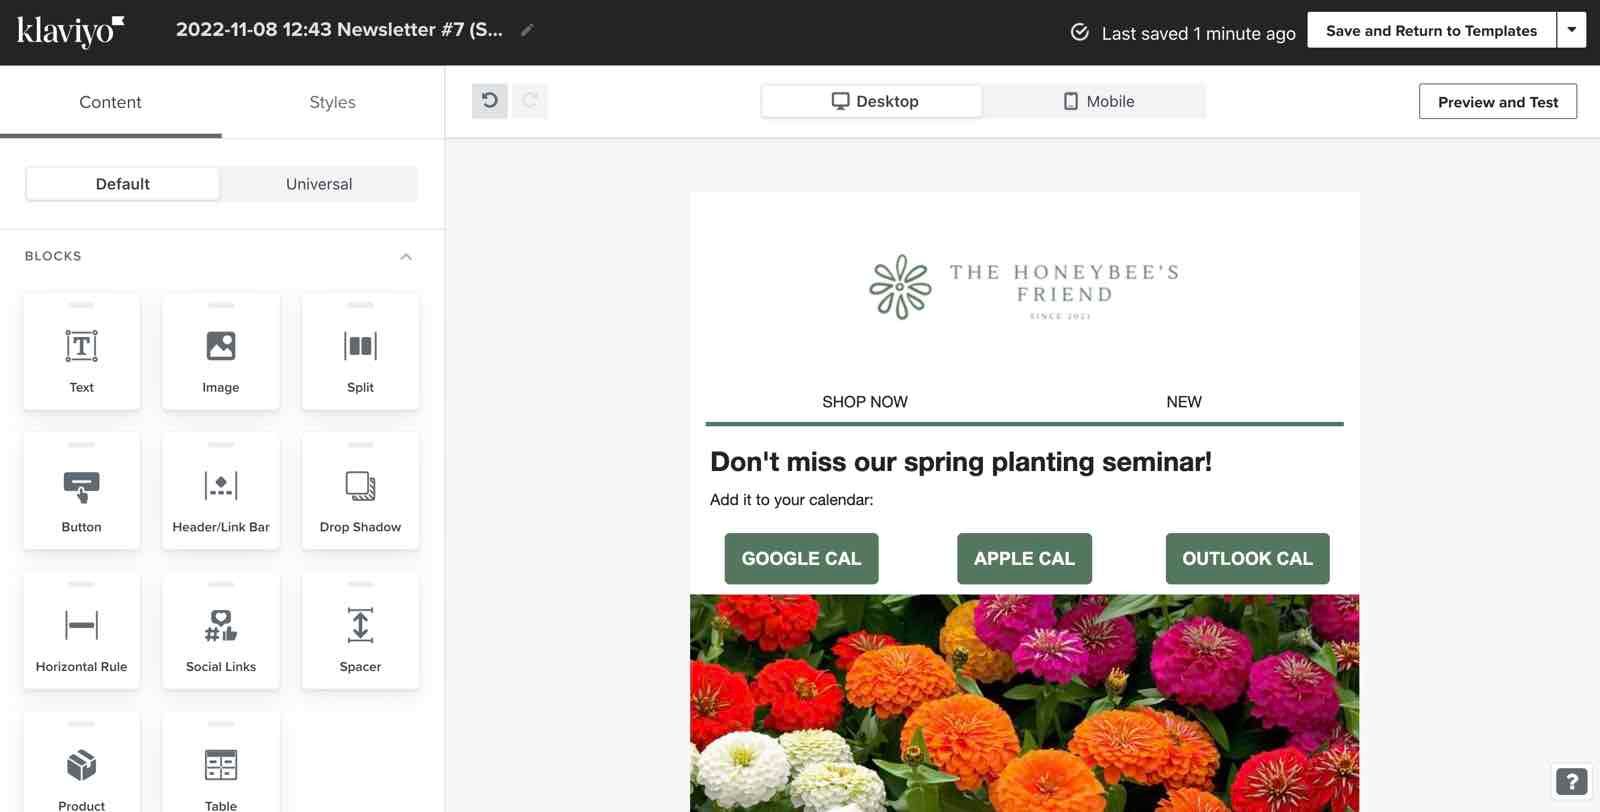
Image block
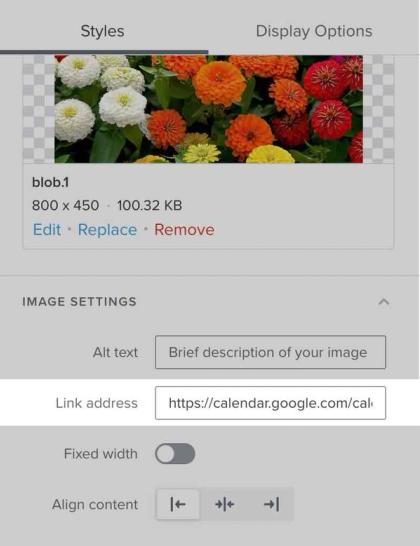
Link an event-related image to your calendar event using the steps below.
- Drag and drop an Image block into your template, then upload or select your image.
- In the image’s settings, paste your calendar link into Link address.
- Click outside the block to save your changes.
Text link
Finally, you can use a link within the copy of your email to instruct your recipients to add an event reminder to their calendars. Because these links are specific for each calendar, label the links based on what type of calendar invite you've linked to.
- Add a Text block, or select an existing one. Double-click the block to edit its text.
- Enter a label such as “Add to Google Calendar” and highlight it.
- Click Add link in the toolbar, paste your calendar link into URL, then click Apply.
- Click outside the text block to finish editing.

Before sending your email, open each calendar link and confirm the event name, date, time, and location. Check that hosted .ics files are accessible without signing in.
Additional resources
- Message personalization reference
Learn how to use Klaviyo’s personalization variables, or tags, to customize the experience for your customers.