How to delete, edit, view, or archive a campaign
You will learn
Learn about the actions available for your campaigns before, during, and after sending. Note that, depending on the status of your campaign, some options may not be available. For example, a sent campaign cannot be edited. However, you can edit a draft campaign, or a scheduled campaign that has been paused.
Delete a campaign
Campaigns in draft mode (i.e., not yet scheduled or sent) can be deleted. Scheduled, sending, and sent campaigns cannot be deleted, but you can archive them.
Once deleted, a campaign cannot be recovered.
- Navigate to the Campaigns tab.
- Click the 3-dot menu to the right of the campaign you would like to delete.
- Click Delete.
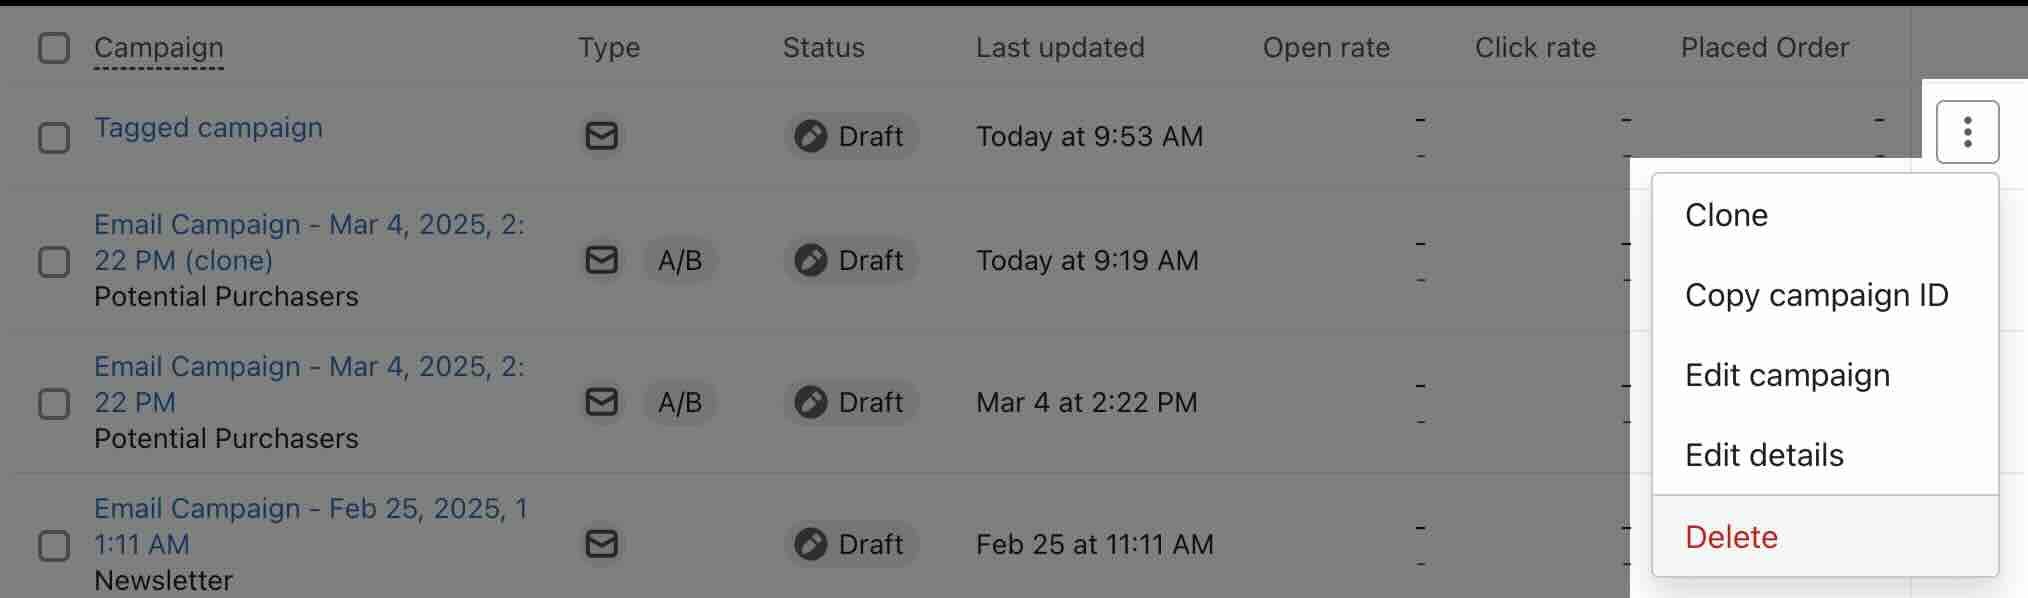
- Click Delete campaign in the modal to confirm and delete.
Edit campaign content
You can edit any campaign that hasn’t yet been sent (including campaigns that are scheduled to send at a future time, as long as you pause them first). Messages that have already been sent cannot be edited.
Edit a draft or paused campaign
- Navigate to the Campaigns tab.
- Click on the draft campaign you would like to edit, or select the 3 dots on the right-hand side and click Edit campaign.
- Update as desired.
Edit a scheduled campaign
- Navigate to the Campaigns tab.
- Click the 3 dots to the far right of the campaign you'd like to edit.
- Click Pause to pause the campaign.
- Update as desired.
Learn more about pausing campaigns.
Edit a partially sent campaign
If you notice an error in a campaign that is mid-send, you can cancel the campaign to make adjustments.
Note that the messages that have already been sent cannot be edited. Canceling a campaign mid-send and resending it will only correct the mistake for recipients who were queued for sending, but had not yet received it.
There are three main steps to editing a campaign mid-send:
- Cancel the campaign.
- Create a segment of the recipients who already received the campaign.
- Edit and resend the campaign to those who have not yet received it, excluding the segment of initial recipients.
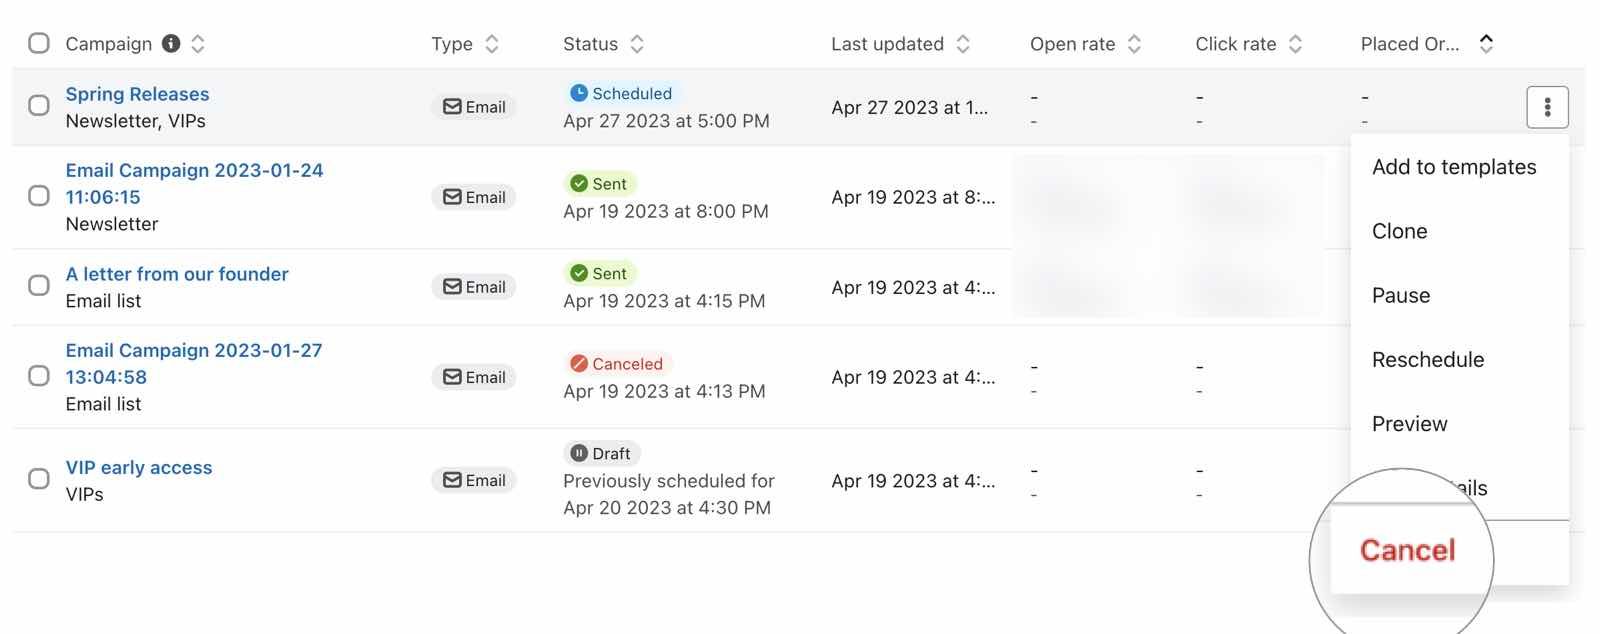
Cancel the campaign
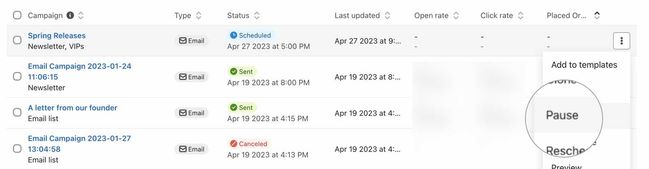
- Navigate to the Campaigns tab.
- Click the three dots icon to the far right of the campaign you'd like to cancel.
- Click Cancel.
Identify those who have already received the campaign
- Navigate to the Lists & Segments tab.
- Click Create List/Segment.
- Click Segment.
- Create a segment with the following definition: What someone has done > Received Email > at least once over all time > where campaign name equals ___.

- Click Create Segment.
Make sure to select the name of your campaign from the dropdown menu that appears.
Edit and resend the campaign
- Navigate to the Campaigns tab.
- Open the three dots icon for the canceled campaign.
- Click Clone > Clone to this account.
- Apply your edits to the cloned version of the campaign.
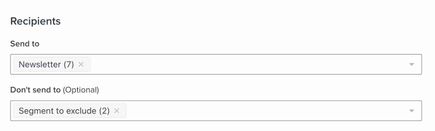
- Select the segment you created in the last step in the Don’t send to field.
- Send the campaign.
Reschedule a campaign
- Navigate to the Campaigns tab.
- Click the name of the campaign you’d like to reschedule.
- On the following page, click Reschedule.
- Select a new send time.
- Click Schedule to apply the changes.
Rename a campaign
You cannot rename a campaign that has already been sent.
To change the name of a campaign:
- Navigate to the Campaigns tab.
- Click the additional options menu (3 dots) next to the campaign you'd like to rename.
- Click Edit details.
- On the following screen, edit the name in the Campaign name field.
- Click Save.
View a campaign
Once a campaign has been sent, you cannot edit any part of the campaign or campaign settings, but you can view the content.
- Navigate to the Campaigns tab.
- Find the campaign you would like to view and click the three dots icon to the right of the campaign name.
- Click View Campaign.

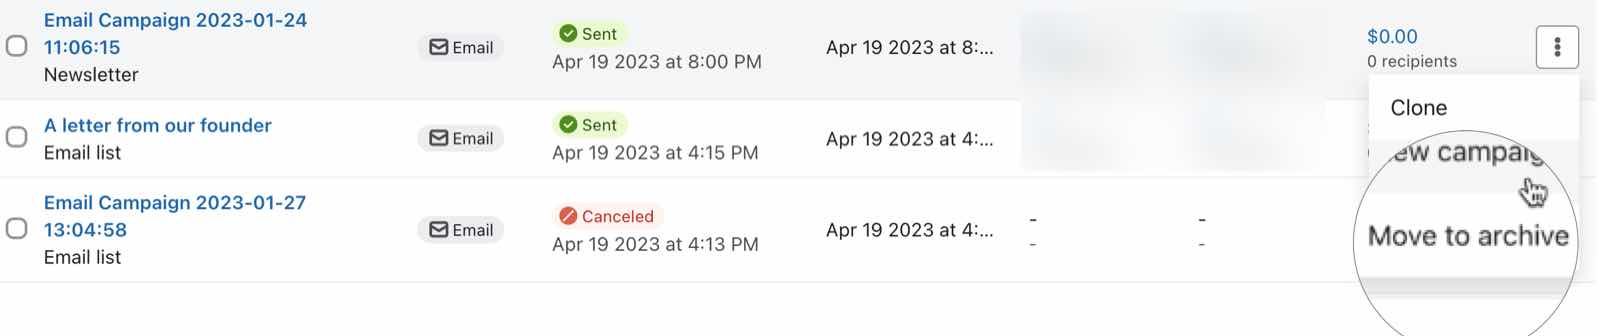
Archive a campaign
You can archive any campaign that has been sent or canceled. Draft campaigns can be deleted, but not archived. Archived campaigns won't show in the campaigns list view unless you filter for them.
- Navigate to the Campaigns tab.
- Find the campaign you would like to archive and click the three dots icon to the right of the campaign name.
- Click Move to archive.
To view your archived campaigns, click the Archived filter from the filter bar above the campaigns list view.
Unarchive a campaign
You can filter to see all of your archived campaigns within Campaigns tab. To view and unarchive an archived campaign:
- Click the Archived filter. Navigate to the Options dropdown menu in the upper right-hand corner of your screen.

- Click the three dots icon to the right of the campaign name and select Unarchive to unarchive your campaign.
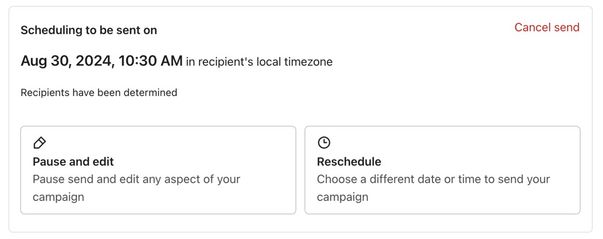
View summary details for a scheduled campaign
To review the details of a scheduled campaign (including the send time, message content, send lists, and more):
- Navigate to the Campaigns tab.
- Click the name of any scheduled campaign.
- On the following page, review the message’s details.
If needed, you can pause the campaign to make edits.
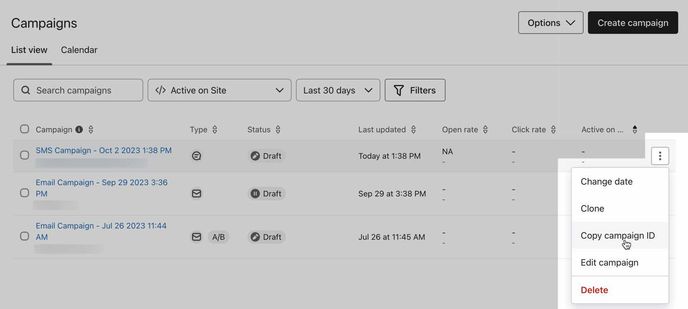
Copy a campaign ID
To copy a campaign's ID:
- Navigate to the Campaigns tab.
- From the list or calendar view, click the additional options button next to a campaign.
- Click Copy campaign ID.
Additional resources
- How to create and send an email campaign
Learn about the basics of email campaigns, including what they are and how to send them in Klaviyo.
- How to clone forms, flows, segments, campaigns, and templates
Learn how to clone forms, flows, segments, campaigns, and templates. When cloning, you can either copy:
- How to cancel a scheduled or sending campaign
Learn how to cancel a campaign that has been scheduled or partially sent. Campaigns that have already been fully sent cannot be cancelled. If you don't see the option to cancel a campaign by following the steps below, then sending is already complete and it can no longer be cancelled.
- How to include a follow-up email to resend a campaign to "non-openers"
Learn how to use the include a follow-up email setting to resend a campaign to recipients that didn't open the original email. This option is available in the campaign wizard when setting up a new campaign.