How to schedule custom reports
You will learn
Learn how to schedule a custom report to auto-run at a specific date and time and be notified via email when your results are ready. This way, you can set up your reports to automatically run and pull data for your review.
Note that the current limit of scheduled reports is set to ten scheduled reports per user per account. If you would like to schedule more than ten reports, please contact our team.
Schedule your reports
1. Navigate to the Analytics tab.
2. Choose Custom Reports.
3. Choose an existing report or create a new custom report.
4. Once inside your report, above and to the right of your Results Preview, click Schedule Report. Note that if this is a report that you just created, you will need to click Save & Run Report before you can schedule this report.

5. From here, you will be presented with the scheduling wizard to set up details about your report and delivery options.
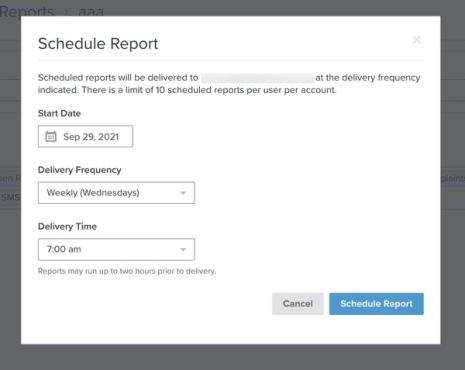
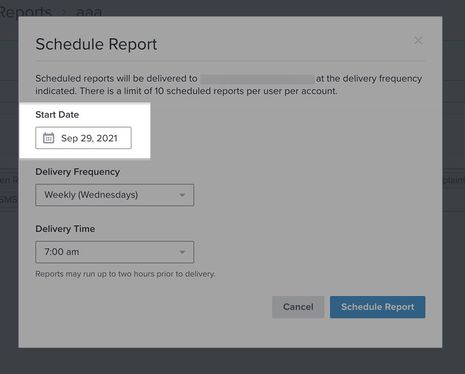
6. To choose the date that your report will start sending to you, fill in a Start Date or click on the calendar icon to choose a Start Date. By default, the start date will show the next date.
Note that unless you cancel your scheduled report, your report will continue to re-run, depending on the frequency you chose.
7. Once you have chosen your report’s Start Date to begin delivery, you will then have the options to choose how frequently and at what time you are alerted when your report is ready for download. To do so, select the following dropdowns:
- Delivery Frequency
Dropdown menu will provide you the options to either receive your report email notifications weekly or monthly, depending on your chosen start date. Note that the frequency will default to weekly notifications. - Delivery Time
Dropdown menu represents the local time that you will receive the notification about your report. In this dropdown, you can choose any hour of the day to receive your notifications. The time that you choose will match your account’s local timezone. Note that the time will default to 9 am local account time.
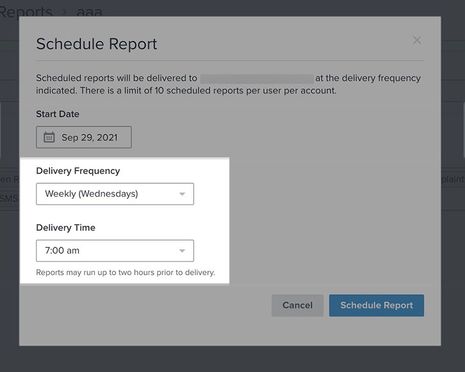
Depending on the size of your report and the amount of data it contains, it may be necessary for the reports to run up to two hours in advance of the scheduled time in order to ensure on-time delivery. Thus, your report may not contain data right up until send time.
8. Once you have chosen your frequency and delivery time options, click Schedule Report.

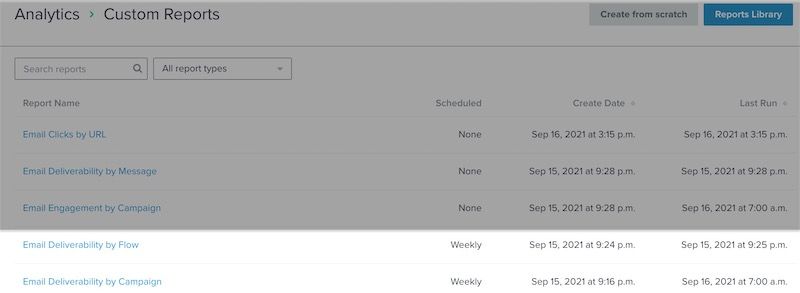
When you have scheduled your report, you will see the chosen frequency appear in your Custom Reports overview section under the Scheduled column.
Please note that timestamp data within your reports, including exported reports, will display in your account's local time from your settings.
Report email notification
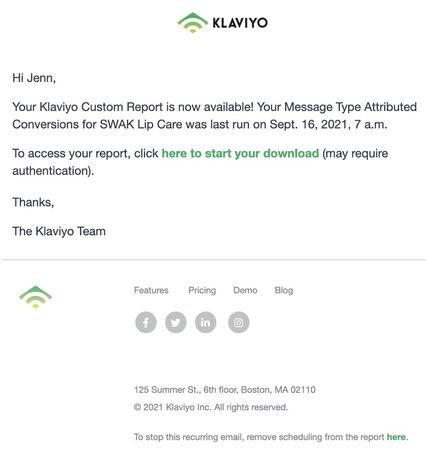
Once you have scheduled your report, you will receive an email notification when your report is ready for download. This notification will be sent at the time and frequency you had previously set up. For security purposes, scheduled report notifications are only sent to the user who created the schedule and cannot be emailed to non-Klaviyo recipients.
1. In this email, click the link here to start your download to be taken to your report. Once you log into your account to retrieve your report, your report should automatically begin downloading for you.
If you do not see your report at first, make sure you are logging into the correct Klaviyo account where you originally created and scheduled this report.
If you did not receive your notification at the time and day you scheduled, we advise you to first check your spam folder. It’s also important to note that this notification will be sent to the email address associated with the Klaviyo account where you had scheduled the report.
Editing or canceling scheduled reports
Edit the scheduled time
1. If you want to edit the scheduled report details or completely remove a scheduled report, navigate to the Analytics tab.
2. Click Custom Reports.
3. From here, you can either click on the name of the report or hover over the report and click Edit Report.

4. Once inside the report, click Edit Schedule to open the scheduling wizard to adjust the scheduling details. Note that to edit the delivery frequency, you need to first update the Start Date as well.

5. Once you have updated your frequency and delivery time options, click Schedule Report. Your report will now run and deliver with the latest options you have set up.

Unschedule report completely
You can also choose to completely unschedule or cancel a report from running should you need to.
1. Navigate to the Analytics tab.
2. Click Custom Reports.
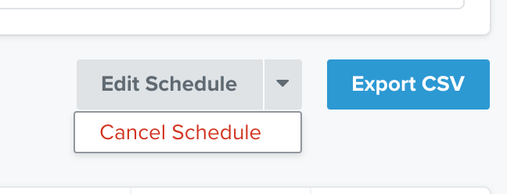
3. From here, you can either click on the dropdown to the right of the Edit Report button. This will open a dropdown exposing the Cancel Schedule option.
4. Click Cancel Schedule to completely remove the scheduling function of this report.
You can then check to ensure that your report has been successfully unscheduled by navigating to the custom reports overview section under the Scheduled column. Your report should show as “None” in the Scheduled column.
Note that if you choose to completely delete a custom report, you will also automatically lose any scheduling associated with the report itself.
Additional resources
- Getting started with custom reports in Klaviyo
Learn how to use Klaviyo custom reports to monitor your business' health across each of your marketing channels and individual products or services. By using these reports, you can leverage your data to uncover trends in customer behavior, align your team around a cohesive marketing strategy, and grow your business as you act upon new insights.Just starting out with Klaviyo reporting? Learn more about feature-specific reports and get a general overview of Klaviyo’s analytics tools.