How to edit and delete macros
Requirements: Only Owners, Admins, Managers, or Support roles can access this feature.
You will learn
Learn about managing options for macros used in your Klaviyo Helpdesk (previously called “quick responses”). Macros are pre-written templates you can use when replying to SMS and web chat tickets.
Before you begin
This guide covers different options for managing your Inbox’s macros. If you're looking for more information on creating a macro, check out how to create and use macros.
Edit a macro’s content or status
Editing a macro allows you to:
- Change the title.
- Modify the message content.
- Choose a different or new category (“tag”).
- Update the status (active or inactive).
- Note that a macro's status controls its visibility in the quick insert menu within a ticket. Active macros can be inserted in a ticket reply, while Inactive macros cannot.
Note that a macro's status determines if it appears in the quick insert menu within a ticket and can therefore be inserted into a message using the quick insert feature. Active macros can be inserted in a ticket reply, while Inactive macros cannot.
To edit a macro:
- In Klaviyo, navigate to Conversations > Inbox.
- Click Settings.
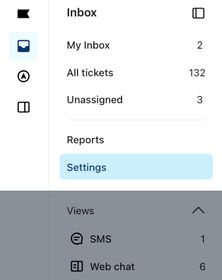
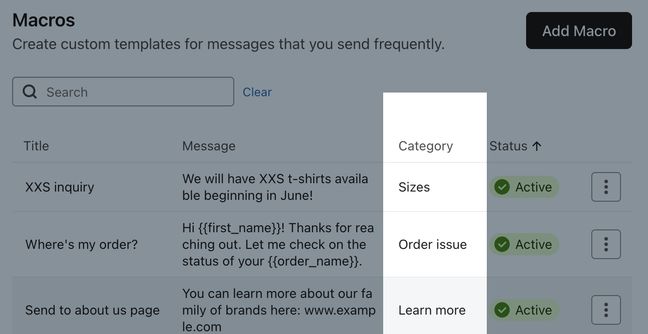
- Select the Macros tab in the top menu bar.
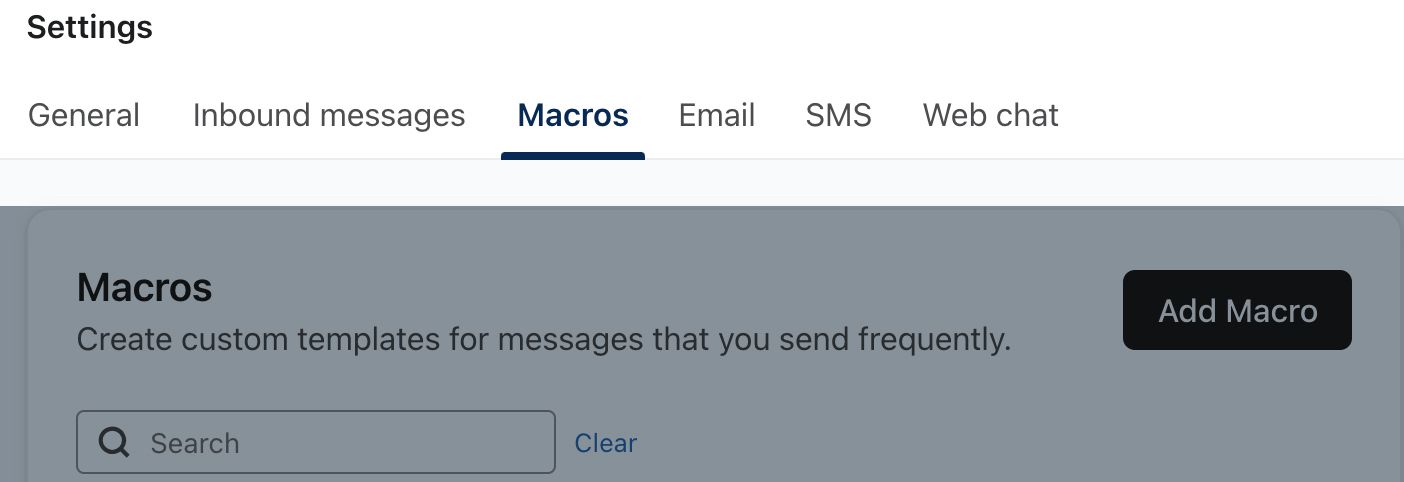
- A list of your account's macros will appear.
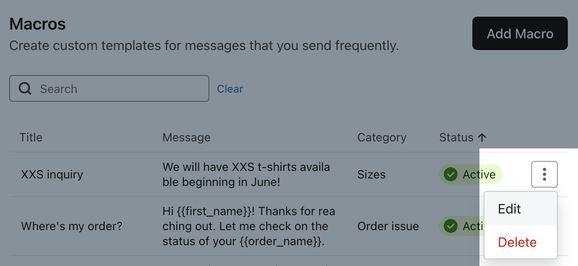
- Locate the macro you wish to edit. Macros are organized by category.
- Click the three dots (additional options) menu next to the macro, then select Edit.

- Modify the macro's title, message content, category, or status as needed.
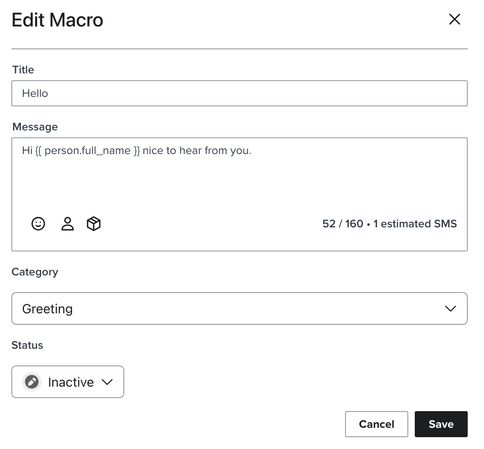
- Click Save.
Delete a macro
Deleting a macro permanently removes it from Klaviyo. If you instead want to temporarily disable a macro (i.e., remove it from the quick insert menu) and keep it saved, edit the response’s status to Inactive.
To delete a macro, follow these steps:
- Go to Conversations > Inbox in Klaviyo's main navigation.
- Click Settings.
- Select the Macros tab in the menu bar. This will display a list of all macros in your account.
- Locate the macro you wish to delete.
- Select the additional options (3 dots) menu, then click Delete.
- In the resulting modal, confirm you want to remove the response by clicking Delete.
Edit macro categories
You can modify or remove categories, which function like tags, that you've assigned to your macros.
The categories assigned to your Klaviyo Inbox macros organize them within the macro quick insert menu in tickets, making it easier to locate the correct one.
To edit or delete a macro category:
- In Klaviyo, click your organization name in the bottom left corner.
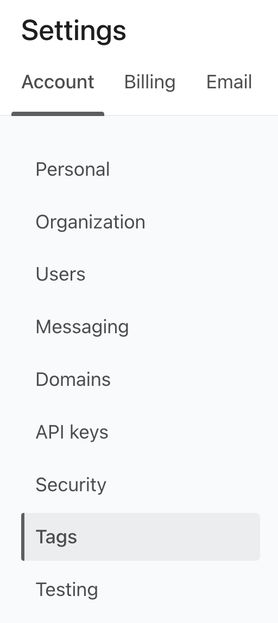
- Select Settings.

- On the Account settings menu, click Tags.
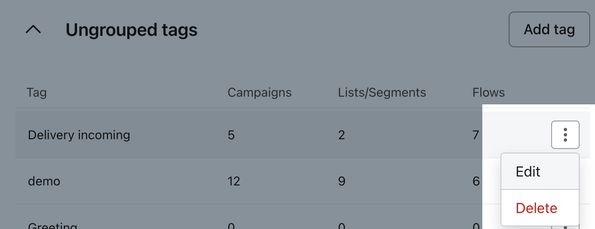
- Locate the category ("tag") you want to edit or delete.
- Click the three dots.
- Select Edit to change the name.
- Select Delete to remove it.
Additional resources
- How to create and use macros for Helpdesk tickets
Find out how to create and use macros (previously called “quick responses”) in tickets in Klaviyo Helpdesk. Macros are pre-written, reusable responses your support agents can insert into replies for SMS and web chat tickets.
- Guide to Klaviyo Helpdesk
Learn about Klaviyo Helpdesk, which helps you manage support conversations across all channels, powered by the data you already have in Klaviyo.