How to create a base template
Learn how to create a base email template in Klaviyo. Once you create a base template, you can use it across your campaigns and flows to speed up your building process and ensure your branding is consistent across messages.
Before you begin
A base template includes key sections like a header, body content, and a footer. To create one:
- Navigate to Content > Templates and select Create > New template.
- Select Email and enter a descriptive name, such as “Base email template,” in the Name field.
- Click Create to open the email editor. Then, follow the steps below to add reusable content to your template.
1. Set base styles
Before styling any individual blocks, set your base styles. These styles, like font, colors, padding, and more, provide defaults across your template. Formatting applied to individual blocks or text can override these defaults.
Adding base styles makes it easier to apply your branding, and it also reduces your code weight, making it easier to avoid clipping in Gmail.
To add base styles:
- Click Styles in the left sidebar.

The Styles tab inside a selected block or section only affects that block or section. Use Styles in the left sidebar to change your template’s base styles.
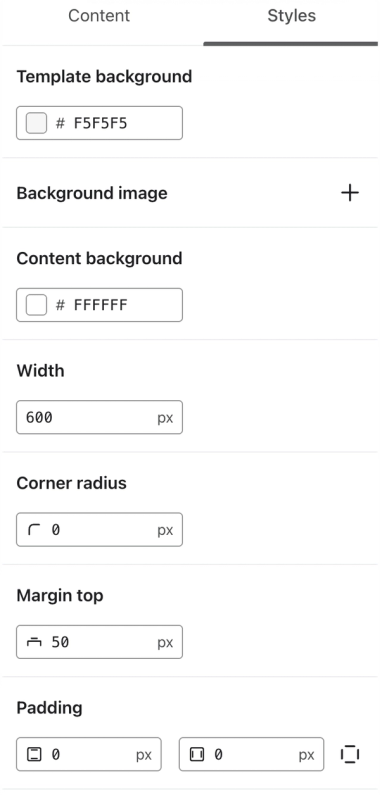
- Set a background color for your template and content, along with margin and padding. We recommend leaving the Width setting as 600px for optimal compatibility with inbox providers.
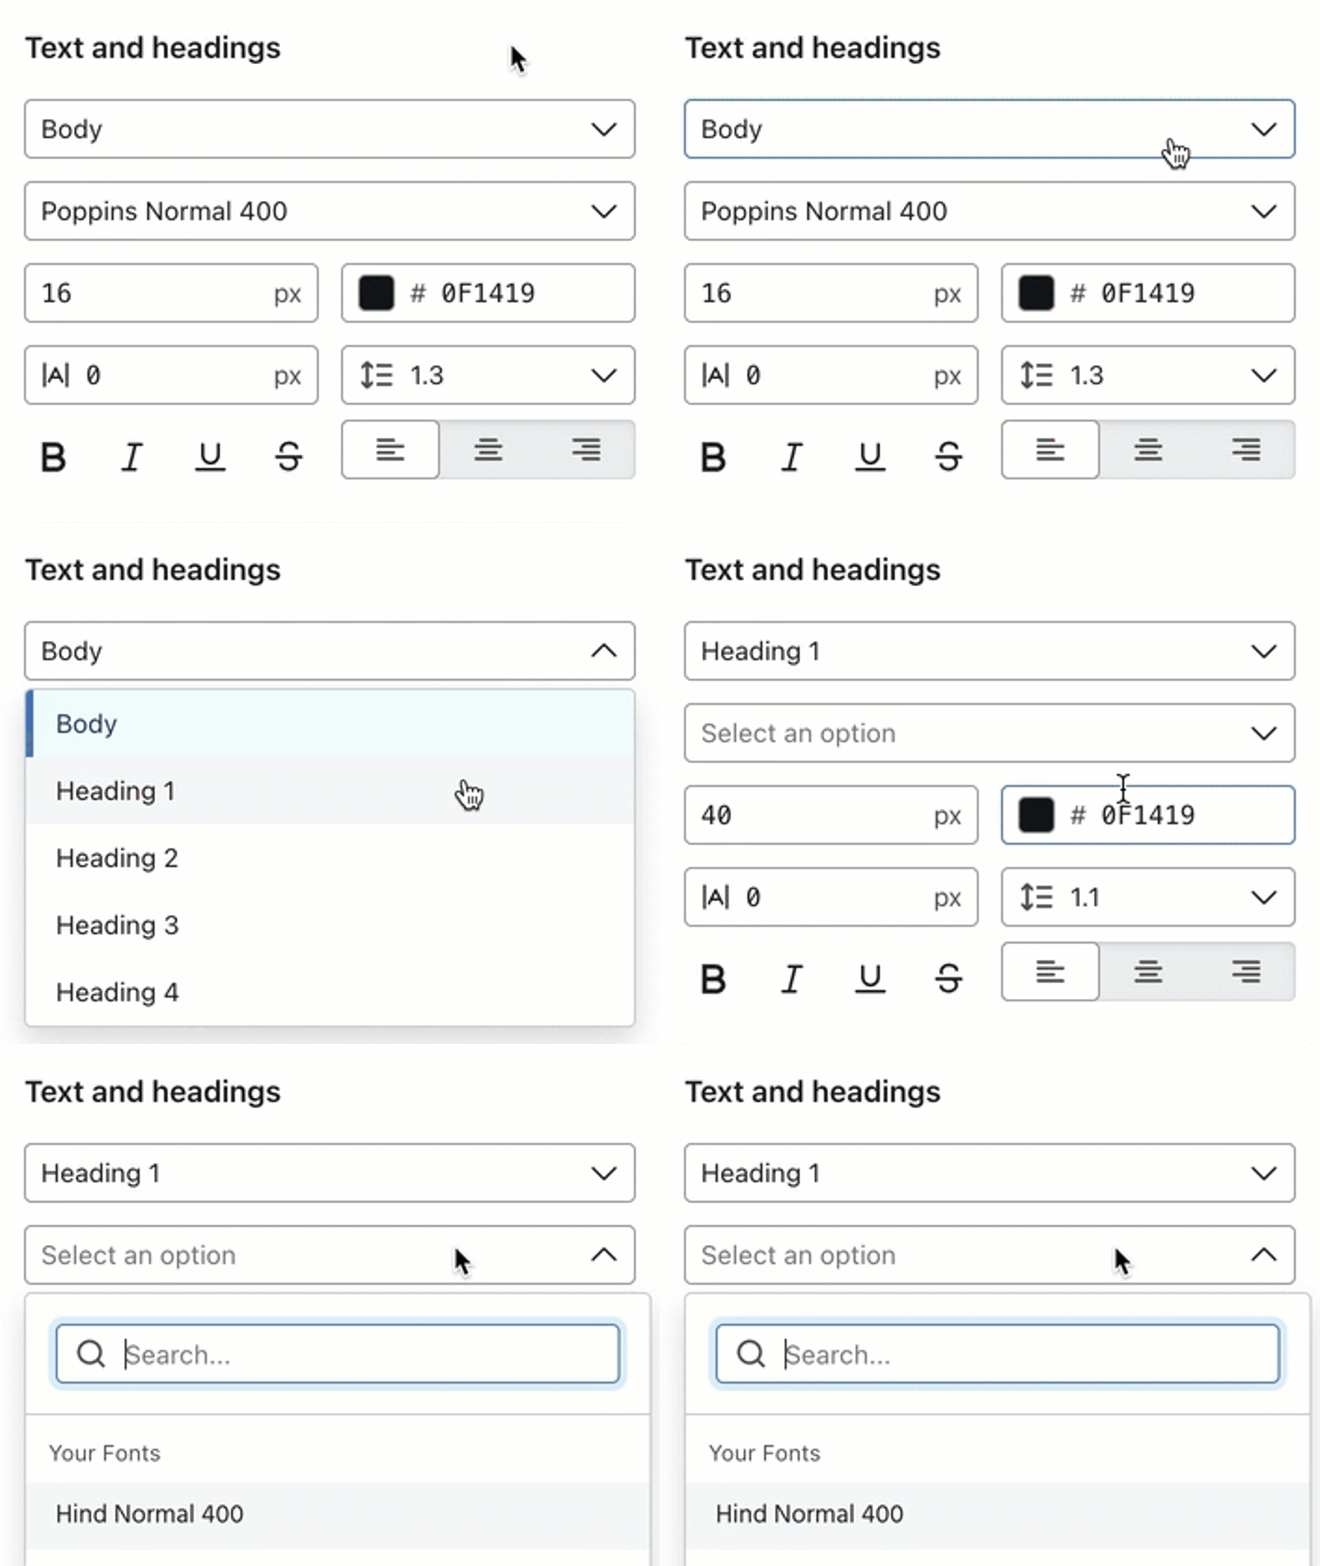
- In Text and headings, add text styles, including fonts, font sizes, colors, and spacing. Use the Style type menu to set styles for Body text, as well as Heading 1, Heading 2, Heading 3, and Heading 4. You can use these heading styles for prominent text throughout your email. Learn how to use a custom font in your emails.
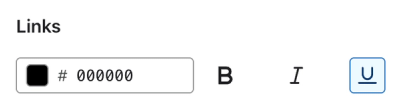
- Add a link color and style.
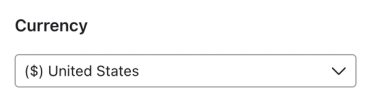
- Select your store’s currency in the Currency menu. The selected currency symbol is the default for the {% currency_format ... %} tag in this template.
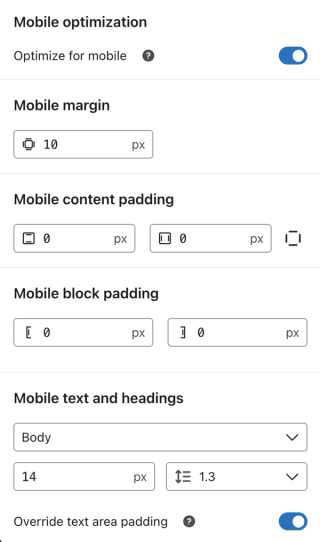
- If Optimize for mobile is turned on, add mobile settings. These will appear when someone opens your email on a mobile device. Learn more about mobile optimization.
2. Build a header section
After you set up your email styles, add your header section. Generally, header sections include a logo, key links, and sometimes a banner featuring information about your latest sale or the recipient’s VIP status.
- If your template already has a header bar, click it to update it with your own logo. Alternatively, click Content in the left sidebar, drag in a Header bar block, and add your logo. Learn best practices for image sizing and quality.
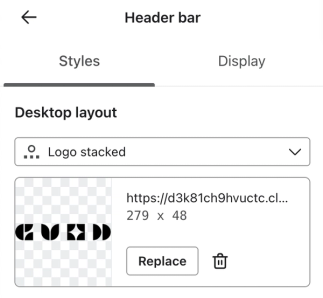
- Select a layout in the Desktop layout and Mobile layout menus (e.g., Logo inline for desktop and Stack all for mobile). Remember that mobile devices use much smaller screens than desktop, so stacking content can make it easier to read and navigate.
- In the Content section, add key site navigation links. Click the trash icon to remove links, or Add link to add them. Common links to include in your header are: shop now, new arrivals, about, sale, FAQs, or a selection of product categories.
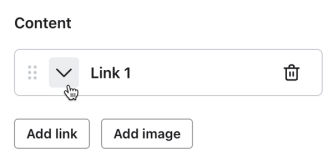
- Adjust block styles in the sections below your link content. Remember, if you want to apply a style setting to your whole email, use the main Styles panel as outlined in the section above.
- Click the back arrow at the top of the block settings to return to Content.
Add an optional feature banner
You can add a feature banner above or below your header bar.
- Drag a text block into the same section as your link bar.
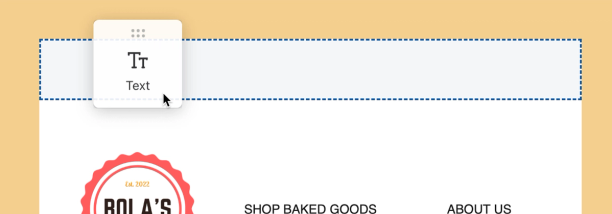
- Set the background to an accent color and add a featured message, like “Use code WELCOME for 15% off your first order!”
- Check that your feature banner and link bar are in the same section by hovering over the space to the left or right of the blocks. A grey Section border should surround both blocks on hover, and it turns blue when the section is clicked.
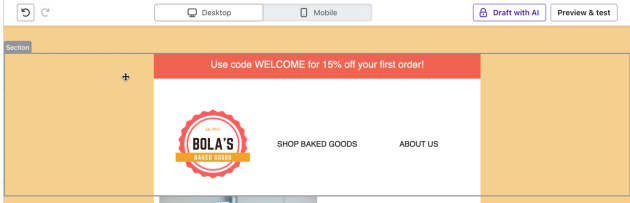
- Optional: Click the star icon, enter a name for the section, and click Create to save it as universal content. Universal blocks and sections can be used across multiple templates, and you can edit all instances of the block/section at one time. Learn more about universal content.
3. Add body content
- Open Content in the left sidebar if it is closed. If block or section settings are open, click their back arrow. Drag a Section block from Layout and place it beneath your header.
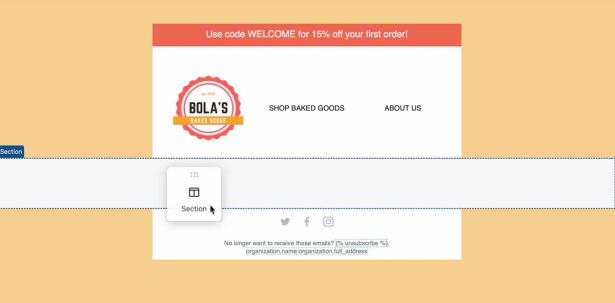
- Add placeholder blocks for your email body content. This might include text blocks with descriptions of your brand or promo messaging, common layouts you intend to use, placeholder product imagery, and more. Learn how to place content side-by-side using columns, split blocks, and tables.
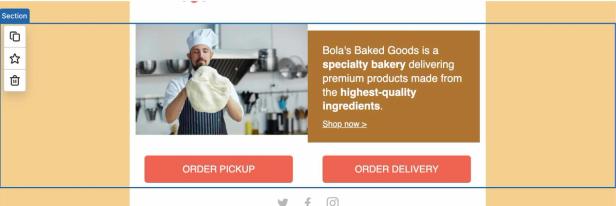
Learn how to add a background image to a section and overlay buttons, text, and other elements on top of it.
4. Build a footer section
Klaviyo requires you to include an unsubscribe link in your emails, and this is most commonly placed in the footer. In addition, these footer elements are recommended:
- Your business address
- A link to your privacy policy
- Links to your social profiles (e.g., Facebook, Instagram, Twitter, TikTok)
- A link to your website
- An email preferences link
To add a footer to your base template:
- Return to Content using the back arrow if block or section settings are open. Drag a new Section beneath your body section, or click the default footer to edit it.
- Add a text block.
- Click the Personalization icon in the text formatting toolbar.
- In the Search personalization field, search for “unsubscribe.”
- Select Unsubscribe to add an unsubscribe link tag to your text block.
- Use this same menu to add an organization address, manage preferences link, web view link, and more.
For Manage preferences and Web view, review the link text and click Insert.

When you send the email, these tags will be replaced with the appropriate text or links.

- Click the back arrow at the top of the text block settings, then drag a Social links block into your footer section, directly above the text block from the previous steps.
- Select your social channels from each existing icon’s Icon dropdown. To add another channel, click Add icon, then choose a channel for the new icon.
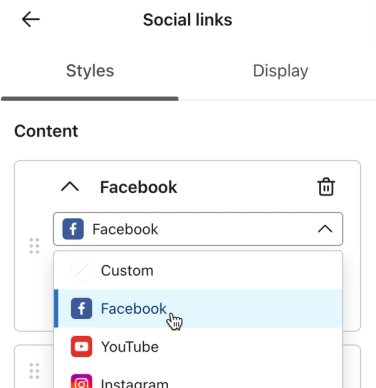
- In the Link address field for each social channel, add a link to your profile.
- Choose an icon style.
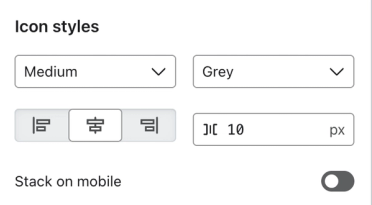
- Click the back arrow at the top of the block settings to return to Content.
- Optionally, save the entire footer section as universal content. Select the footer section, click the star icon, enter a name, and click Create.
5. Preview
Once you’ve added a header, body content, and a footer section, preview the email.
- Click Preview in the top right corner of the email editor.
- Toggle between desktop and mobile to make sure the template appears as desired in both formats.
- Enter your email address in the test recipient field, then click Send test to send a test email to your own inbox.
- Click Done to close the preview modal.
- Click Exit to finish editing and return to your templates. Klaviyo saves your template changes automatically.
Once you’ve saved the base template, you can use it as the basis for all future campaign and flow emails.