How to add branding from your website to your emails
Learn how to use the brand library to set up branding for your emails in Klaviyo. The brand library can detect your branding directly from your website, or you can upload content manually.
These instructions cover first-time branding setup with Detect from my website and Add branding manually. If you’ve already set up your branding or chosen Add assets manually, learn how to update your brand styles in Klaviyo.
The brand library can automatically detect and collect the following elements from your website:
- Logos
- Colors
- Buttons
- Fonts
Completing guided branding setup also updates the branding on your account’s default consent pages and double opt-in confirmation email.
Add branding from your website
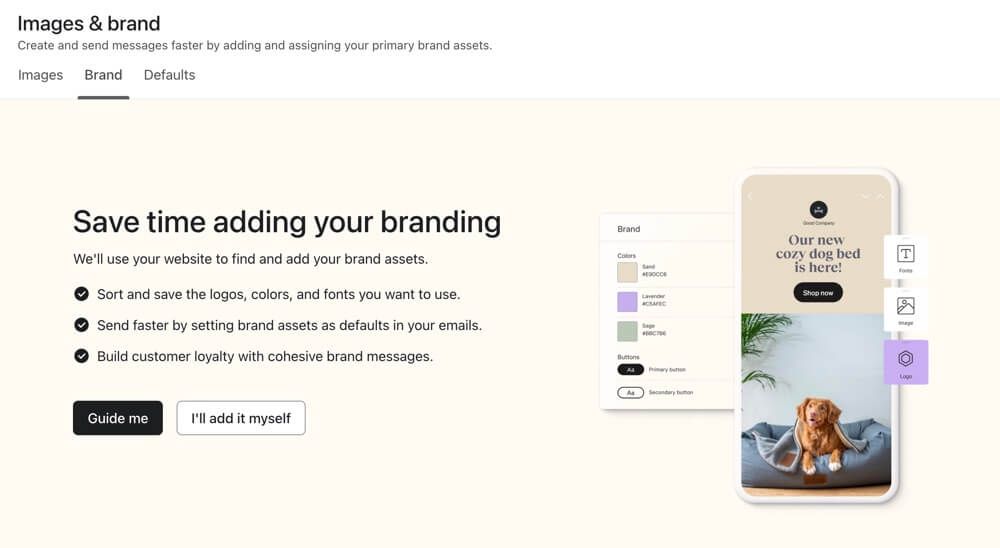
When you’re setting up branding for the first time, you’ll see the option to automatically detect branding from your website and upload it to Klaviyo.
- Navigate to Content > Media & brand and select the Brand tab.
- Click Start adding assets. If you see Review brand assets instead, click it and continue with the step for reviewing detected brand elements.
- Select Detect from my website and enter your website’s URL.
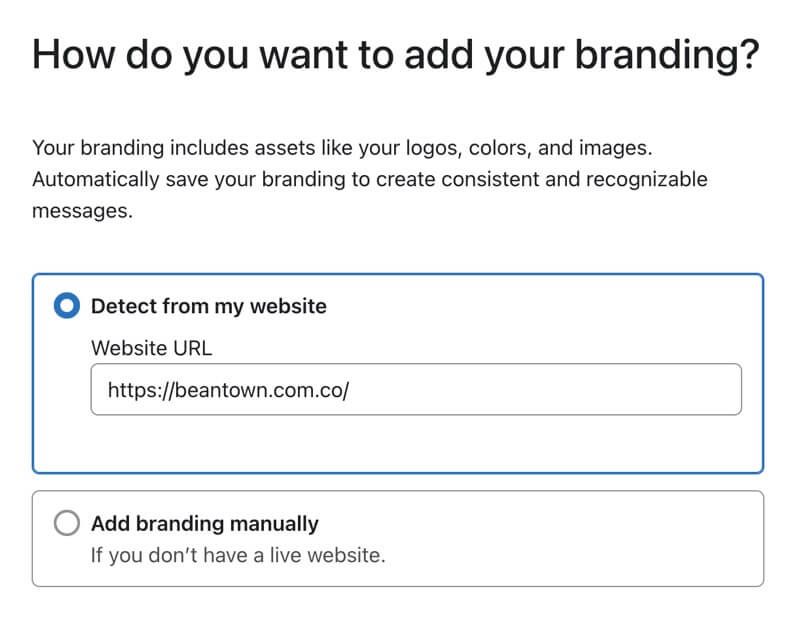
- Click Next.
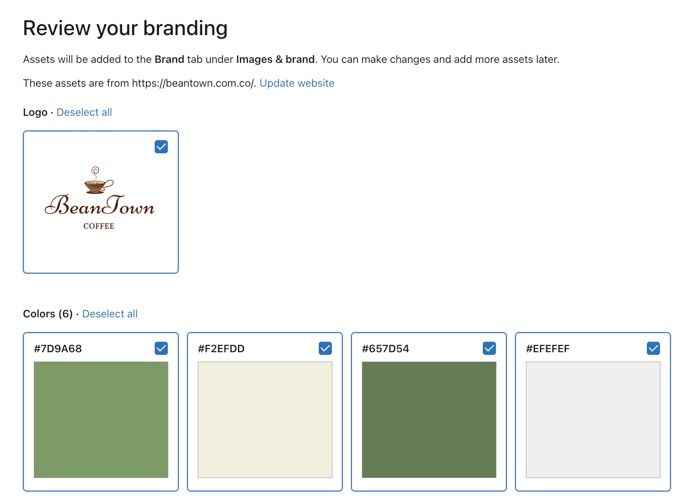
- Review the detected logos, colors, and buttons. Click any you’d like to exclude to deselect them, then click Next.
- Set up branding for your email templates. The header, footer, and body will be automatically populated with elements from the previous step, but you can manually change them as desired.
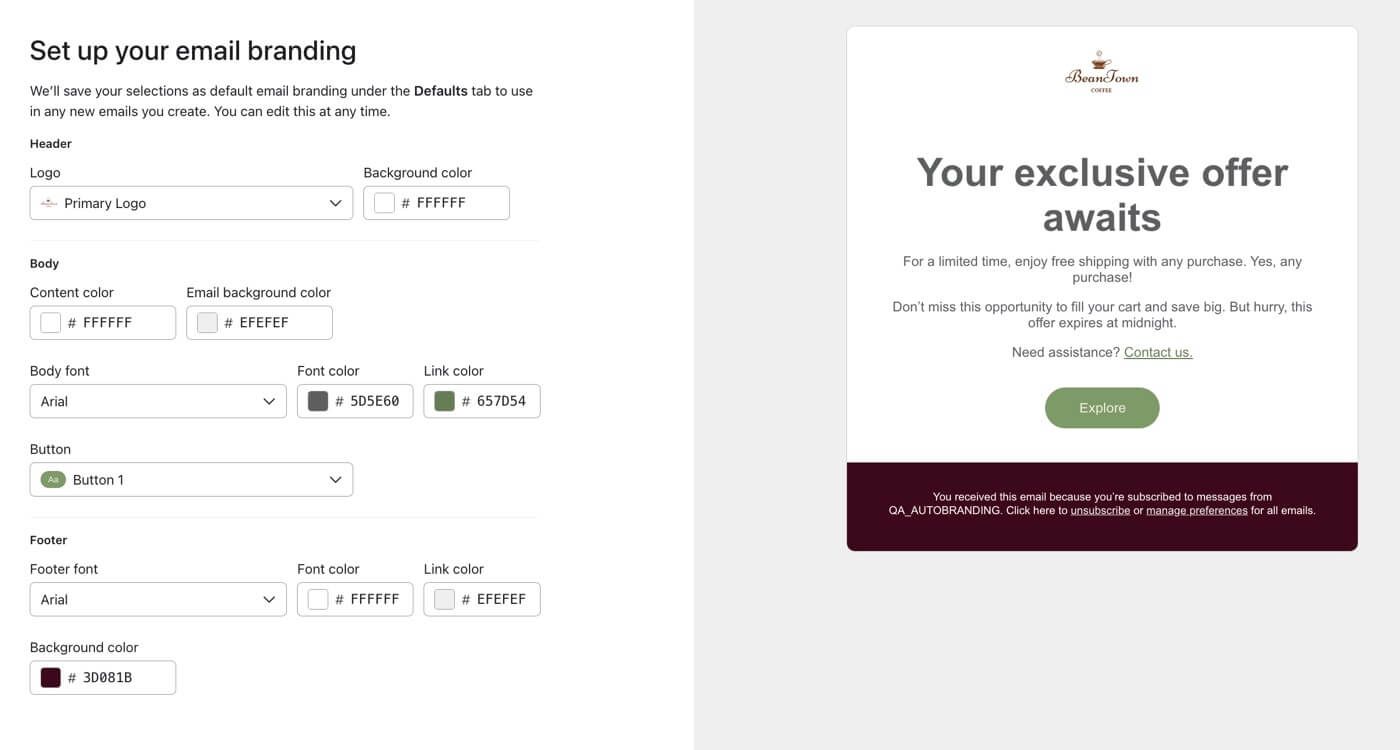
- Click Next to save your default email branding.
- If you’re satisfied with your branding, click Exit. Otherwise, click Back to return to previous steps.
If no brand elements are detected, try another website URL or follow the manual setup steps below. If you reach the import limit, add your branding manually. To use branding from a social media page, add it manually.
Add branding manually
If you don’t have a website set up or you’d like to upload everything yourself:
- Navigate to Content > Media & brand and select the Brand tab.
- Click Start adding assets. If you see Review brand assets instead, click it, then click Back.
- Select Add branding manually, then click Next.
- In the editor, customize the header, body, and footer of your email templates.
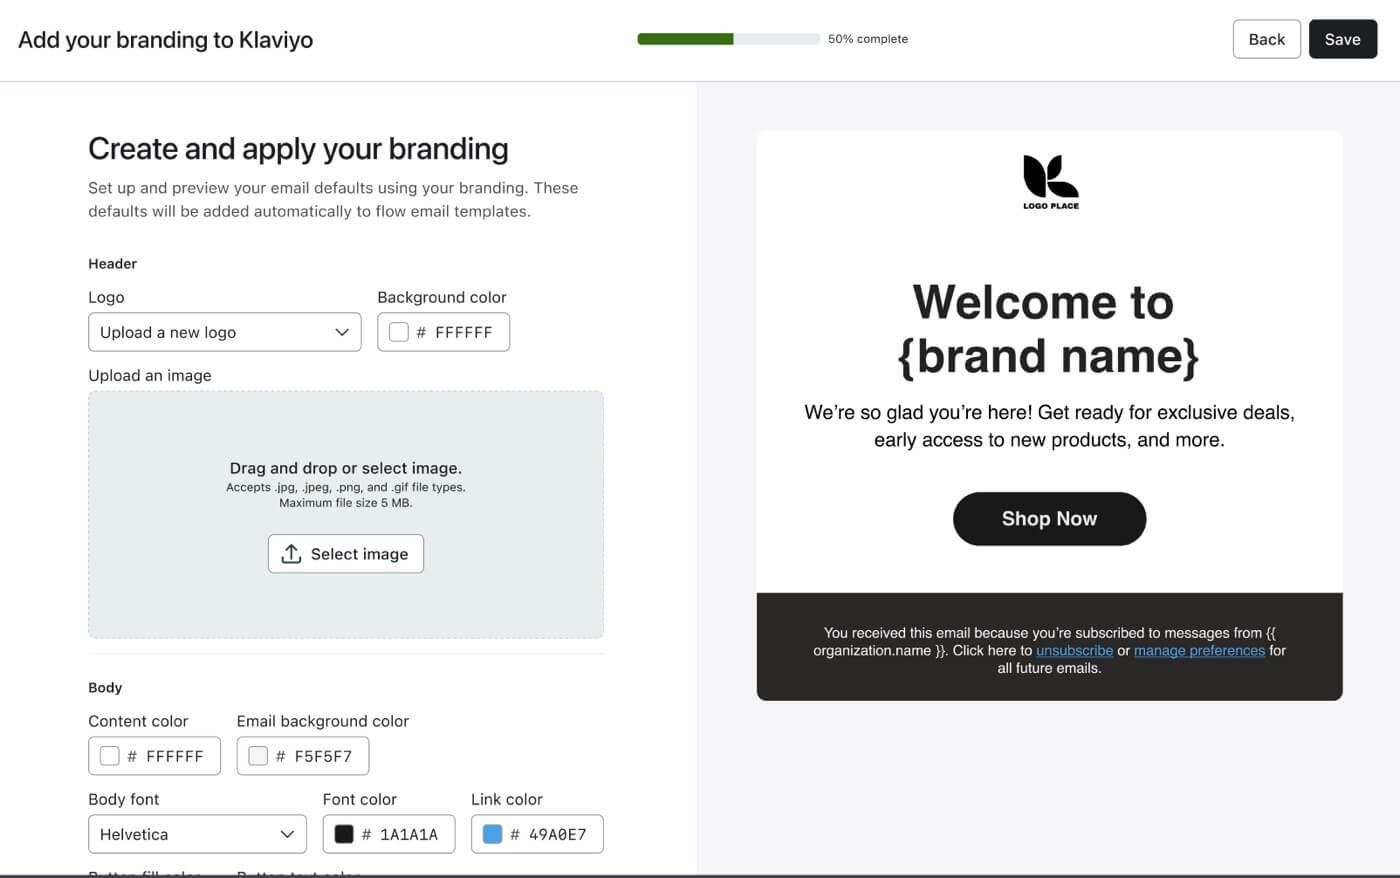
- Click Next to save your default email branding.
- If you’re satisfied with your branding, click Exit.
Update your brand style settings
Once you’ve set up your branding in the brand library, you can update your branding at any time.
Changes to your brand styles and email defaults do not update existing email templates or flow messages. Edit those separately.
- Navigate to Content > Media & brand.
- Select the Brand tab to add elements to your brand such as logos, colors, and fonts.
- Select Defaults. If the Email and Form options appear, select Email. Click Edit on the email preview.
- Edit the Header, Body, and Footer as needed, then click Save.
Learn more about how to update your brand styles in Klaviyo.
Additional resources
- About email images best practices
Learn about best practices when using images in Klaviyo emails, including size recommendations and how to add images.
- Brand design reference
Learn how to make your business look professional and reputable through your colors, designs, fonts, and brand concepts. This guide will walk you through