How to add an internal alert action to a flow
You will learn
Learn how to send an internal alert (previously called notification) when a customer first triggers or reaches a particular point in a flow. It sends emails to your team around certain activities that require specific follow-up or attention; for example, notifying your customer experience team when someone leaves a detractor NPS score or alerting your sales team when someone is added to a wholesale or VIP list.
Before you begin
While these internal alert emails can be sent to any confirmed email addresses, recipients do not need to have customer profiles in your account. Note that all emails sent do count toward any account email sending limits.
There is a maximum limit of 5 recipients per internal alert action.
You will not be able to use the following in an internal alert:
- Dynamic coupons
- Data or product feeds
- Webview, preference, or unsubscribe link tags
Add the internal alert action
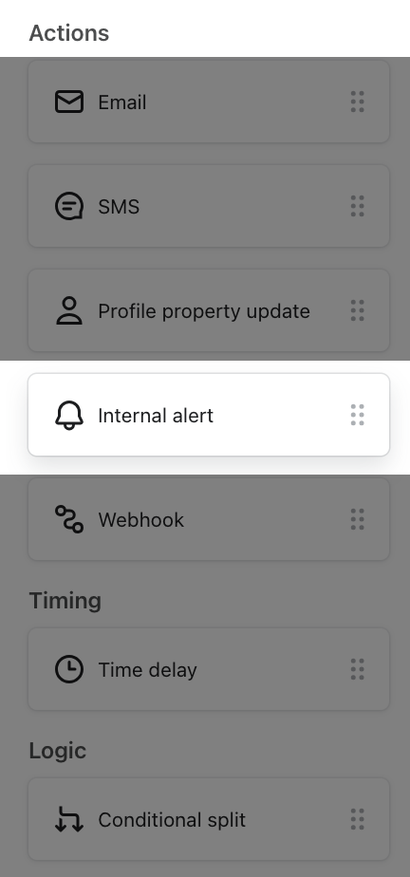
To add a new internal alert action into a flow:
- Drag the internal alert action from the sidebar and drop it on any green drop point.
- After adding a new alert to your flow, specify between 1 and 5 recipients in the right sidebar.
- Recipients do not need to be account users or have profiles in your Klaviyo account, but internal alert actions have their own recipient opt-in process.
- Recipients do not need to be account users or have profiles in your Klaviyo account, but internal alert actions have their own recipient opt-in process.
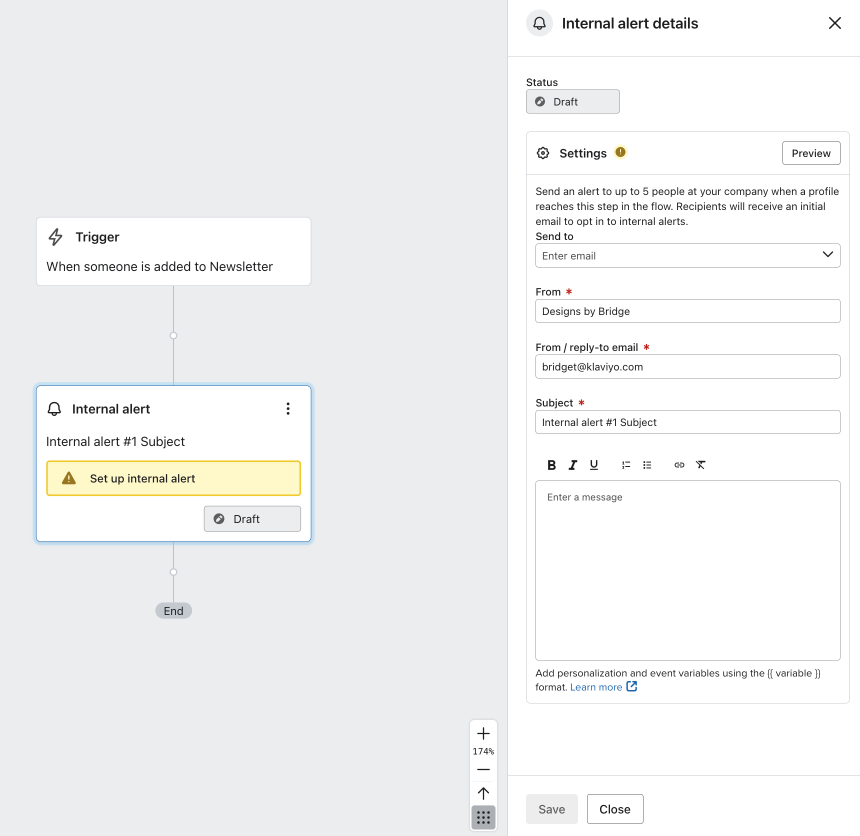
- Customize the Send to, From, From / Reply-to email, Subject, and Message sections.
- When customizing your message content, you can include personalization variables that will populate with information regarding the contact that reached this step in the flow; i.e., the contact triggering the notification. For metric-triggered flows, you can also use event variables in your message.
- Click Save.
- All new or unconfirmed recipients will receive an email prompting them to confirm opt-in to receive notifications from your account. See our article on the recipient opt-in and opt-out process for more information.
- You can see the opt-in status of each recipient based on the icon next to their email address when selecting the Send to dropdown.
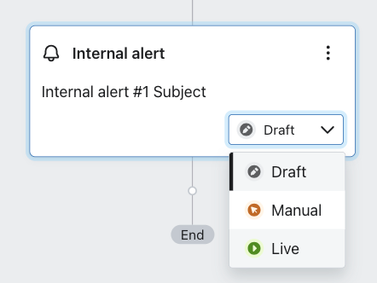
- Change the status to live.
View activity
When reviewing your internal alert action, you can see a summary of how many notifications are currently scheduled and how many have been sent in the left-hand panel. Scheduled alerts will appear as Waiting.
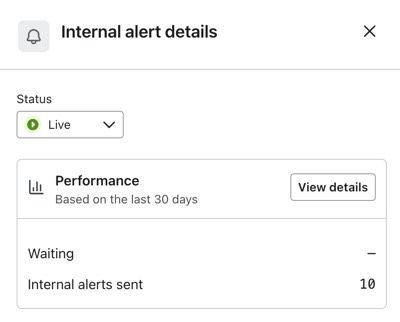
Click View details to view the following:
- Internal alerts that are scheduled and in Waiting
- Internal alerts in Needs Review (if the flow component is/was in manual mode)
- Internal alerts that were Sent
- Internal alerts that were Skipped
The recipient activity view shows you, for each internal alert triggered, who received the notification message and which profile they were alerted about. Keep in mind that these alerts will only send to actively confirmed recipients saved as part of your Send to list.
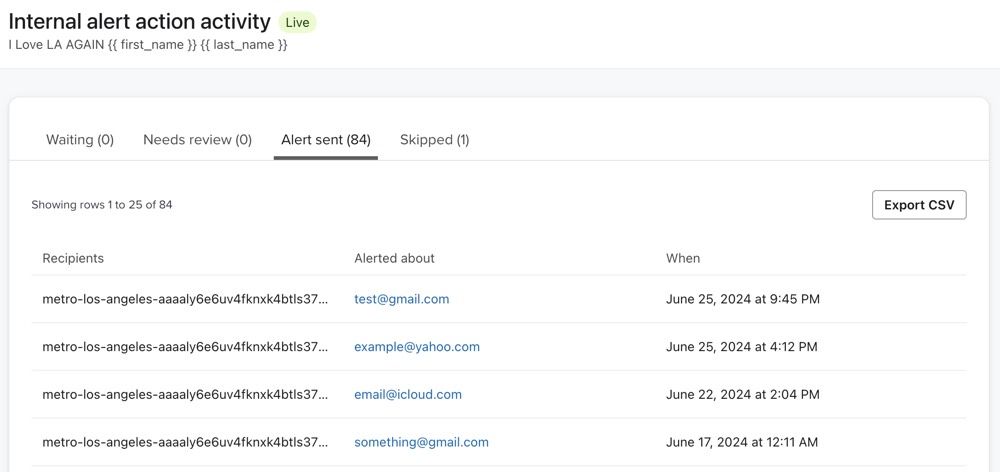
If all intended recipients are Unconfirmed or Disabled at send time, we will skip the internal alert entirely and you will see this reflected in the Skipped: No Confirmed Recipients tab of the activity view.
Filters
Like all flow actions, internal alerts are affected by profile filters. If a profile is skipped from the rest of a flow due to filters, this will also prevent it from triggering an internal alert.
For example, say you have an internal alert at the end of your abandoned cart flow to alert you whenever someone goes through the entire flow without making a purchase. The profile filters for a typical abandoned cart flow skip someone from the flow once they make a purchase, so if they are skipped from the flow before reaching the end, they also won't trigger the internal alert.
Additional resources
- How to opt in and out of an internal alert action
Learn how to opt in and out of the internal alert action in a Klaviyo flow. Someone does not need to have a profile in your Klaviyo account, or exist as an account user, in order to receive emails from an internal alert action. However, all recipients will need to opt in to receive internal alerts from your account before they start receiving any messages. They can also opt out at any time. In this article, we explain the recipient opt-in and opt-out process for the internal alert action as well as the different statuses.
- Understanding internal alert use cases
Learn how to notify members of your internal team or external partners when a customer enters or reaches a certain point in a flow. Use cases include setting an internal alert for:
- Getting started with flows
Learn how to use flows, also known as automations or drip campaigns, in Klaviyo for personalized and automated communications to your customers, and learn how to set your first flow live.