How to set up coupons for Magento 2
You will learn
Learn how to set up a price rule in Magento 2 and create the coupons in Klaviyo so that your shoppers can easily apply a discount during the checkout process. Magento supports shopping cart price rules.
Klaviyo's Coupons allow Magento 2 stores to do the following:
- Create new coupons in Klaviyo associated with pre-existing price rules in Magento.
- Include unique (also called "dynamic") coupons within flow emails, so each recipient receives a unique code.
This guide will walk you through creating a Magento 2 coupon in Klaviyo in 2 steps:
- Set up a price rule in Magento 2.
- Create the coupon in Klaviyo.
If you would like to send campaign emails with unique coupon codes for Magento 2, follow this guide on uploading unique coupons into Klaviyo and using them in a message.
Before you begin
Before you begin, make sure that you've enabled the Magento 2 integration in Klaviyo and installed the Klaviyo extension in Magento.
Set up a price rule in Magento 2
1. From your Magento 2 store navigate to Marketing > Cart Price Rule.
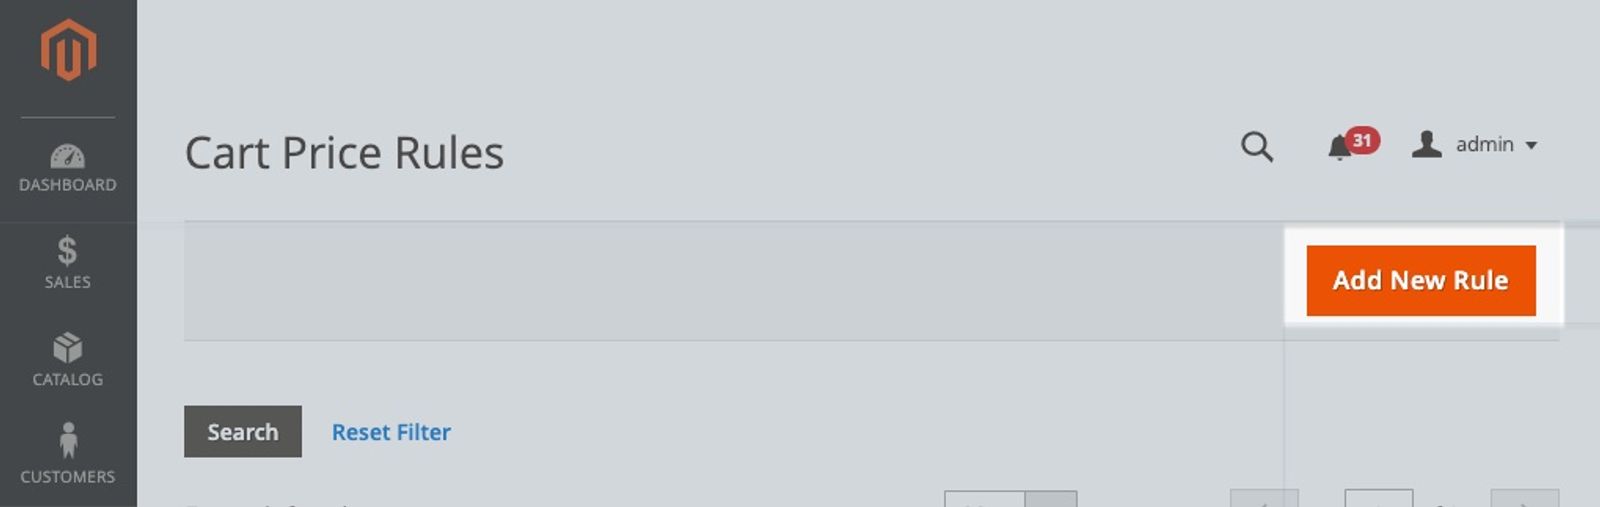
2. Create a price rule by clicking Add New Rule.
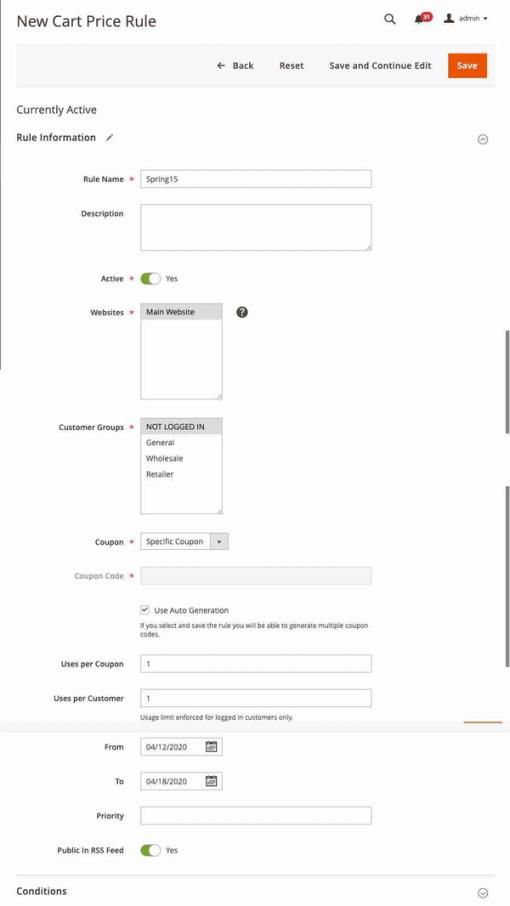
3. Fill in the rule information:
- Rule Name: the name of the price rule in Magento 2.
- Active: choose Yes. If Yes is not selected, the coupon will not work.
- Websites: if you only have one Magento store, choose the name of your website. If you have multiple Magento stores, choose the store the coupon is associated with.
- Customer Groups: choose NOT LOGGED IN, or choose a different customer group.
- Coupon: choose Specific Coupon from the drop-down.
- Coupon Code: you don’t need to enter anything in this field; Klaviyo will automatically generate coupon codes for you.
- Use Auto Generation: you must enable this field. If you don’t enable this field, Klaviyo will not be able to generate coupon codes.
- Uses per Coupon: the number of times your coupon can be used; usually this value will be 1.
- Uses per Customer: the number of times your coupon can be used per customer; usually this value will be 1.
- From -- To: enter the date range during which the coupon will be valid; the To date will be the coupon's expiration date.
Coupons set to never expire will still show an expiry date of 1 year listed in Klaviyo. However, they will not expire.
4. At the bottom of your New Cart Price Rule screen, you’ll see additional settings. Conditions, Actions, and Labels settings are optional and will impact how coupons are applied in your Magento 2 store; these won’t affect Klaviyo Coupon generation.
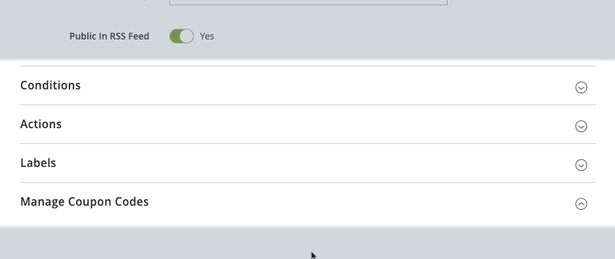
5. Manage coupon codes: these settings don’t need to be filled in. When Klaviyo generates coupon codes, those codes will appear in this section.
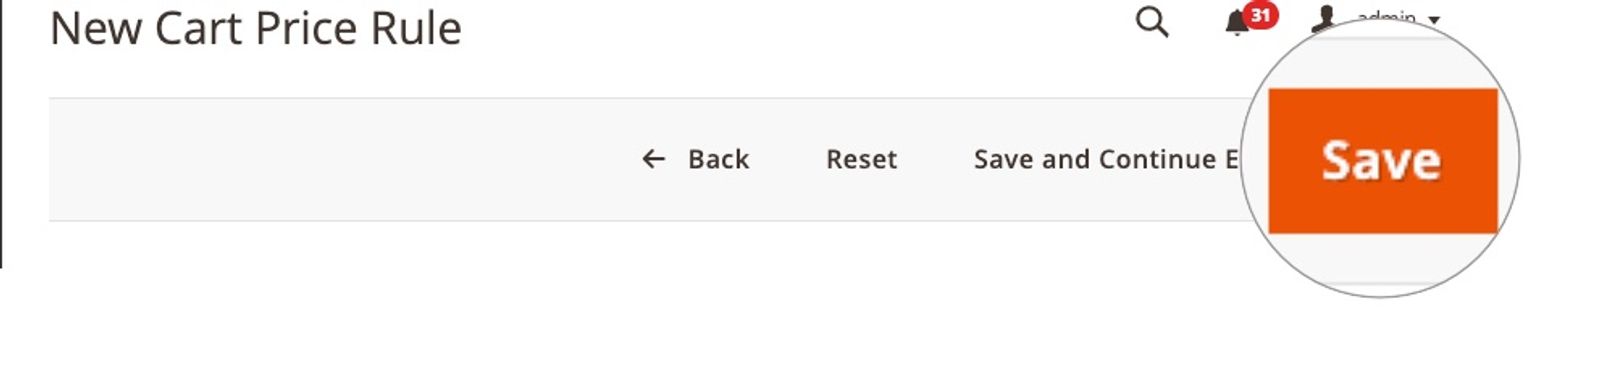
6. When you’re finished, click Save in the upper right corner of your screen.
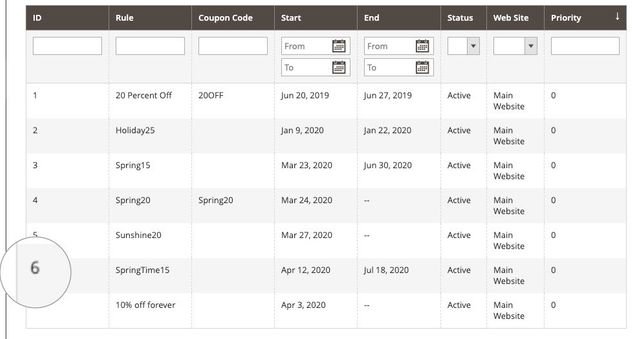
7. Return to your list of cart price rules in Magento 2 and note the ID of the rule you created. You’ll need this rule ID to create the coupon in Klaviyo.
Create a Magento coupon in Klaviyo
Next, you’ll create a coupon in Klaviyo. For this step, you need the ID associated with the price rule you just created in your Magento 2 account. A new coupon created in Klaviyo must reference a pre-existing Price Rule in Magento.
1. Navigate to your Content > Coupons section and select Magento 2 Coupons.
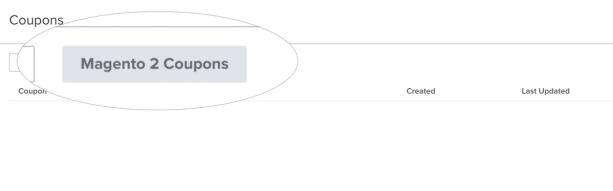
2. Click Create Magento 2 Coupon to create a new coupon.
3. Enter a name for your coupon in the Name field. Use letters, numbers, or underscores, with a maximum of 32 characters. In Magento 2 rule ID, enter the ID of the price rule you created in Magento 2. You must create the price rule before creating the coupon in Klaviyo; return to your Magento 2 account if you need to look up its ID.
4. When you’re finished, click Create coupon.
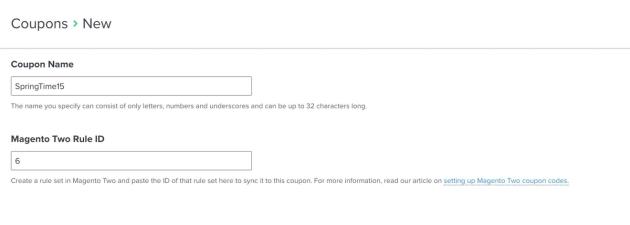
Your new coupon appears on the Magento 2 Coupons tab.
Use your unique coupon in a flow
Once you’ve created and configured your coupon, insert it into a flow message.
- Navigate to the Flows tab in Klaviyo’s left-hand navigation.
- Open an existing flow or create a new one.
- Select a flow message inside your flow.
- Open the message editor for the selected flow message. For an email with an existing template, click Edit in its content section. If the email has no template, click Select template first.
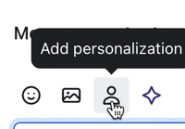
- Click in the text field where you want the coupon to appear, then click the personalization icon. Depending on your editor, you may see a person icon, or a button labeled Personalization.
- From the All types menu, select Coupons.
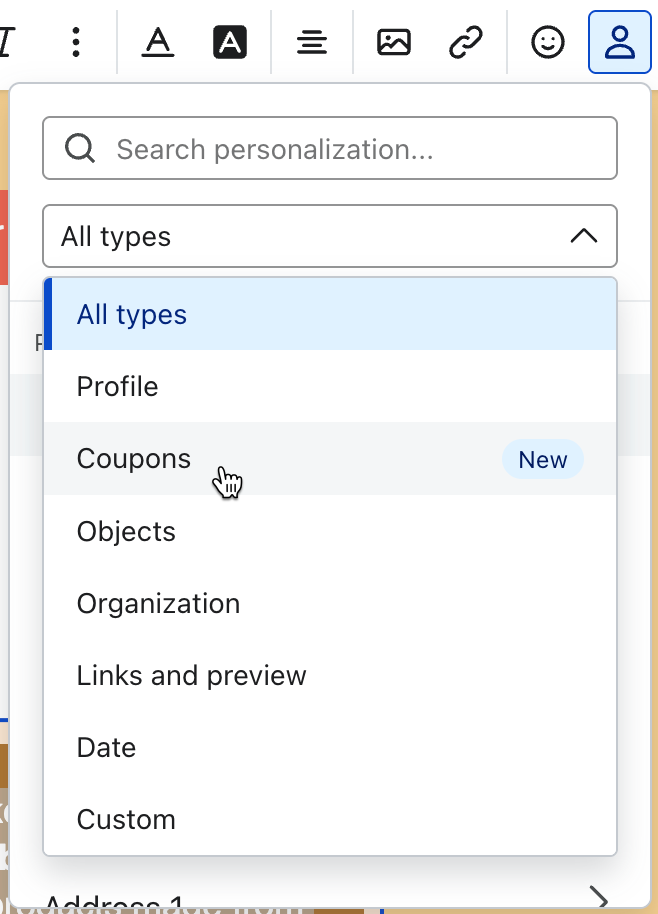
- Select the coupon you'd like to add.
- Return to the flow builder after saving your message content. In the drag-and-drop email editor, open the 3-dot menu beside Exit and select Return to Flow.
- Optional: In the flow builder, select your flow email, open the 3-dot menu in its content section, and click Preview email. When you preview the email directly in Klaviyo, you’ll see your coupon’s name followed by “-PREVIEW” instead of a unique code. Klaviyo assigns a real code when the flow message sends.
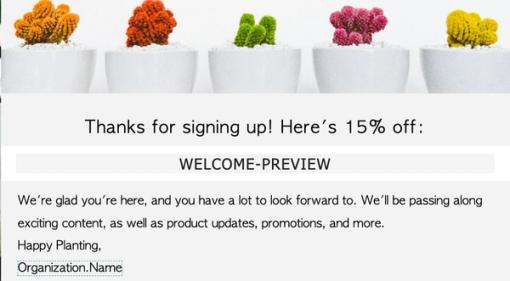
When a flow message sends, a unique 10-character alphanumeric discount code replaces the coupon tag for each recipient. If you include the same coupon tag in multiple flow messages, the recipient receives the same assigned code as long as it has not expired in Klaviyo.
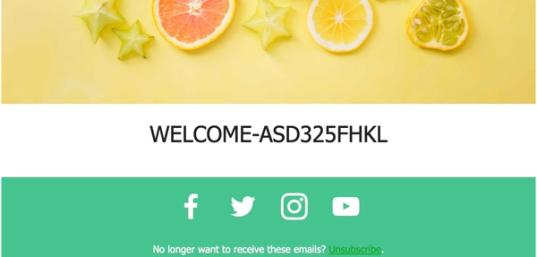
Klaviyo requests a new code from Magento 2 at send time when the recipient does not already have an unexpired code assigned for that coupon. You do not need to set a minimum inventory or manually add batches of codes for Magento 2 flow messages.
When your message is ready to send automatically, set its status to Live. See Getting started with flows for instructions on changing flow message statuses.