How to use a full page sign-up form as a landing page
You will learn
Learn how to create a sign-up form in Klaviyo that covers a full page on your website and launches immediately when a viewer clicks on a designated URL, resembling a landing page experience that visitors can navigate to subscribe. To set this up, first you'll need to create the full page form, then adjust certain Targeting & behavior settings so that it appears when a user clicks on a certain link.
A full-page sign-up form spans the entire height and width of the page to appear like a customized landing page; it is not actually a landing page on its own, and a close icon must be included so visitors can dismiss it and resume their browsing experience. When a viewer clicks on your link, it will launch your website with the full page form appearing immediately.
Before you begin, make sure Klaviyo’s onsite JavaScript is installed on the website page you will use for your link. See how to install Klaviyo onsite tracking.
Create a new full page form
- Select Website > Sign-up forms from the main left-hand navigation.
- To start with a blank template, select Create form. If prompted to choose a channel, name your form, select Web, and click Create. In the form library, select Create blank form.
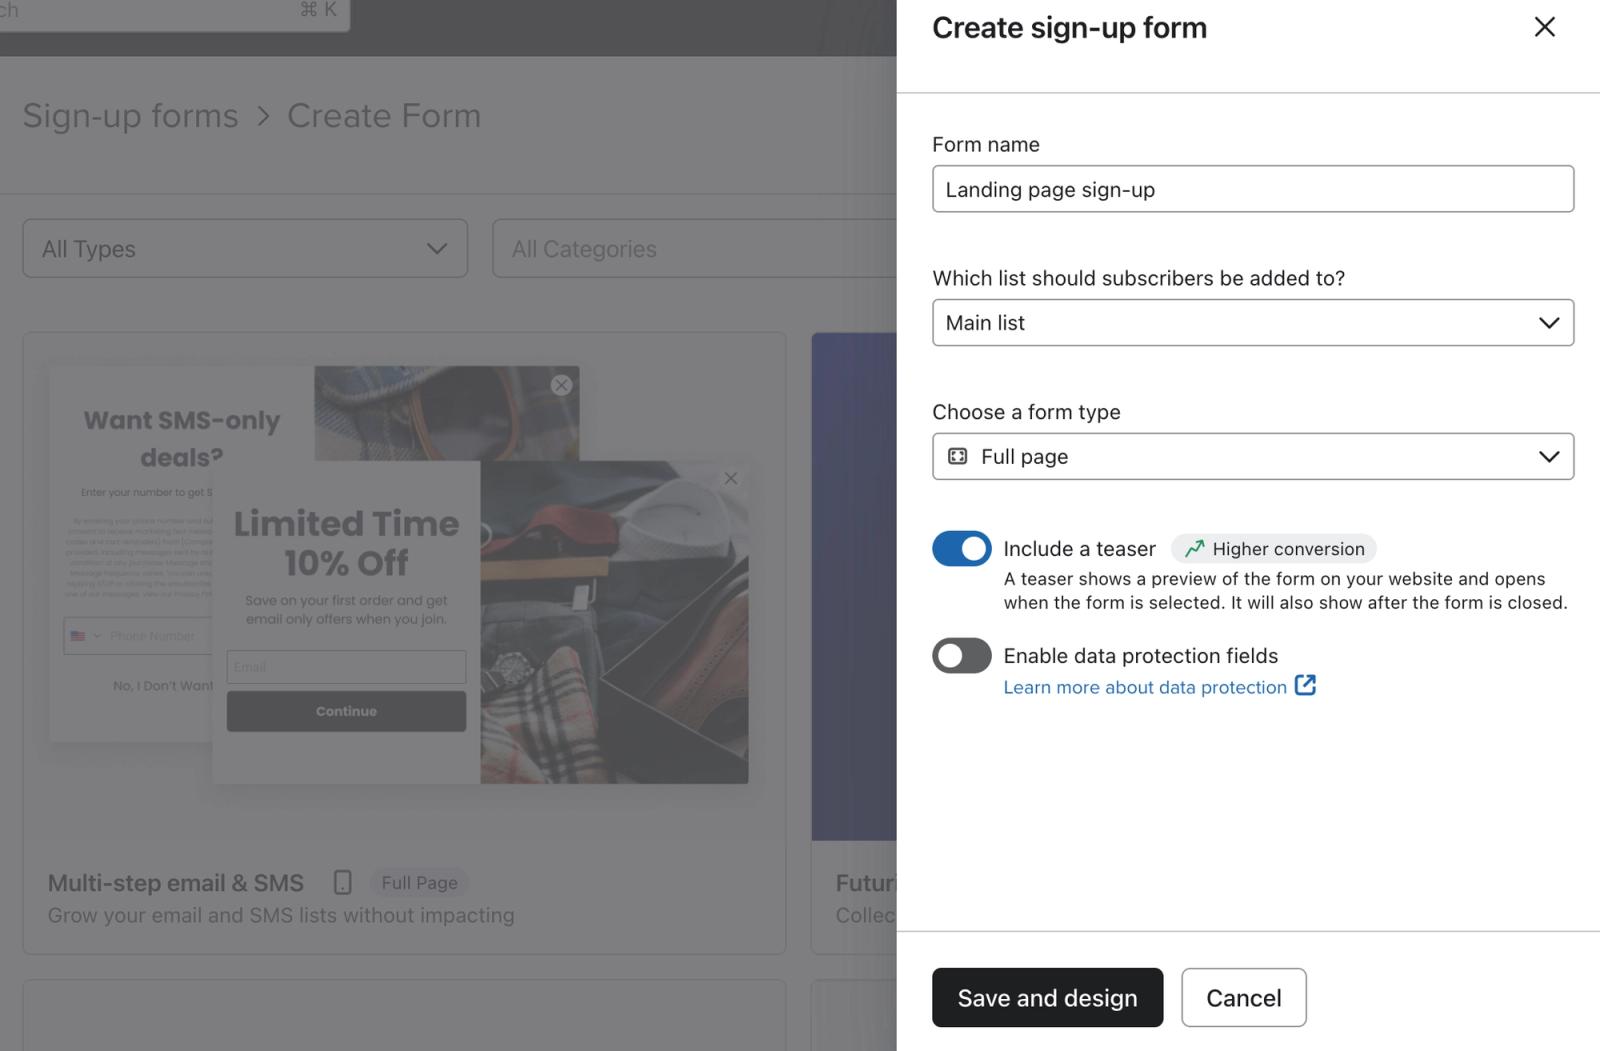
- Enter or confirm your form’s name and choose which list subscribers should be added to.
- Select a Full page form type.
- Click Save and design to start building your new form in the form editor.
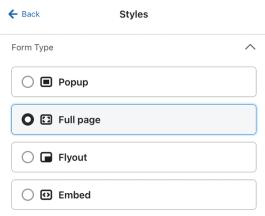
- If you'd prefer to use an existing form in your account or customize a template from the form library instead, select Edit styles in the editor and verify that Full page is set as the Form type.
- Customize the design and content of the form to match your goal.
- Select Add content to open the block panel and drag and drop different input blocks on your form (i.e., phone number field, date field, etc.). Learn more about form blocks and fields.
- Select Edit styles to edit and customize the form to match your brand (i.e., images, background color, form styles, etc.). Learn more about form styles and design options.
- Select any text in the preview to edit it and customize your form's tone or message.
Update the call to action on your form
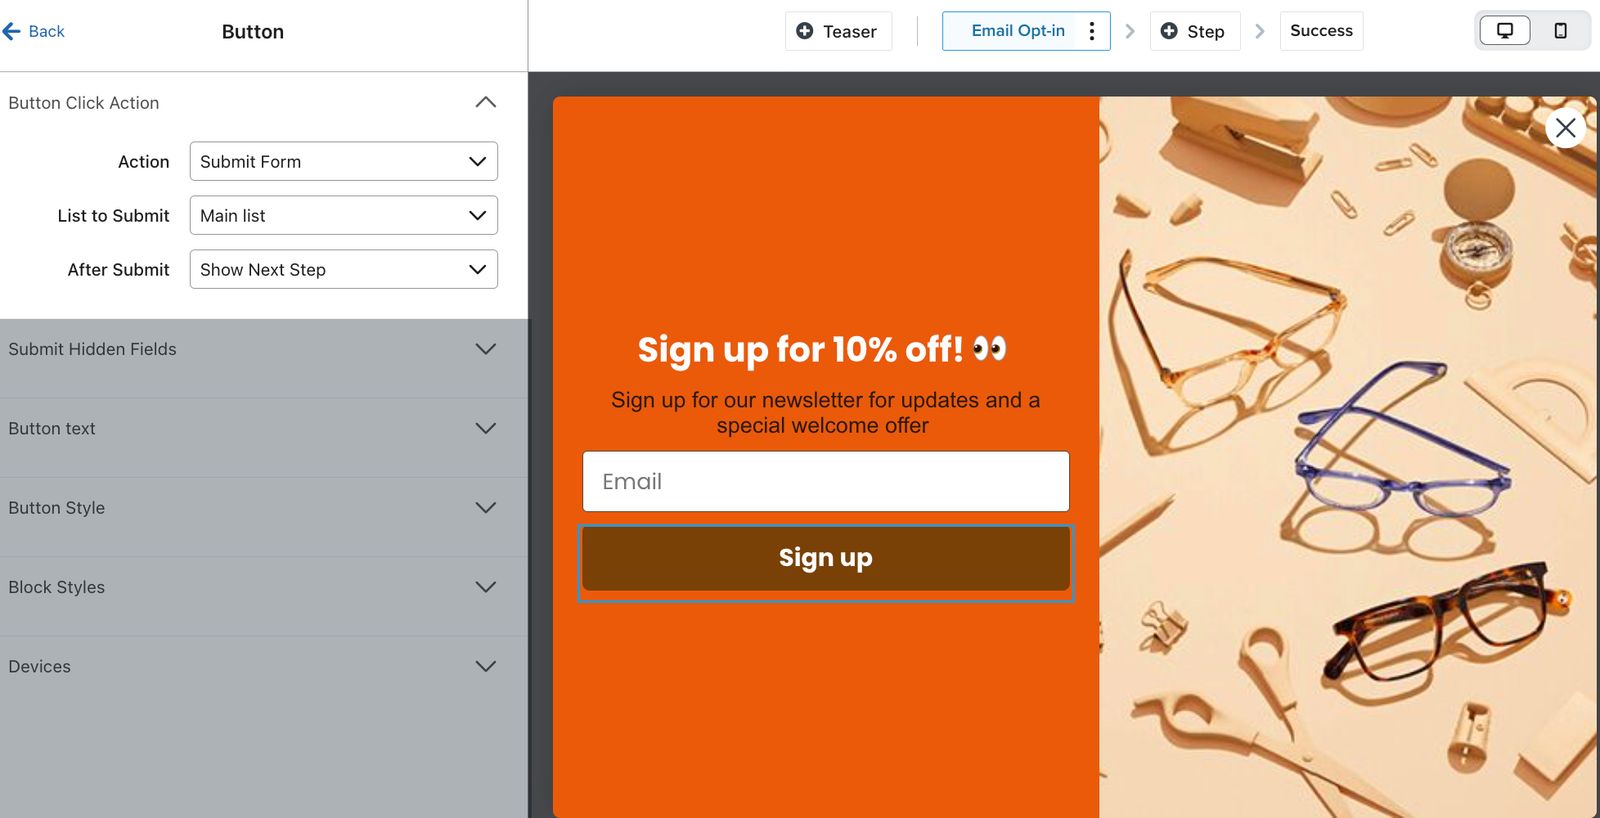
- Within the form editor, click on the submit button on your form's preview (e.g., the "Subscribe" button in the image below).
- Set the button's Action to Submit form. You can also adjust the list that you want subscribers to be added to from here. If the list is double opt-in, remember to update the associated subscription confirmation page.
- Next to After Submit, choose either:
- Show next step to display the next step in the form. This can be another sign-up step or the success message, depending on how your form is set up.
- Go to URL and input the Destination URL if you want to redirect subscribers to another page on your website, such as your homepage.
Target your form to appear when a link is clicked
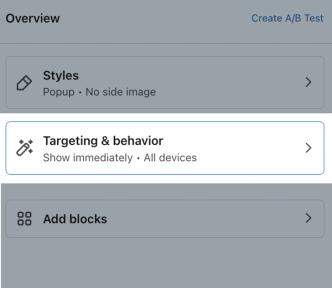
- Within the form editor, select the Targeting & behavior control.
- Select the Display tab. Under Timing, select Immediately.
- Under Frequency, set If visitor closes form, show again after to 0 days, then select Don’t show again if form was submitted or if go to URL button was clicked.
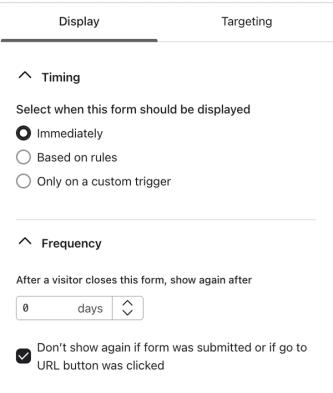
- The 0-day setting lets the form appear again when a visitor returns after closing it. With the checkbox selected, the form stays hidden in the same browser after a visitor submits it or clicks its Go to URL button. Clear the checkbox if you want those visitors to be able to see the form again.
- Under Devices, select All devices so visitors can open the form on desktop and mobile.
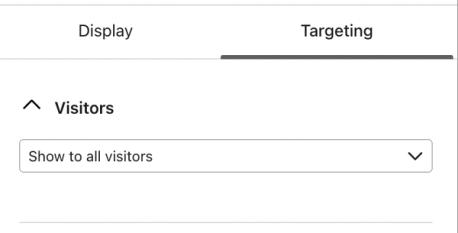
- Toggle to the Targeting section at the top.
- Under Audience, choose Show to all audience members.
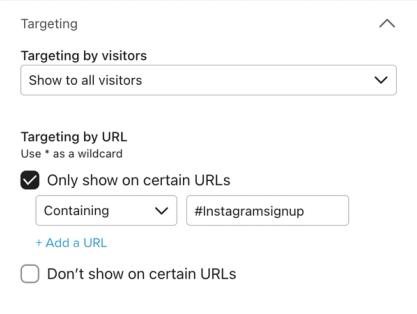
- Under URLs, select Only show on certain URLs, then choose Containing from the dropdown menu.
- In the corresponding text box, insert an anchor link. An anchor link starts with a hashtag, followed by a descriptive page name (e.g., #InstagramSignup).
- Attach the anchor link to the end of your site's URL (e.g., https://swak-lip-care.myshopify.com/#InstagramSignup) to create a link that opens the full page form on your website. The option to hide the form after submission or a Go to URL click still applies.
- Attach the anchor link to the end of your site's URL (e.g., https://swak-lip-care.myshopify.com/#InstagramSignup) to create a link that opens the full page form on your website. The option to hide the form after submission or a Go to URL click still applies.
- Be sure that the close icon (X button) is easy to find so shoppers can dismiss the sign-up form from their screen. Visitors can also press Escape to close the form. Click on the X button in the preview within the editor to adjust it.
- When you’re ready, click Publish or schedule. Resolve any blocking alerts, select Publish now, then click the Publish now button to make the form live.
Once the form is published, you’ll begin collecting subscribers via your anchor link. Viewers will need to click directly on the URL containing the anchor link, or type it exactly into their browser to surface your website showing the full page form.
For example, if SWAK Lip care sets the anchor link to be #InstagramSignup to post it on an Instagram Story, the link will look like this:
https://swak-lip-care.myshopify.com/#InstagramSignup.
Test your form
- Open the full URL, including the anchor link, in a private or incognito window with ad blockers disabled. Check that the form appears on desktop and mobile.
- Submit the form and check that the next step, success message, or destination page matches your settings.
Next steps
Share your link in your social channels or messages to encourage viewers to sign up and hear more from your brand.
To make this link clickable on your Story, utilize an Instagram link sticker.
Consider adding a split to your welcome series to target those who signed up using this form if you would like to send them a more personalized message.
Additional resources
- Getting started with sign-up forms
Learn how to create and customize sign-up forms in Klaviyo to publish on your website so you can engage shoppers, collect emails and phone numbers, and build long-lasting customer relationships.
- How to manage your sign-up forms
Learn tips for managing your existing sign-up forms so you can ensure they are aesthetically pleasing and functional for customers interested in engaging with your brand.
- Understanding targeting and behavior settings for sign-up forms
Learn about the Targeting & behavior section of the sign-up form editor, where you can control and change when a form appears on your site, and who sees it. Open the form editor for an existing sign-up form, then select Targeting & behavior to adjust the display and targeting settings covered in this guide.