How to enable back in stock for PrestaShop
You will learn
Learn how to send back in stock messaging with Klaviyo for your PrestaShop store. There are 3 steps in this process:
- Check a setting in Klaviyo to sync PrestaShop variants (also known as combinations)
- Toggle on the back in stock setting in PrestaShop
- Create a back in stock flow in Klaviyo
Before you begin
- You must be using version 1.9.0 or later of our PrestaShop module to access our Back in Stock feature. Learn how to update your module.
- Make sure you’ve integrated Klaviyo and PrestaShop before getting started with this article.
Check the variant sync setting
First, you’ll need to check a setting in Klaviyo to sync variants from PrestaShop:
- In Klaviyo, select the Integrations tab.
- Select PrestaShop from the list.
- On the settings page that appears, check the Sync variants setting.
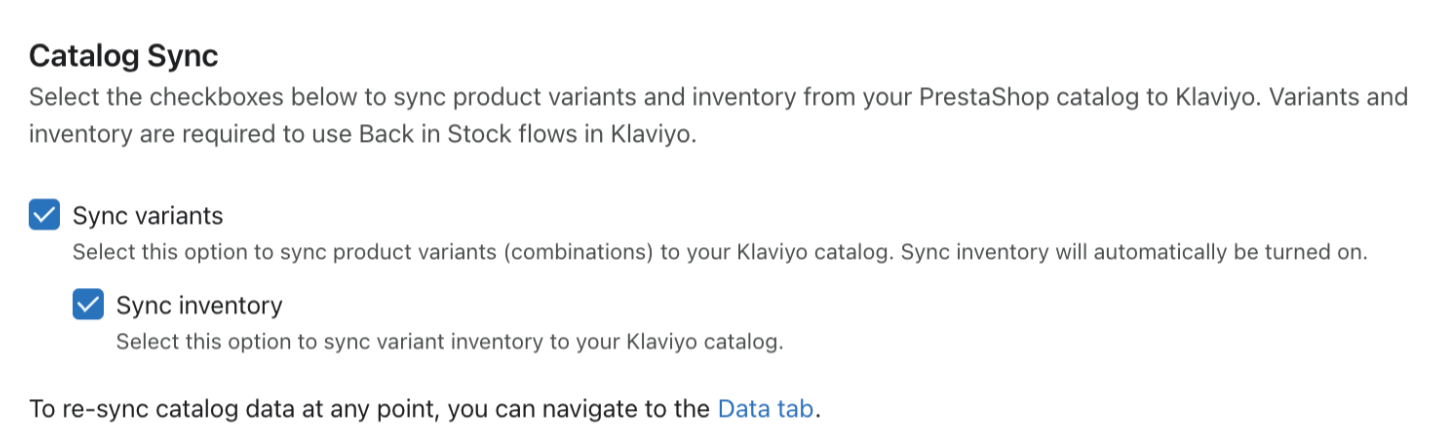
- Sync inventory will be checked by default if you checked Sync variants. This setting will periodically sync the inventory amount for each variant to make sure back in stock flows function correctly. If you check Sync variants but uncheck Sync inventory, you will not be able to use back in stock flows. You will, however, have access to variant-level data for use in email messaging.
- Click Save.
- After updating the variant and/or inventory settings, we recommend re-syncing your catalog to ensure the changes take effect for all products. If you choose not to re-sync at all, your catalog items will re-sync individually over time, and only when variant records have been updated. Merchants with larger catalogs and limited server resources may wish to re-sync during a period of low site traffic, so as not to risk impact to site performance. To re-sync your catalog:
- Select the Data tab of your PrestaShop integration.
- In the section labeled Sync catalog data, click Re-sync. Your catalog will begin re-syncing.

Toggle on the setting in PrestaShop
Next, you’ll need to toggle on a setting in PrestaShop. Before toggling the setting, make sure you have the mail alerts module installed in PrestaShop and have turned on product availability:
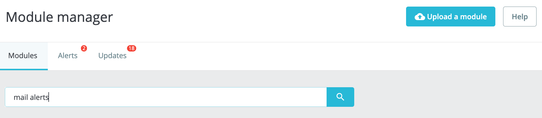
- In your PrestaShop admin, navigate to Modules > Module Manager.
- Search for mail alerts.
- Find the module and click Install.

- After the module installs, click Configure.

- Make sure that Product availability is toggled on.
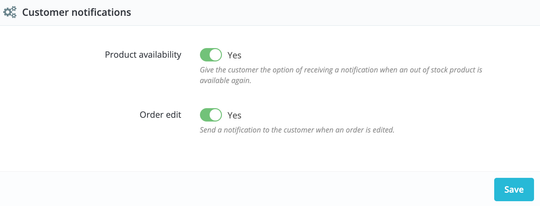
- Click Save.
- Navigate to Configure > Klaviyo.
- Enable the Email notification toggle to enable back in stock email sending in Klaviyo. Note that enabling the toggle will also turn off back in stock email sending from PrestaShop.
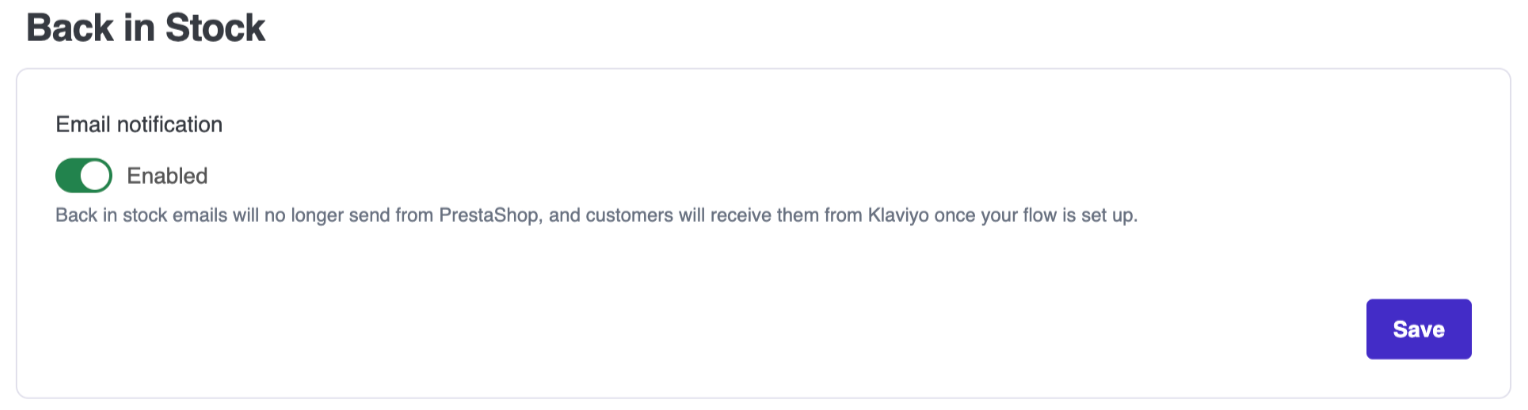
- Select Save to apply your changes.
Create a Back in Stock flow
Next, you’ll set up a flow in Klaviyo to begin sending back in stock notifications:
- First, configure your back in stock flow settings in Klaviyo, which include rules around minimum inventory and customer notifications.
- Then, navigate to the Flows tab in Klaviyo.
- Click Create flow.
- Filter by PrestaShop and search for back in stock.
- Select the pre-built back in stock flow for PrestaShop.
- In the flow builder, make any changes you’d like and customize the email.
- Then, learn how to set your flow live.
Outcome
You’ve now enabled back in stock messaging for your PrestaShop store.
Additional resources
- How to build a back in stock flow
Learn how to build a Klaviyo back in stock flow to alert customers about inventory if you are using the Shopify, BigCommerce, Magento 2, PrestaShop, SFCC, or Shopware platforms, or if you have an inventory-aware catalog synced via custom catalog feed or API.
- Understanding how back in stock flows work
Learn about how back in stock flows work, how contacts move through them, and how they appear different from most other metric-triggered flows. For instance, they have the back in stock delay component, which is unique to this type of flow.
- Getting started with PrestaShop
Learn how to integrate your PrestaShop store with Klaviyo. Klaviyo is PrestaShop’s preferred marketing automation partner. This process involves 2 steps: installing a free module (PrestaShop Automation with Klaviyo) in PrestaShop and enabling the integration within Klaviyo. This article also provides information about monitoring your data sync, setting up transactional emails, and updating your module so that you can grow with Klaviyo.