How to use a split block in an email
You will learn
Learn how to use a split block to arrange content side-by-side in Klaviyo.
When to use a split block
There are 3 ways to arrange content side-by-side using Klaviyo’s email editor: split block, columns, and table block. Each option offers certain advantages and tradeoffs. A split block is best when:
- You need 2 columns and want full control over the width of each.
- You only need to place text or images side-by-side, as other content types aren’t supported.
- You want to choose whether the columns stack on mobile or remain side-by-side.
Learn more about split blocks, columns, and tables in the chart below.
Content layout | Number of columns | Width options | Allowed content types | Can columns stack on mobile view? |
Split block | 2 | Precise control (Use Split settings > Column widths) | Image or text only | Yes |
Columns | 1-4 | Limited selection | Any type of content block (e.g., text block, image block, review quote block) | Yes |
Table block | Any number | Precise control (Use Column width > Manual) | Image or text only | No |
Tables can be challenging for accessibility, as screen readers have a hard time parsing them.
Add a split block to an email template
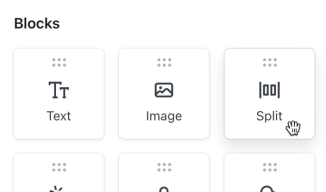
- Within an email template, drag a Split block into the canvas.
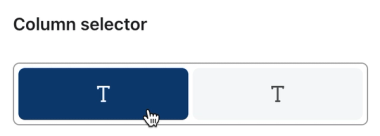
- Under Column selector, toggle between the left and right sides of the split.
- Under Column content, choose whether the currently-selected side of the split should contain an image or text.
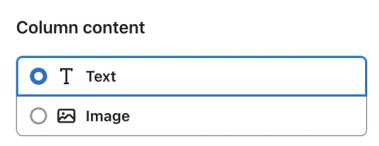
- Add your text or image to the field below.
- Repeat the process for the other side of the split.
- Open the block’s Styles tab.

- Set each column’s width as a percentage of the whole. The percentages must add up to 100%.
- Set the padding in between the split sides under the column width fields.
Additional resources
- How to build dynamic blocks in a flow email
Learn how to use dynamic table blocks to add product and other event information to your metric-triggered flows. In this article, you'll learn how to create a dynamic block using the example of an abandoned cart reminder showing the products that were left behind.
- How to add columns to an email
Learn how to add columns to your emails when needed to make your templates more aesthetically pleasing. There are a few ways to add columns to your templates. This article will run through all the ways you can add columns to your email and how to optimize your design based on device.