How to use the campaign calendar
You will learn
Learn about Klaviyo’s calendar view for your campaigns, including filtering options and how to schedule email, SMS, and push notification campaigns from within the calendar.
Access your campaign calendar
To access your campaign calendar:
- Navigate to the Campaigns tab.
- Click the calendar icon in the top right.
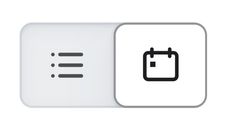
Adjust the calendar view
You can view your campaign calendar by day, week, or month. To adjust your view:
- Click the Month dropdown in the filters bar above the calendar. Note that the dropdown may be labeled Day or Week if you’ve previously adjusted the view.
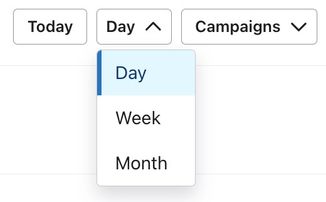
- Select a different view from the dropdown menu.
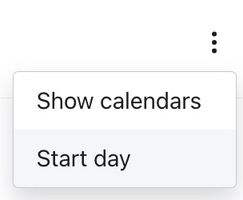
- Click the action button (3 dots) on the right of the calendar toolbar to adjust calendar settings, such as holiday calendars and the first day of the week.
Filter your campaigns
Use the various dropdowns in the filters bar to display only specific campaigns based on the type or details of the campaign.

Learn more about the view and filter options available in your campaign calendar.
Schedule an email, SMS, or push notification
You need permission to create and send campaigns. Set up SMS or push notifications in your account before sending through those channels.
There are 2 ways to start building a campaign from your calendar. You’ll schedule the send after choosing recipients and creating the content.
- Click Create campaign in the top-right corner of the calendar.

- Click on an empty space (either today or a future date) in your calendar to start building a campaign on that date. Note that if you build a draft campaign on a date, but the date passes and the campaign remains in draft mode, the campaign will not be sent.
After choosing either option, complete these steps to schedule an email, SMS, or push notification campaign:
- Enter a campaign name, select Single channel, and choose Email, Text message, or Push. Check the draft date, then click Continue.
- Choose your recipients and create your message content, then continue to the review step.
- Resolve any errors shown in the review, then click Schedule or send.
- Select Schedule, choose your send options, date, time, and timezone, then click Schedule message. A confirmation page appears when the campaign is scheduled.
Learn more about campaign schedule and send options.
Additional resources
- How to view, filter, and sort your campaigns
Learn about your options when viewing, filtering, and sorting your campaigns. Klaviyo offers several display options for your campaigns, making it easy to understand your sending cadence and find campaigns that meet certain criteria.
- Understanding campaign calendar options
Learn about the options available in your campaign calendar, including how to view, filter, and preview your campaigns.