How to add a background image to an email template or section
You will learn
Learn how to layer text, images, and other email content over background images. You can add a background image to a full email, or to a single section. By using these feature, you can layer one image on top of another, or add a button or text on top of an image.
About background images
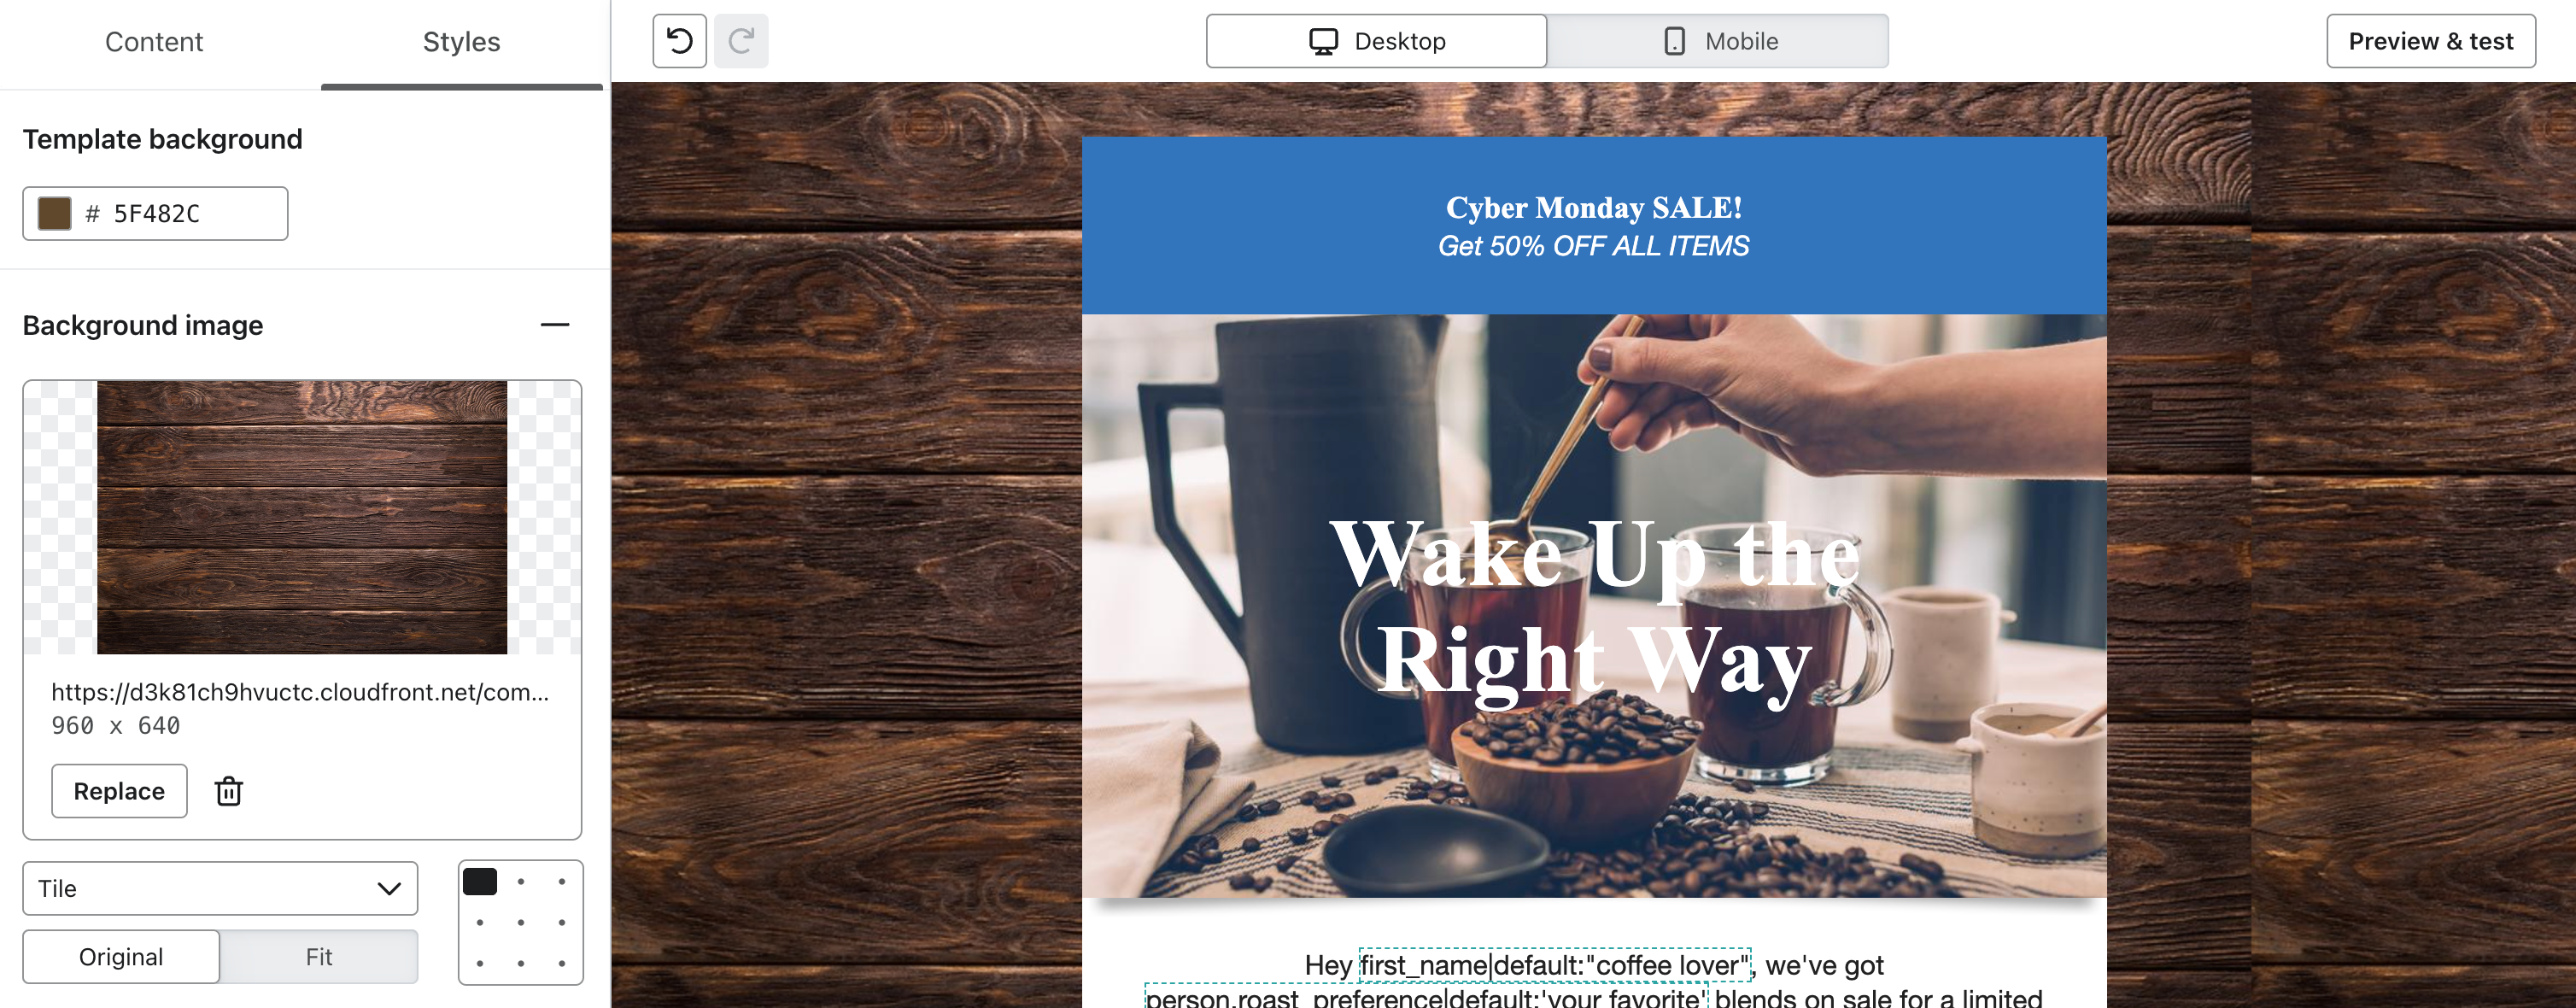
You can add a background image behind an entire email template or behind a specific section in the template. Template backgrounds are added using the template’s Styles tab, and generally span the full width and height of the email.
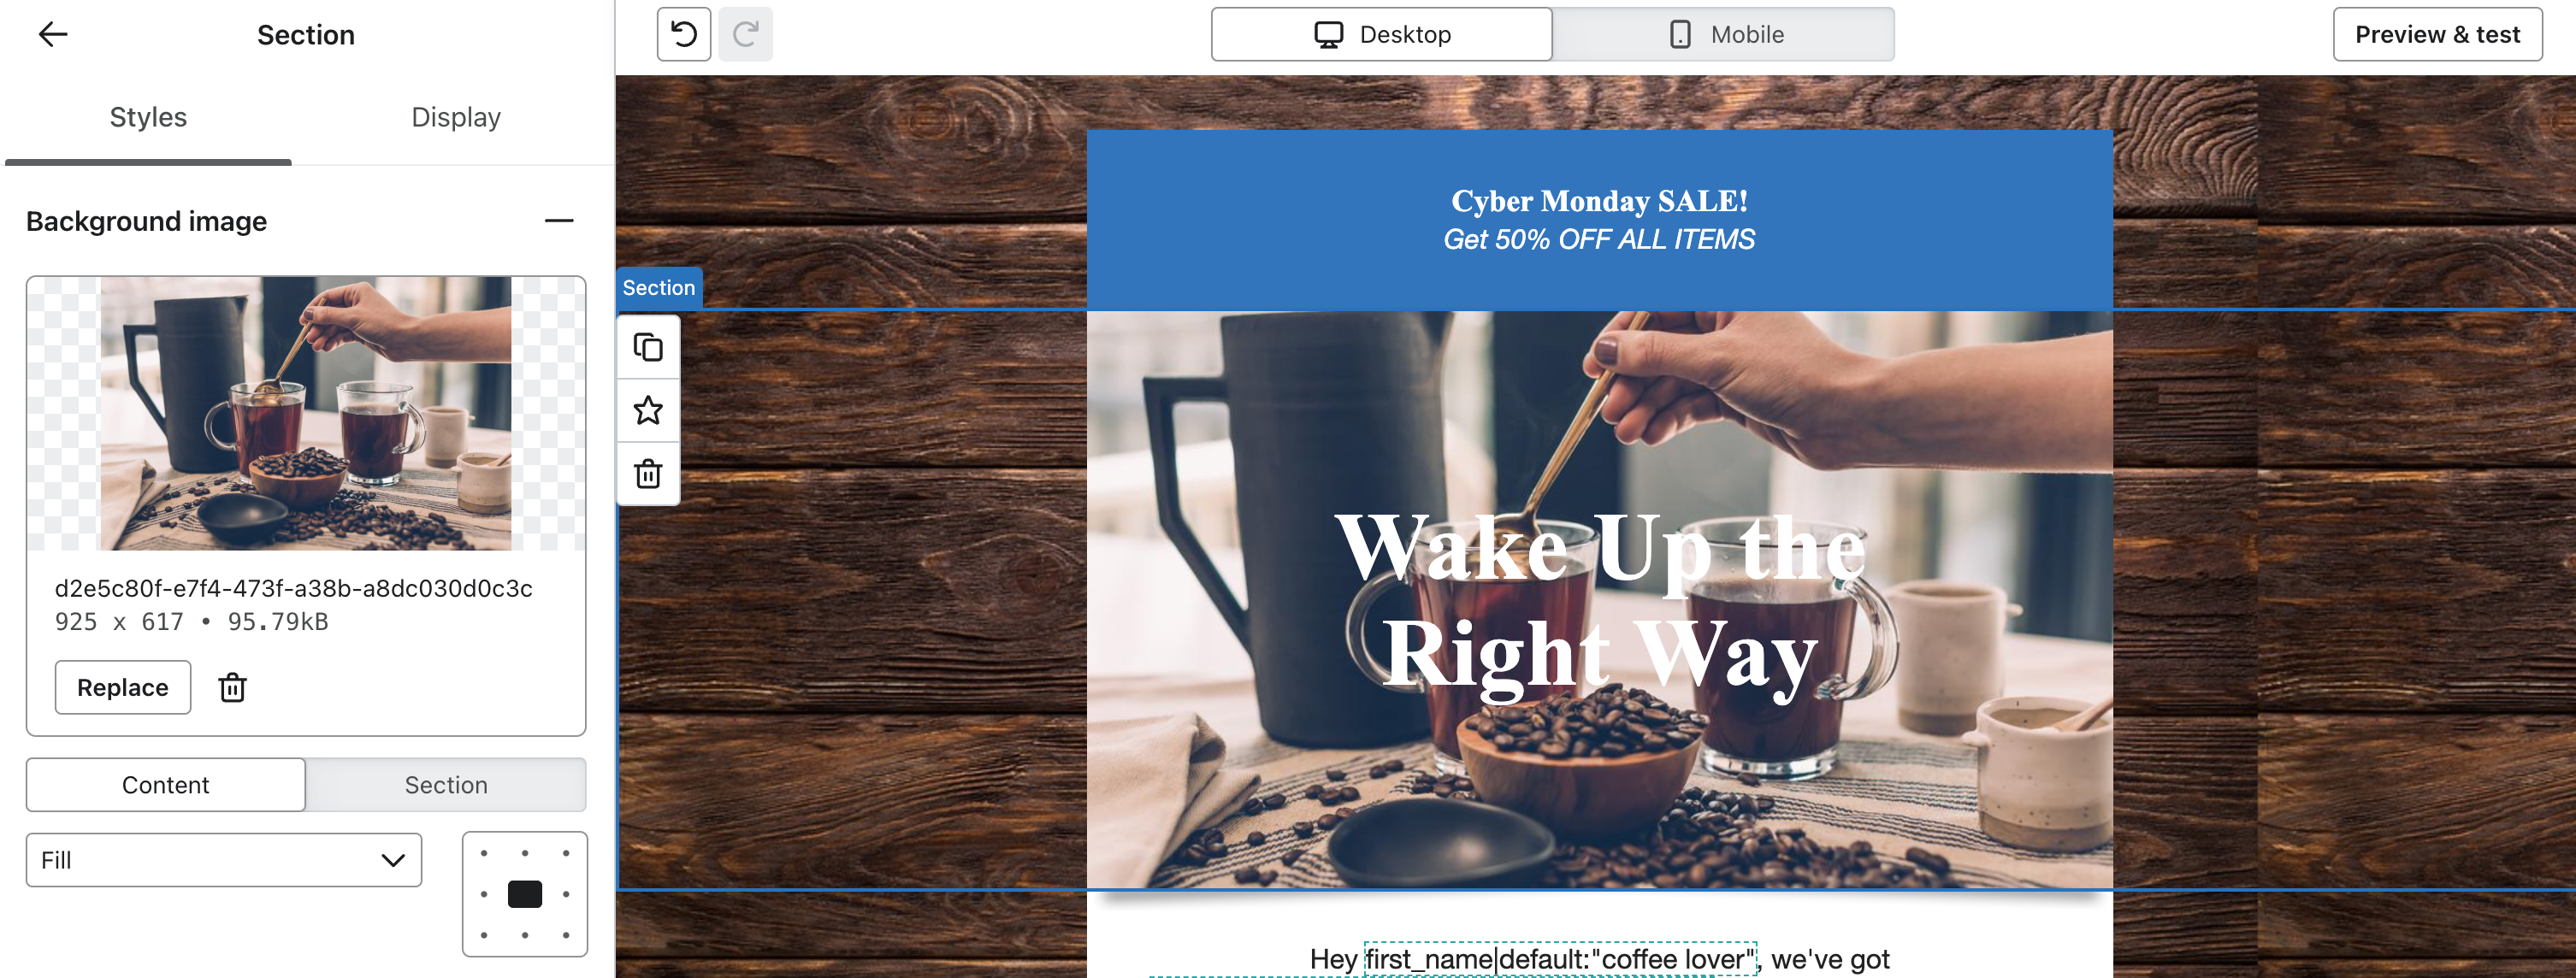
Section backgrounds, however, are isolated to specific areas of the email. They enable you to create dynamic, eye-catching images and calls to action. You can also include multiple calls to action over 1 image (e.g., “Shop Shoes” and “Shop Accessories”). These section-specific background images can be added through a section’s Styles tab.
Using a background image with text and other content overlaid can increase the accessibility of your email, compared to inserting a single image that contains text. If your message contains primarily image content with little text, recipients using screen readers and other accessibility devices that don’t display images rely on alt text to understand the message’s content.
Additionally, recipients who use plain-text inboxes or set their inboxes to hide images by default won’t be able to easily understand your message. When you use standard text blocks with an image behind them, it’s easier for those recipients with accessibility needs or alternative devices to understand your message.
Selecting background images
When selecting an image to use as a section or template background, choose an image that has a sufficiently high resolution to appear crisp and professional in the inbox. Make sure to not use a file that is unnecessarily large, however, as this can lead to slow loading times for your emails. In general, use images that are 1MB or smaller as section backgrounds.
Set a section background image
Once you’ve chosen an image to use, add a new section to your email template.
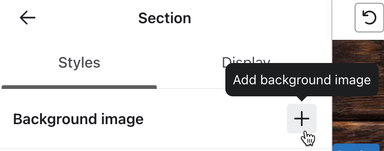
- In the section’s Styles tab, locate the Background section.
- Click + to add an image.
- Click Browse Image Library, then upload your image.
- Once you’ve styled the background image, add content to the section. You can add any block type (e.g., text block, button block, table block) and any number of blocks to your section.
After setting a background image, choose a background color as well. This color will appear if the background image isn’t able to load for any reason.
- Open the section’s Styles tab.
- Toggle Section color on.
- Choose a color that closely matches the color of the image you chose.
Section background style options
To choose whether the image spans the full width of your email or is contained within the email’s content, choose between Content or Section in the Display on setting.
In the Format section, choose between the following options:
- Original size
Your image will be displayed at its original size, and will not be constrained in any way. - Fit
Your image will fit entirely within the section area, and may expose the background color underneath if it isn’t the exact size of the section area. - Fill
Your image will fill the section area completely, and part of the image may be cropped. - Tile
The image will repeat to fill the entire section area, and you can toggle the Tile size to choose the scale.
Set a template background image
To add a background image to an email template:
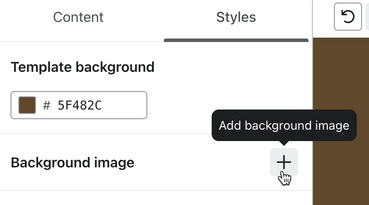
- Navigate to the template’s Styles tab.
- Click + to add an image.
- Choose an image from your image library or upload a new one.
Once you’ve added your image, you can change how it’s positioned and whether or not it should repeat (or tile) horizontally and vertically.
Images set as background images for a template can cover the full width of the template area. You may want to set a Template Background color in a similar shade to your image, as the background color may show while the image loads or if a recipient has images in email disabled.
Inbox support for background images
While most inboxes do support background images, there are certain situations where they may not display. In these scenarios, the background color will display instead.
The following inboxes do not support background images:
- Outlook for Windows
- Yahoo! Mail (partial support)
- AOL (partial support)
Additionally, if a recipient has limited or slow internet access, the background image may load slowly or not at all, revealing the background color instead.
Additional resources
- About email images best practices
Learn about best practices when using images in Klaviyo emails, including size recommendations and how to add images.
- Dark mode email design best practices
Learn about dark mode, a device setting some users turn on to darken their displays. This setting impacts how emails are displayed. Dark mode is an end user setting that is selected at the device level, and Klaviyo does not have direct control over how dark mode is implemented on each device.
- Coding HTML email backgrounds