How to send consent to Klaviyo via Zapier
You will learn
Learn how to create a custom Zapier webhook to send SMS consent to Klaviyo. You can easily modify the instructions in this guide to send email consent as well.
The steps below will help you create a Zap using a webhook (also called a catch hook) that triggers a Python script action. The script sends an API call to Klaviyo to subscribe email and phone numbers to a list.
This feature is only available to users with Premium Zapier plans.
About the integration
This integration is not fully supported by Klaviyo, but can be used as a work around if needed. We recommend only using this integration if you have developers on your team who can support it.
This guide uses a Zapier code action that runs a Python script when the trigger is detected. With this solution, you can map fields to the data types that Klaviyo endpoints require; specifically, the Subscribe Profiles and Unsubscribe Profiles endpoints.
Set up Zapier webhook
- Log in to your Zapier account.
- From the main page in Zapier, select +Create, then select Zap.
- Enter a name for your new Zap (e.g., Klaviyo Webhook).
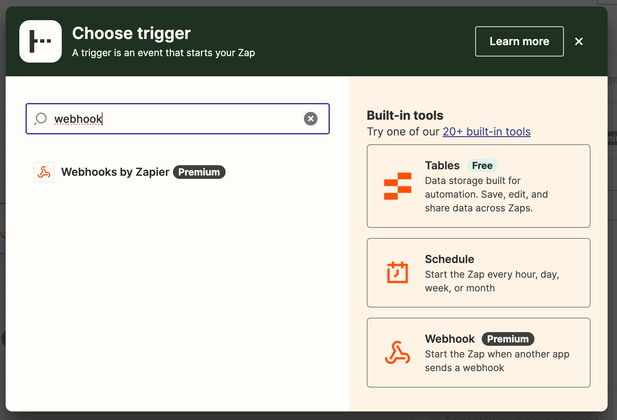
- Search for Webhook, then select Webhooks by Zapier from the Trigger menu.
- In the next menu, select Catch Hook from the Trigger Event options.
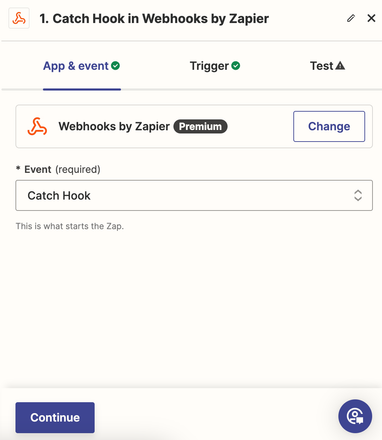
- Click Continue.
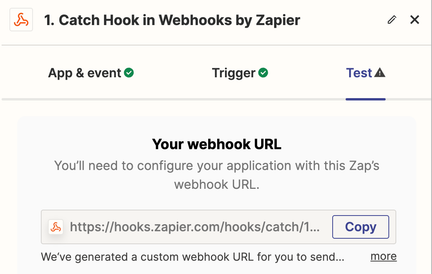
- Select the Test tab.
- Copy the webhook URL that Zapier provides for you to send your requests to.
- Before testing, you’ll need to send test data to your webhook. See our guide on How to send test data to Zapier for more information. Make sure to format phone numbers correctly when sending test data.
- Once you’ve sent the test data to the webhook, click Test trigger (on the Test tab).
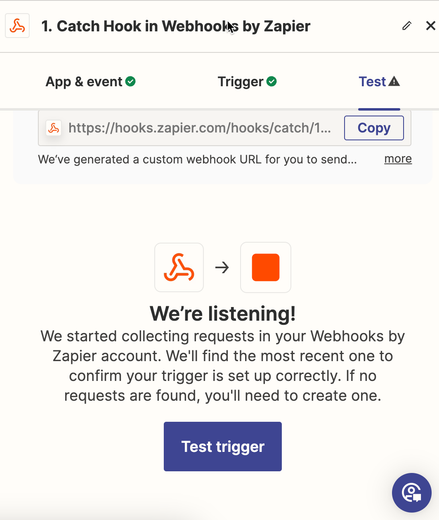
- If the request is successful, you’ll see a success message, and the test data will populate below the success message, similar to the example below:

- Once your trigger is working, click Continue with selected record.
Set up Zapier action
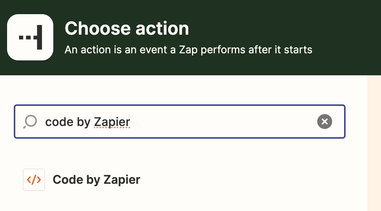
- In the Action menu, enter Code by Zapier in the search box and select the option from the list.
- Click Choose an event > Run Python.

- Click Continue.
Set up field mapping and create script logic
- Set up field mapping to correlate the input data in the table below to the correct test data you previously sent.

Input data | Test data mapped |
| 1. Email: <Test email> |
| 1. Phone Number: <Test phone number> |
| 1. Sms_consent: true |
| 1. Name: <Test name> |
- Add a script like the one below to the code box:
import requests

# configuring sms subscribe or unsubscribe call
if (input_data["sms_consent"] == "true" or input_data["sms_consent"] == "True" or input_data["sms_consent"] == "TRUE"):
  url = "https://a.klaviyo.com/api/profile-subscription-bulk-create-jobs/"  payload = { "data": {
        "type": "profile-subscription-bulk-create-job",
        "attributes": {
            "profiles": { "data": [
                    {
                        "type": "profile",
                        "attributes": {
                            "email": input_data["email"],
                            "phone_number": input_data["phone_number"],
                            "subscriptions": {
                                "sms": { "marketing": { "consent": "SUBSCRIBED" } }
                            }
                        }
                    }
                ] }
        },
        "relationships": { "list": { "data": {
                    "type": "list",
                    "id": "LIST_ID"
                } } }
    } }

elif (input_data["sms_consent"] == "false" or input_data["sms_consent"] == "False" or input_data["sms_consent"] == "FALSE"):  url = "https://a.klaviyo.com/api/profile-subscription-bulk-delete-jobs/"
  payload = { "data": {
        "type": "profile-subscription-bulk-delete-job",
        "attributes": {
            "profiles": { "data": [
                    {
                        "type": "profile",
                        "attributes": {
                            "email": input_data["email"],
                            "phone_number": input_data["phone_number"],
                        }
                    }
                ] }
        },
        "relationships": { "list": { "data": {
                    "type": "list",
                    "id": "LIST_ID"
                } } }
    } }
headers = {
    "accept": "application/json",
    "revision": "2024-05-15",
    "content-type": "application/json",
    "Authorization": "Klaviyo-API-Key your-private-api-key"
}

response = requests.post(url, json=payload, headers=headers)

# Zapier requires an 'output' object
output = {"response text": response.text}- Replace
your-private-api-keywith your Klaviyo private API key.
Treat private API keys like passwords - keep them in a safe place and never expose them to the public.
- Replace the
LIST_ID(in both locations) with the Klaviyo list ID you want to send your Zapier data to. You can find your list ID in Klaviyo by navigating to Audience > Lists & segments > Settings. If you wish to immediately subscribe people without a confirmation (which can be helpful during testing) make sure that your list is set to single opt-in (found under the Consent tab within list settings). - Click Continue, then click Test step.
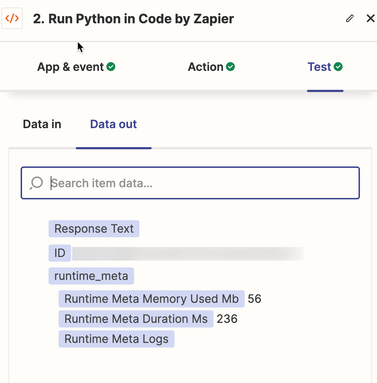
- If your test is successful, you’ll see a response with no errors, like the one below:
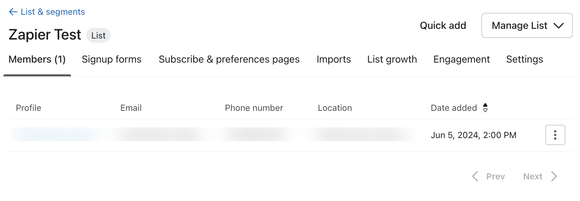
- You can also check for a successful test in Klaviyo by navigating to your list and making sure the profile was added.
- Once your test is successful, click Publish to publish your zap. If your test isn’t successful, check out our troubleshooting tips for common issues.
Troubleshooting tips
The following are common issues you may run into while setting up the Zapier webhook. If you encounter any other issues, you can reach out to the Klaviyo Community for further guidance.
EOL while scanning string literal
If you see this error, then you’re missing a quotation mark around one of your variables. Check the list ID and private API key to make sure they’re surrounded on both sides by quotation marks.
SyntaxError: invalid syntax
If you see this error, remove the comments in the Python code (any line that starts with a #).
Additional resources
- How to manage your account's API keys
Find out how to access and manage your API keys for your Klaviyo account.
- How to send test data to Zapier
Learn how to send test data to Zapier via a POST request when creating a webhook to send email and SMS consent to Klaviyo.