How to manually install Klaviyo.js for Shopify stores
You will learn
Learn how to manually install Klaviyo’s Active on Site tracking snippet, also known as Klaviyo’s onsite JavaScript or Klaviyo.js, on your Shopify store. You should only do this if you experience very high web traffic or your site suffers from slow loading time for any other reason (though Klaviyo has recently improved load times and thus may not be the cause). Otherwise, we recommend you install Klaviyo.js by enabling Klaviyo’s Shopify app embed.
Before you begin
If you choose to manually install Klaviyo.js and previously had it enabled via Klaviyo's app embed, you must first disable the app embed in your Shopify theme settings and save the change.
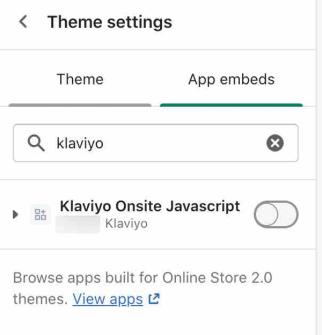
Because pasting this code requires access to your site's HTML and ecommerce platform, our support team is unable to offer hands-on assistance. If you don't have a developer on your team and are not comfortable adding the code yourself, consider reaching out to a Klaviyo partner for assistance.
Install Klaviyo.js on your Shopify store
- Copy the code snippet below:
<script type="text/javascript" async="" src="https://static.klaviyo.com/onsite/js/PUBLIC_API_KEY/klaviyo.js"></script>- In the code snippet, be sure to replace PUBLIC_API_KEY with your 6-character Klaviyo Public API Key (site ID).
- If you've enabled Customer Accounts for your store, use the full set of scripts below instead of the first snippet to identify logged-in customers with their email address. Replace PUBLIC_API_KEY in this version with your Public API Key too:
<script type="text/javascript" async="" src="https://static.klaviyo.com/onsite/js/PUBLIC_API_KEY/klaviyo.js"></script>
<script type="text/javascript">
//Initialize the Klaviyo object on page load
!function(){if(!window.klaviyo){window._klOnsite=window._klOnsite||[];try{window.klaviyo=new Proxy({},{get:function(n,i){return"push"===i?function(){var n;(n=window._klOnsite).push.apply(n,arguments)}:function(){for(var n=arguments.length,o=new Array(n),w=0;w<n;w++)o[w]=arguments[w];var t="function"==typeof o[o.length-1]?o.pop():void 0,e=new Promise((function(n){window._klOnsite.push([i].concat(o,[function(i){t&&t(i),n(i)}]))}));return e}}})}catch(n){window.klaviyo=window.klaviyo||[],window.klaviyo.push=function(){var n;(n=window._klOnsite).push.apply(n,arguments)}}}}(); </script>
<script type="text/javascript">
//Customer accounts
var klaviyo = window.klaviyo || [];
if ("{{ customer.email }}") {klaviyo.identify({"$email" : "{{ customer.email }}"})};
</script>- Open your Shopify theme’s code editor using Shopify’s instructions for editing theme code.
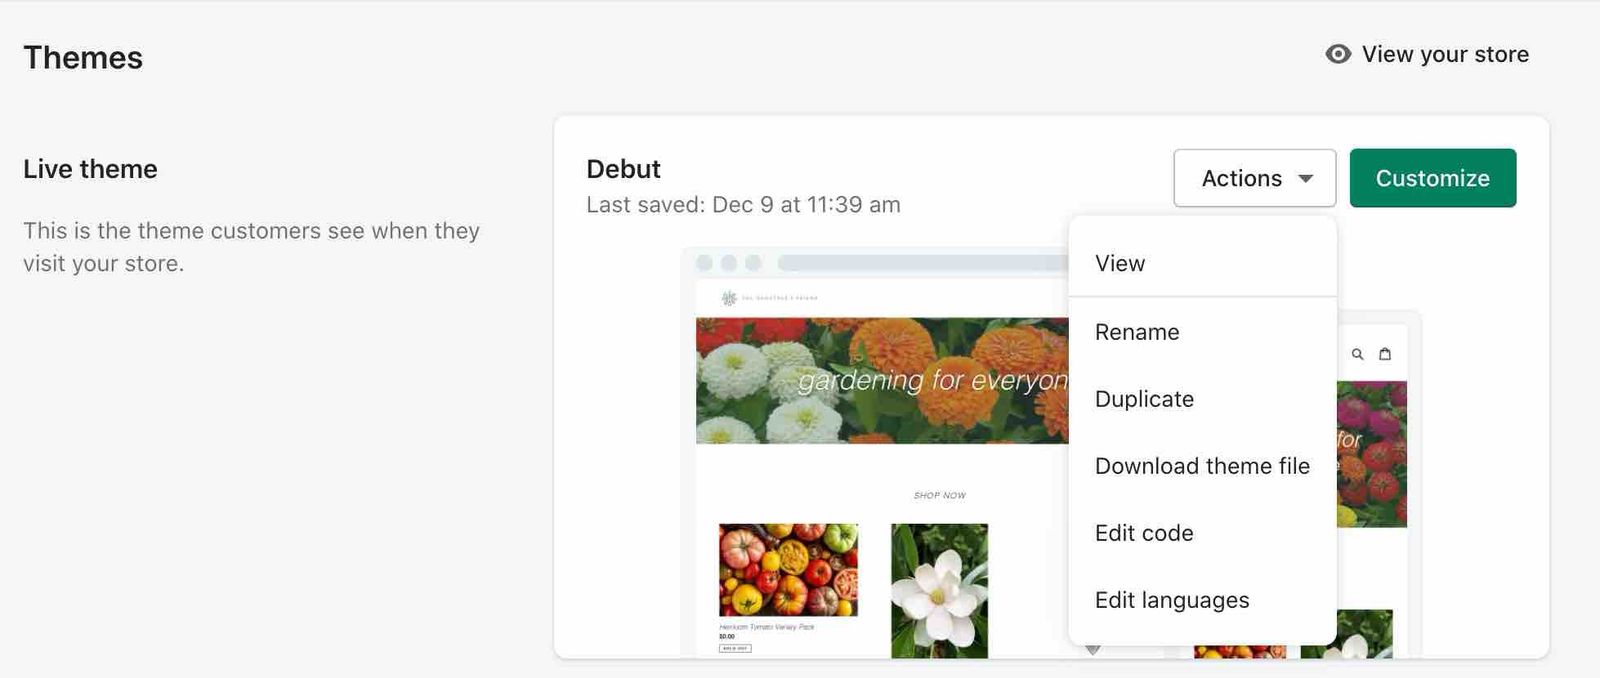
- Open the Liquid template or section for the pages where you want Klaviyo forms and tracking. If a page uses a JSON template, add the snippet to a Liquid section referenced by that template, not to the JSON file. See Shopify’s JSON template documentation for details.
- Paste your snippet below the existing HTML in the Liquid file, outside any
{% schema %},{% javascript %}, or{% stylesheet %}blocks. Include Klaviyo.js only once on each page.
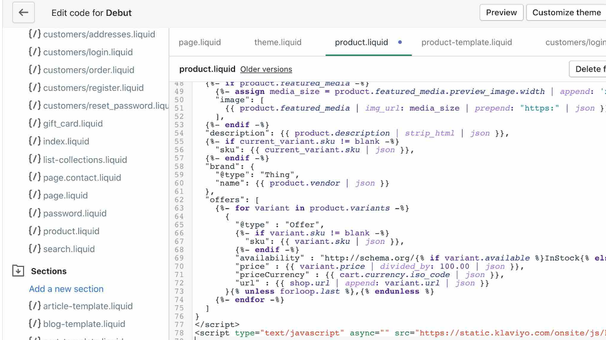
- Click Save.
Test your Active on Site tracking
To test that your Active on Site tracking is set up properly, follow these steps:
- Navigate to a page on your store where you installed the snippet. If your store requires tracking consent for your visit, provide it before testing.
- On that page, add the following to the end of the URL, replacing example@gmail.com with your email address:
?utm_email=example@gmail.com
If the URL already contains a question mark (?), append&utm_email=example@gmail.cominstead, using your email address.

- Reload the page.
- Search in Klaviyo for your email address and open your profile.
You should see a Klaviyo profile for your email address (created if one didn’t exist already). In its Activity log, look for an Active on Site event for your test visit.
Now that you've installed Klaviyo.js, you'll be able to utilize Active on Site tracking, Klaviyo sign-up forms, and more.
Based on your Customer Privacy settings in Shopify, Klaviyo may not track onsite events for visitors to your Shopify store in the EU, EEA, UK and Switzerland, unless they have provided consent.
Additional resources
- Getting started with Shopify
Learn how to integrate Klaviyo with Shopify in order to bring your customer profile and order data into Klaviyo and reach customers with targeted messaging. Additionally, enable Klaviyo onsite tracking and sign-up forms, and sync data from Klaviyo to Shopify.
- Getting started with Klaviyo onsite tracking
Learn about the different ways that Klaviyo can support onsite tracking on your ecommerce site. There are 2 key types of onsite tracking:
- Getting started with sign-up forms
Learn how to create and customize sign-up forms in Klaviyo to publish on your website so you can engage shoppers, collect emails and phone numbers, and build long-lasting customer relationships.