Connecting Klaviyo and Redshift
Advanced KDP is not included in Klaviyo’s standard marketing application, and a subscription is required to access the associated functionality. Head to our billing guide to learn about how to purchase this plan.
Overview
This guide walks Redshift administrators through preparing Amazon Redshift for Klaviyo, granting the minimum required access, and completing the connection so you can import profile data on a schedule. You’ll learn how to:
- Create the
KLAVIYO_TMPandKLAVIYO_IMPORT_FROM_DWHschemas - Create a dedicated service user for Klaviyo
- Grant least-privilege permissions
- (Optional) Validate permissions and connectivity
- Connect Redshift to Klaviyo and start creating syncs
For background on how data warehouse import works—including supported objects and best practices for table structure—see Understanding data warehouse import in Klaviyo.
Create required schemas
Create two schemas in the database Redshift will use for Klaviyo:
-- Run as a Redshift DB admin or a role with CREATE SCHEMA
CREATE SCHEMA IF NOT EXISTS klaviyo_import_from_dwh;
CREATE SCHEMA IF NOT EXISTS klaviyo_tmp;KLAVIYO_IMPORT_FROM_DWH– Place your final, ready-to-sync tables or views here. During setup, Klaviyo lists objects in this schema for you to choose from, so include only the tables you plan to import.KLAVIYO_TMP– Used exclusively by Klaviyo for temporary/staging tables during sync jobs. Don’t modify data here—Klaviyo manages and cleans up this schema automatically.
Create the Klaviyo service user
Create a dedicated database user for Klaviyo with a strong password that you can rotate independently.
-- Replace with your own names and a strong password
CREATE USER klaviyo_data_transfer_user WITH PASSWORD 'REPLACE_WITH_STRONG_PASSWORD';
Create a role to manage grants for the service user:
CREATE ROLE klaviyo_data_transfer_role;
GRANT ROLE klaviyo_data_transfer_role TO klaviyo_data_transfer_user;
Store the username and password securely—you’ll use them when connecting Klaviyo to Redshift.
Grant required permissions (least privilege)
-- 1) Allow temporary tables
GRANT TEMPORARY ON DATABASE your_database TO ROLE klaviyo_data_transfer_role;

-- 2) Permissions on the staging schema Klaviyo manages
GRANT USAGE  ON SCHEMA klaviyo_tmp TO ROLE klaviyo_data_transfer_role;
GRANT CREATE ON SCHEMA klaviyo_tmp TO ROLE klaviyo_data_transfer_role;

-- 3) Read-only access to your import schema
GRANT USAGE ON SCHEMA klaviyo_import_from_dwh TO ROLE klaviyo_data_transfer_role;
GRANT SELECT ON ALL TABLES IN SCHEMA klaviyo_import_from_dwh TO ROLE klaviyo_data_transfer_role;
-- Remember to grant access to new tables in the future

-- 3a) Grant SELECT on specific views (repeat as needed)
GRANT SELECT ON VIEW klaviyo_import_from_dwh.example_view_name TO ROLE klaviyo_data_transfer_role;
(Optional) Verify your setup
Run a few quick checks as the Klaviyo user to confirm the grants are correct.
-- Switch to the target database
SET search_path TO klaviyo_tmp;

-- 4.1 Validate create/read in KLAVIYO_TMP
CREATE TABLE IF NOT EXISTS permission_check (id INT);
INSERT INTO permission_check VALUES (1);
SELECT COUNT(*) FROM permission_check;  -- expect 1
DROP TABLE permission_check;

-- 4.2 Confirm visibility of import tables
SET search_path TO klaviyo_import_from_dwh;
SELECT tablename FROM pg_table_def
WHERE schemaname = 'klaviyo_import_from_dwh'
LIMIT 25;

-- 4.3 Confirm SELECT on a source table or view
SELECT * FROM klaviyo_import_from_dwh.EXAMPLE_TABLE;
Network access
Klaviyo must be able to reach your Redshift endpoint.
- Public Redshift endpoint: allowlist Klaviyo’s static IPs in your firewall or security group.
- Private endpoint (e.g., PrivateLink): ensure connectivity through your internal network path and security policies.
If using security groups, allow inbound access on your Redshift port (default 5439) for Klaviyo’s IP ranges:
184.72.183.187/32
52.206.71.52/32
3.227.146.32/32
44.198.39.11/32
35.172.58.121/32
3.228.37.244/32
54.88.219.8/32
3.214.211.176/32
Prepare your import tables (structure & performance)
Ensure that all tables you plan to import follow these conventions for accurate, efficient incremental syncs:
- Timestamp column: Include a per-row creation or last-update timestamp (e.g.,
inserted_at,updated_at,modified_at). - Monotonic updates: The timestamp should increase whenever a row changes.
- Timezone: Use UTC or include timezone information. If missing, Klaviyo assumes UTC.
- Consistent identifiers: Use the same profile identifiers (
email,phone,external_id, etc.) across import tables to avoid duplicates. - Consent formats: When syncing consent data, follow the same valid values/formats as used in file or SFTP uploads.
- Performance: Consider sort or dist keys on your timestamp column for efficient incremental reads.
- Views: You can import from tables or views, as long as a simple
SELECTworks for the Klaviyo user.
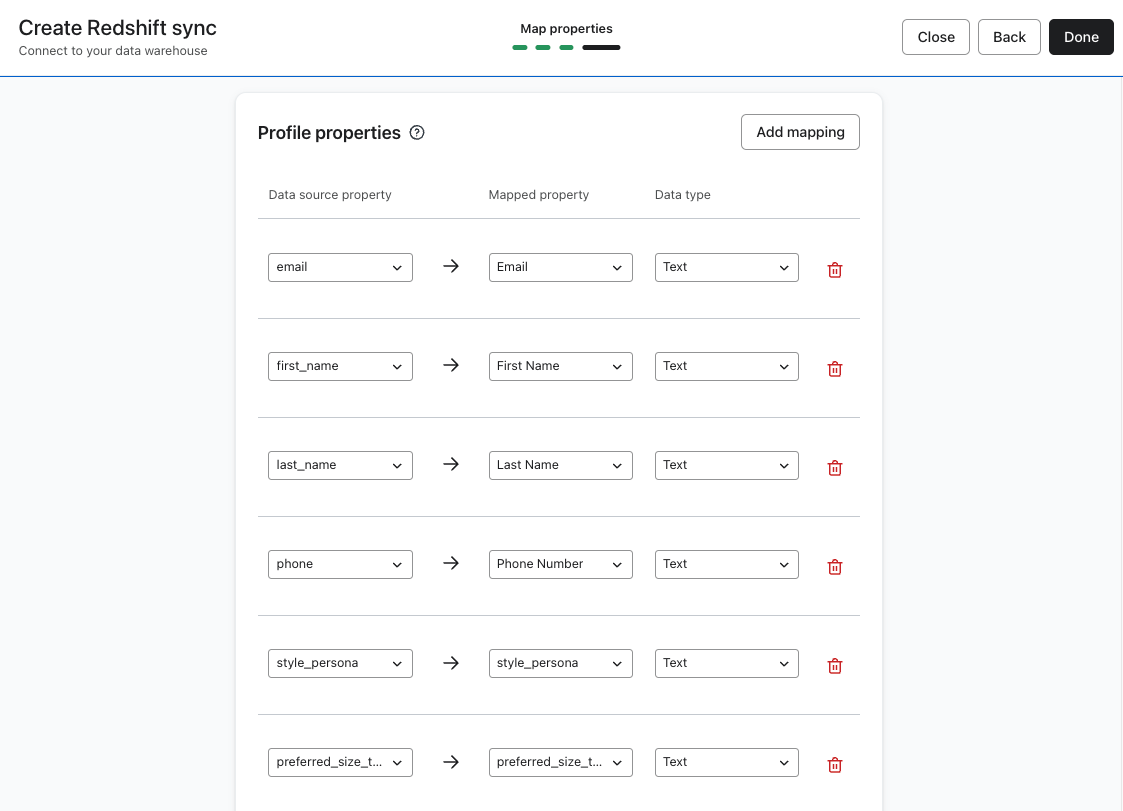
Connect Redshift to Klaviyo
- In Klaviyo, open the left sidebar and go to Advanced → Syncing.
- Click Create sync.
- Select Import data from your data warehouse.
- Choose Redshift.
- Click Connect to Redshift and enter the following connection details:
Field | Description |
|---|---|
Host | Your Redshift endpoint (e.g., |
Port | 5439 (or your custom port) |
Database | The database containing |
Username / Password | The Klaviyo service user credentials |
After you connect, Klaviyo will test your credentials and network connectivity. Once verified, you can create syncs and select tables or views from klaviyo_import_from_dwh.
Troubleshooting tips
Connection test fails
- Verify that firewall or security group rules allow Klaviyo’s IPs to reach your Redshift endpoint on the correct port.
- Confirm SSL settings and that you’re using the correct endpoint (cluster vs. workgroup), region, and port.
Tables don’t appear
- Ensure tables are in
klaviyo_import_from_dwh. - Confirm the Klaviyo user has
USAGEon the schema andSELECTon the tables or views.
No new rows syncing
- Verify your timestamp column updates on row changes and uses UTC or includes timezone info.
Permission errors at runtime
- Re-run the validation SQL as the Klaviyo user.
- Re-apply grants or default privileges if necessary.
Security and maintenance
- Rotate the service user password regularly and after staff changes.
- Limit the Klaviyo user to the two schemas above, and grant
USAGEonly where required. - Keep a simple runbook documenting your exact
GRANTstatements and the IP ranges you’ve allowlisted.
FAQ
Can I import from multiple Redshift databases?
Yes. Create the two schemas in each database and connect objects from each as separate syncs.
Can I use materialized views?
Yes. Grant SELECT on the materialized view to the Klaviyo user.
Appendix: Example DDL for a simple import table
CREATE TABLE klaviyo_import_from_dwh.profile_base (
  external_id   VARCHAR(128),
  email         VARCHAR(320),
  phone         VARCHAR(32),
  first_name    VARCHAR(128),
  last_name     VARCHAR(128),
  country       VARCHAR(64),
  inserted_at   TIMESTAMP
);

-- ensure monotonically increasing timestamp on inserts/updates
-- (use your ETL/ELT to set inserted_at = GETDATE() at load time)