How to add Klaviyo onsite tracking using Google Tag Manager
You will learn
Learn how to add Klaviyo's onsite tracking snippets to your site using Google Tag Manager. Some site owners use Google Tag Manager as a single point to manage all third-party web snippets they need to add to their site. Klaviyo's onsite tracking falls into this category and can be added and managed through Google Tag Manager.
Before you begin
If you're installing Klaviyo's onsite tracking snippets using Google Tag Manager and Shopify, please review using Google Tag Manager on Shopify.
Setting up Google Tag Manager
If you have already created a Google Tag Manager account, you can skip these steps and head to the section on creating a tag.
1. Create a Google Tag Manager account.
2. Add the install scripts to your site.
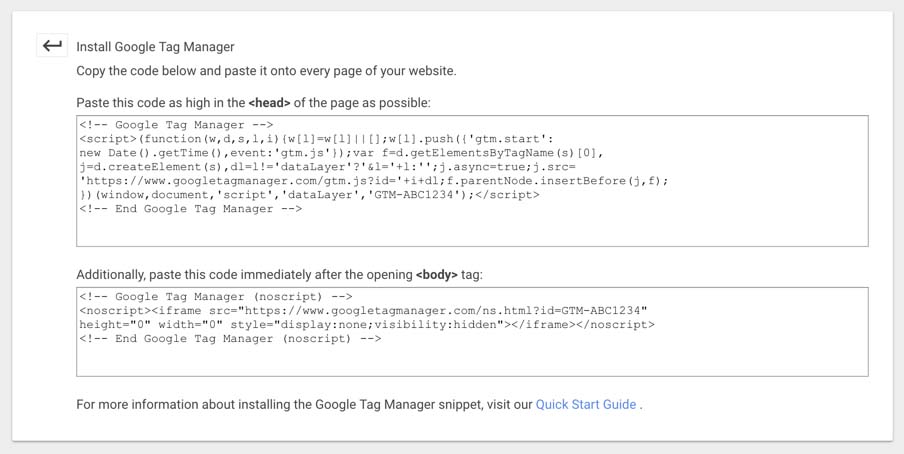
If you're new to using Google Tag Manager, review their documentation on setting up an account and adding the install scripts to your site.
Creating a new tag
1. Within the workspace for your site, create a new trigger for your Klaviyo Active on Site tracking. We recommend creating a separate trigger for your Active on Site and Viewed Product tracking. This is because Viewed Product tracking will only trigger on your product pages, whereas Active on Site tracking should trigger on every page of your site.
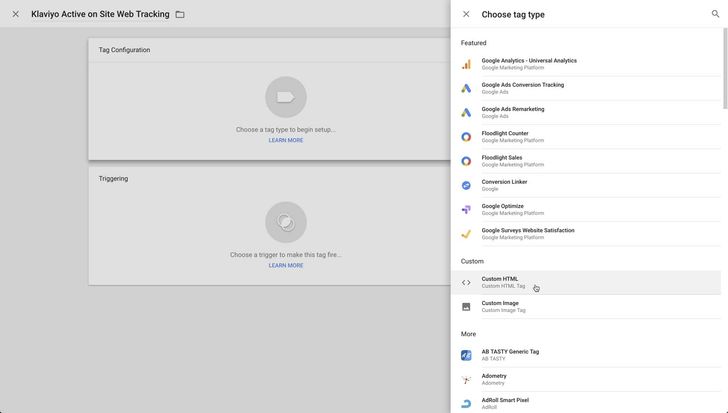
2. Select Custom HTML as the tag type.
3. To locate your Active on Site snippet in Klaviyo, click on your account menu and select Integrations.
4. From here click on the button for Setup Web Tracking in the top right.

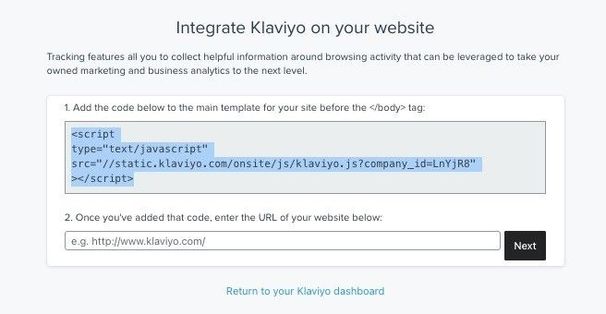
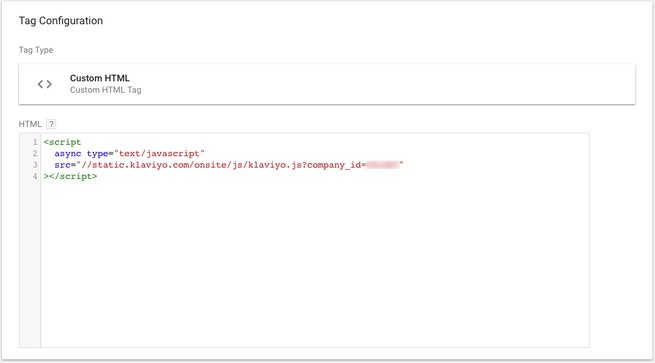
6. From your Google Tag Manager, paste your Klaviyo Active on Site snippet into the HTML box.
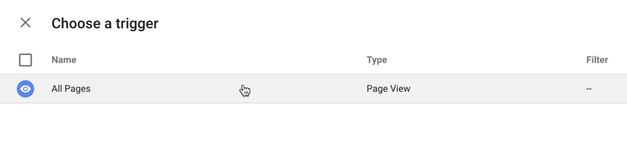
7. Set your trigger to fire on a page view for all pages. This ensures that your Active on Site snippet will fire whenever customers view a page on your site.
8. Save your new tag. This completes adding your Active on Site tracking snippet using Google Tag Manager.
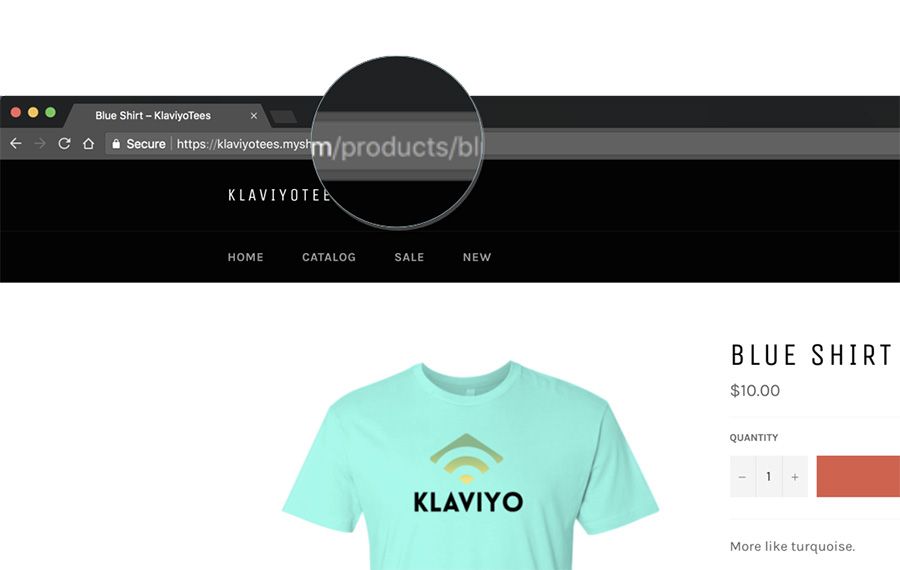
You can add your Viewed Product snippet using the same method. Modify the trigger to only fire on pages that include your products. On some sites, this can be accomplished by limiting the trigger to only fire on pages where the URL includes the word "product".
Test your onsite tracking
1. Navigate to your website.
2. Add the following to the end of the URL:
?utm_email=klaviyogreen@gmail.com
You can replace "klaviyogreen@gmail.com" with your own email address. Press enter to reload the page.
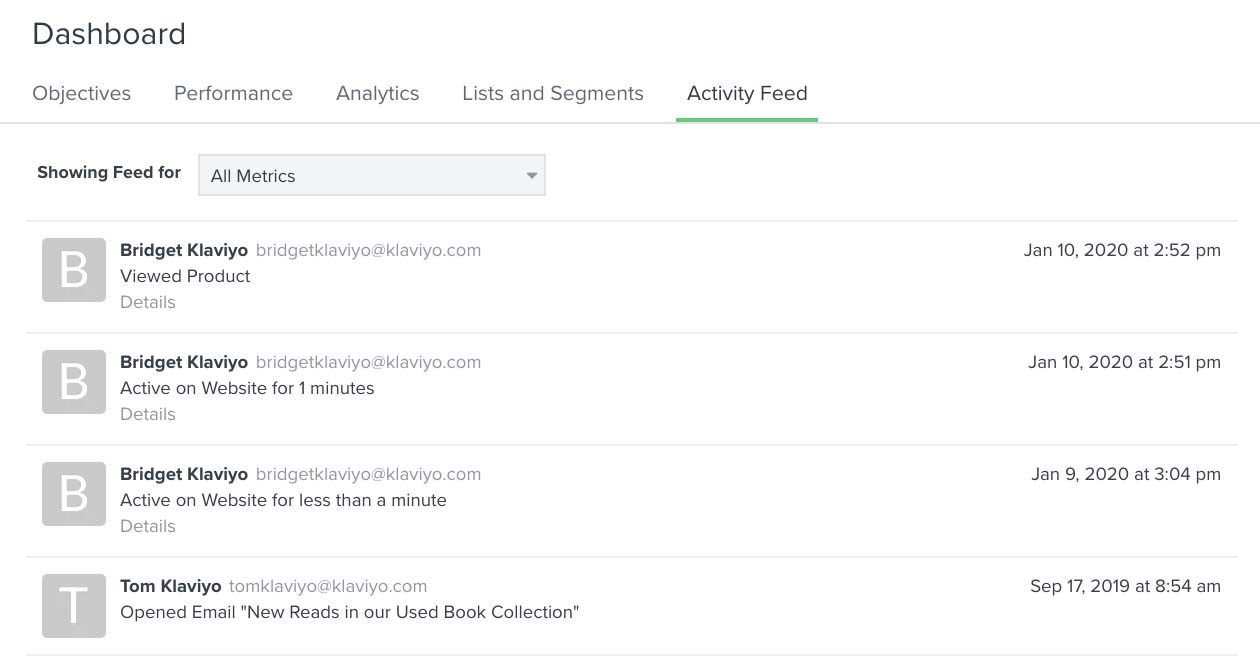
3. Then, in your Klaviyo account, navigate to Dashboard > Activity Feed. If your onsite tracking is installed correctly, you will see a new Active on Site event at the top of your activity feed from the email you entered in the URL parameter above.
If you have trouble getting your Viewed Product event to fire, ensure that your tags are set up to fire in a specific order. You always want your Active on Site snippet to fire before your Viewed Product snippet.
If you get an error when trying to save either of the tracking snippets in Google Tag Manager, you will have to paste the snippets directly into your site.
Using Google Tag Manager on Shopify
With Shopify, instead of using Google Tag Manager, you are encouraged to enable Klaviyo onsite tracking via the Klaviyo's app embed in Shopify. The app embed enables both Active on Site and Viewed Product tracking, given that it is toggled on and that the Viewed Product setting is checked on the integration settings page. Our Shopify integration also enables Submitted Search, Viewed Collection, and Added to Cart via the Track behavioral events setting.
If you want to add onsite tracking via Google Tag Manager instead, make sure to toggle off the app embed first. Then, use the snippet below.
"Collections" are not available via Shopify's AJAX API so Shopify product Tags (Tags) are captured instead in the snippet below.
<script type="text/javascript">
//Initialize the Klaviyo object on page load
!function(){if(!window.klaviyo){window._klOnsite=window._klOnsite||[];try{window.klaviyo=new Proxy({},{get:function(n,i){return"push"===i?function(){var n;(n=window._klOnsite).push.apply(n,arguments)}:function(){for(var n=arguments.length,o=new Array(n),w=0;w<n;w++)o[w]=arguments[w];var t="function"==typeof o[o.length-1]?o.pop():void 0,e=new Promise((function(n){window._klOnsite.push([i].concat(o,[function(i){t&&t(i),n(i)}]))}));return e}}})}catch(n){window.klaviyo=window.klaviyo||[],window.klaviyo.push=function(){var n;(n=window._klOnsite).push.apply(n,arguments)}}}}(); </script>
<script type="text/javascript">
//Viewed Product
var klaviyo = window.klaviyo || [];
product_handle = location.href.split( '/' ).pop().split( '?' )[0];
fetch('/products/'+product_handle+'.js').then(function(response){return response.json()})
.then(function(product){
  var item = {
    Name: product.title,
    ProductID: product.id,
    Tags: product.tags,
    ImageURL: "https:"+product.featured_image,
    URL: location.href.split( '/' )[0] + '//' + location.href.split( '/' )[2]+product.url,
    Brand: product.vendor,
    Price: product.price/100,
    CompareAtPrice: product.compare_at_price_max/100
  };
  klaviyo.track("Viewed Product", item);
  klaviyo.trackViewedItem({
    Title: item.Name,
    ItemId: item.ProductID,
    Tags: item.Categories,
    ImageUrl: item.ImageURL,
    Url: item.URL,
    Metadata: {
      Brand: item.Brand,
      Price: item.Price,
      CompareAtPrice: item.CompareAtPrice
    }
  });
// If you would like to add the Added to Cart snippet as well, place that here without its script tags
})
.catch(function(e){
  console.log('Klaviyo could not track Viewed Product. Please contact Klaviyo Support for assistance.')
});
</script>
Based on your Customer Privacy settings in Shopify, Klaviyo may not track onsite events for visitors to your Shopify store in the EU, EEA, UK and Switzerland, unless they have provided consent.
Additional resources
- Getting started with Klaviyo onsite tracking
Learn about the different ways that Klaviyo can support onsite tracking on your ecommerce site. There are 2 key types of onsite tracking:
- Understanding message conversion tracking
Learn how conversion tracking works for email, SMS, and mobile push messaging and how to edit these settings. For each campaign and flow sent, Klaviyo automatically tracks conversions. This allows you to analyze the performance of your marketing channels and their individual success.
- How to create a browse abandonment flow
Learn how to create a browse abandonment flow to show shoppers products they viewed but didn’t purchase.