How to manually import historical event data
You will learn
Learn how to manually import historical event data to Klaviyo. While we recommend using Klaviyo-built integrations with platforms such as Shopify, Magento, and BigCommerce, and our API for custom integrations, it's also possible to add this data manually. A common example of this is adding historical purchase data from a previous ecommerce platform that Klaviyo doesn't have a prebuilt integration for.
Please note that there is a limit of 50 MB for CSV uploads.
Format your data
The first step is to format your data correctly in a CSV file. Use the first row for column headers. Each remaining row should represent an action or activity someone performed, like "Purchased product" or "Signed up for webinar." If you have multiple types of actions to track, upload them as separate CSV files. The columns can appear in any order.
Here are some example event CSVs you can reference when formatting your data.
Required fields
The 2 required fields are a timestamp to identify when the event occurred, and a customer property (an email or a unique ID) to identify who performed the action.
- Timestamp: A timestamp showing the day and time of the event. Use the format YYYY-MM-DD HH:MM:SS. For example, 1:30 p.m. on November 14, 2012, would be: 2012-11-14 13:30:00.
If 2 or more events for the same person and metric have the same timestamp, include a different $event_id for each event, or only 1 will be imported and the rest will be skipped. See the section on $event_id below.
- Person//Email or Person//ID: Most likely, you will use an email to identify your customers. Some customers will also use a unique ID. You can use both if you would like.
Optional fields
There are 2 special fields to take note of.
- $event_id: This is a unique identifier for the event. In practice, you should send an
$event_idif you have a unique identifier for each event (e.g., an order ID). You should also set the$event_idif you expect multiple events for the same person and metric to occur at the same time. This can happen when someone takes one action which you will split into multiple events. For example, if someone purchases multiple items, you may want to record 1 event for each item purchased.
In the 2 sample data sets below there is 1 Placed Order event, along with 3 Ordered Product events (1 for each product in the placed order). All of these events have the same timestamp, but they will all be imported because they each have a unique $event_id. If the 3 Ordered Product events had identical $event_id values, or no $event_id values, only 1 Ordered Product event would be imported. The Placed Order event belongs to a different metric and would be imported separately.


- $value: Use this field if the event you're importing includes a value. For example, if you're importing Placed Order event data, each order will have a value. Use numbers only, without a $ or other currency symbol.
If you have additional data about the person who did something, it should go in a column whose label starts with Person// and then the type of data that column has. For instance, if you had the company or organization each person belongs to, you'd want to label that column Person//Organization. The special prefix lets us know to associate the data in that column with each person rather than the activity. The following are special columns you can use to help you identify people:
- Person//First Name: first name
- Person//Last Name: last name
- Person//Phone: phone number
- Person//Organization: organization
- Person//Title: job title
If you have additional data about each action, you can include it in extra columns with any labels you want. For instance, if someone purchases something and you want to include what item they bought, you could include that data in a column labeled Item Purchased. Below are some examples.
- Item Purchased
- Item Category
- Product
- Location
If you don't have data for a particular optional column, leave it blank and we'll ignore it. For instance, if you don't know someone's organization, you can leave the column for Person//Organization blank and we'll skip tracking that property for that row in your data.
Once you're done formatting your data, save it in a CSV file.
Upload a CSV file of data
To import data, your user role must have permission to manage integrations.
- In Klaviyo, select the Integrations tab.
- Select Manage data > Import via CSV.
- You'll be prompted to upload your CSV file, then click Next.
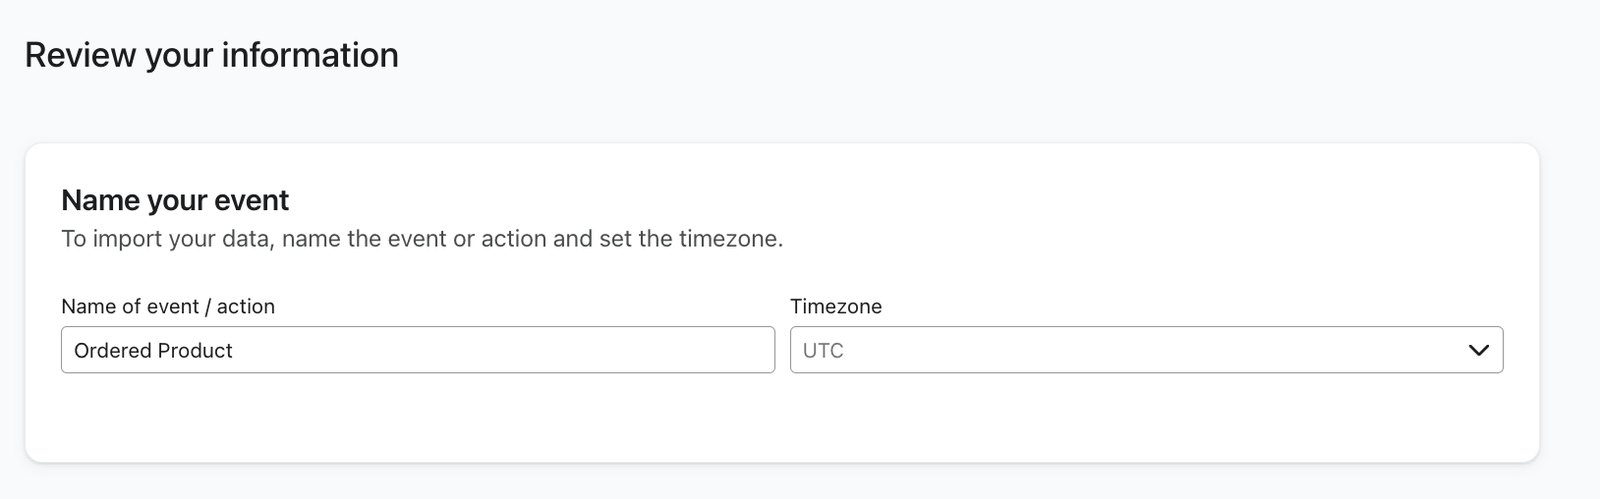
- Enter a name in Name of event / action. To add events to a metric from a previous CSV import, enter its name exactly. Matching the name of a metric from another integration does not, by itself, add data to that metric.
- Select the Timezone that matches the timestamps in your file. If your timestamps are in UTC, select UTC.
- Review the column names and the first row of values under Preview your data.
- When you're ready to import your data click Next. Your file will start to process, and you can navigate away from the page.
- When processing finishes, check the number of rows uploaded. Click Done to return to Integrations.
Note for ecommerce stores loading purchase data
If you're uploading purchase data, you'll want to upload 2 files: 1 for the overall order, and a second that includes item by item data. For example, a customer might place an order for multiple products. In this case there would be 1 event for the Placed Order, and then separate events for each of the Ordered Products. Here's what the headers of those files should look like typically:
Placed Order
Person//Email | Person//First Name | Person//Last Name | Timestamp | $event_id | $value | Quantity | Items |
John@gmail.com | John | Smith | 2014-03-10 08:55:01 | 12425 | 49.00 | 2 | ["To Kill a Mockingbird", "Pictionary"] |
Ordered Product
Person//Email | Person//First Name | Person//Last Name | Timestamp | $event_id | $value | Quantity | Item |
John@gmail.com | John | Smith | 2014-03-10 08:55:01 | 12425_TKM | 24.00 | 1 | To Kill a Mockingbird |
John@gmail.com | John | Smith | 2014-03-10 08:55:01 | 12425_P | 25.00 | 1 | Pictionary |
We do not use the $ to prefix order values. Use just numbers to indicate the price or value of an order. Using the $value header will populate the data correctly in your Klaviyo account.
The reason to include 2 metrics is that it makes it easier to later trigger emails off of both an overall order and off of specific categories / items.
For Ordered Product events, $event_id needs to be a unique identifier for each combination of the order and the product ordered. One easy way to create a unique identifier is to combine the Order ID and Product ID like in the example above.
Import troubleshooting
Below are some common issues and resolutions you may find when manually importing historical event data.
My import is taking a long time
Imports can take between 5 minutes and 24 hours depending upon the size of your file. We recommend beginning the import at least 24 hours before you need the data for a campaign so the import process does not hold up your send.
My import fails or skips rows
If your file fails to upload or some rows are not imported, check the following:
- Is your file a .csv file? Your file must be in .csv format. If you attempt to upload an Excel file or a .txt file, the import will fail.
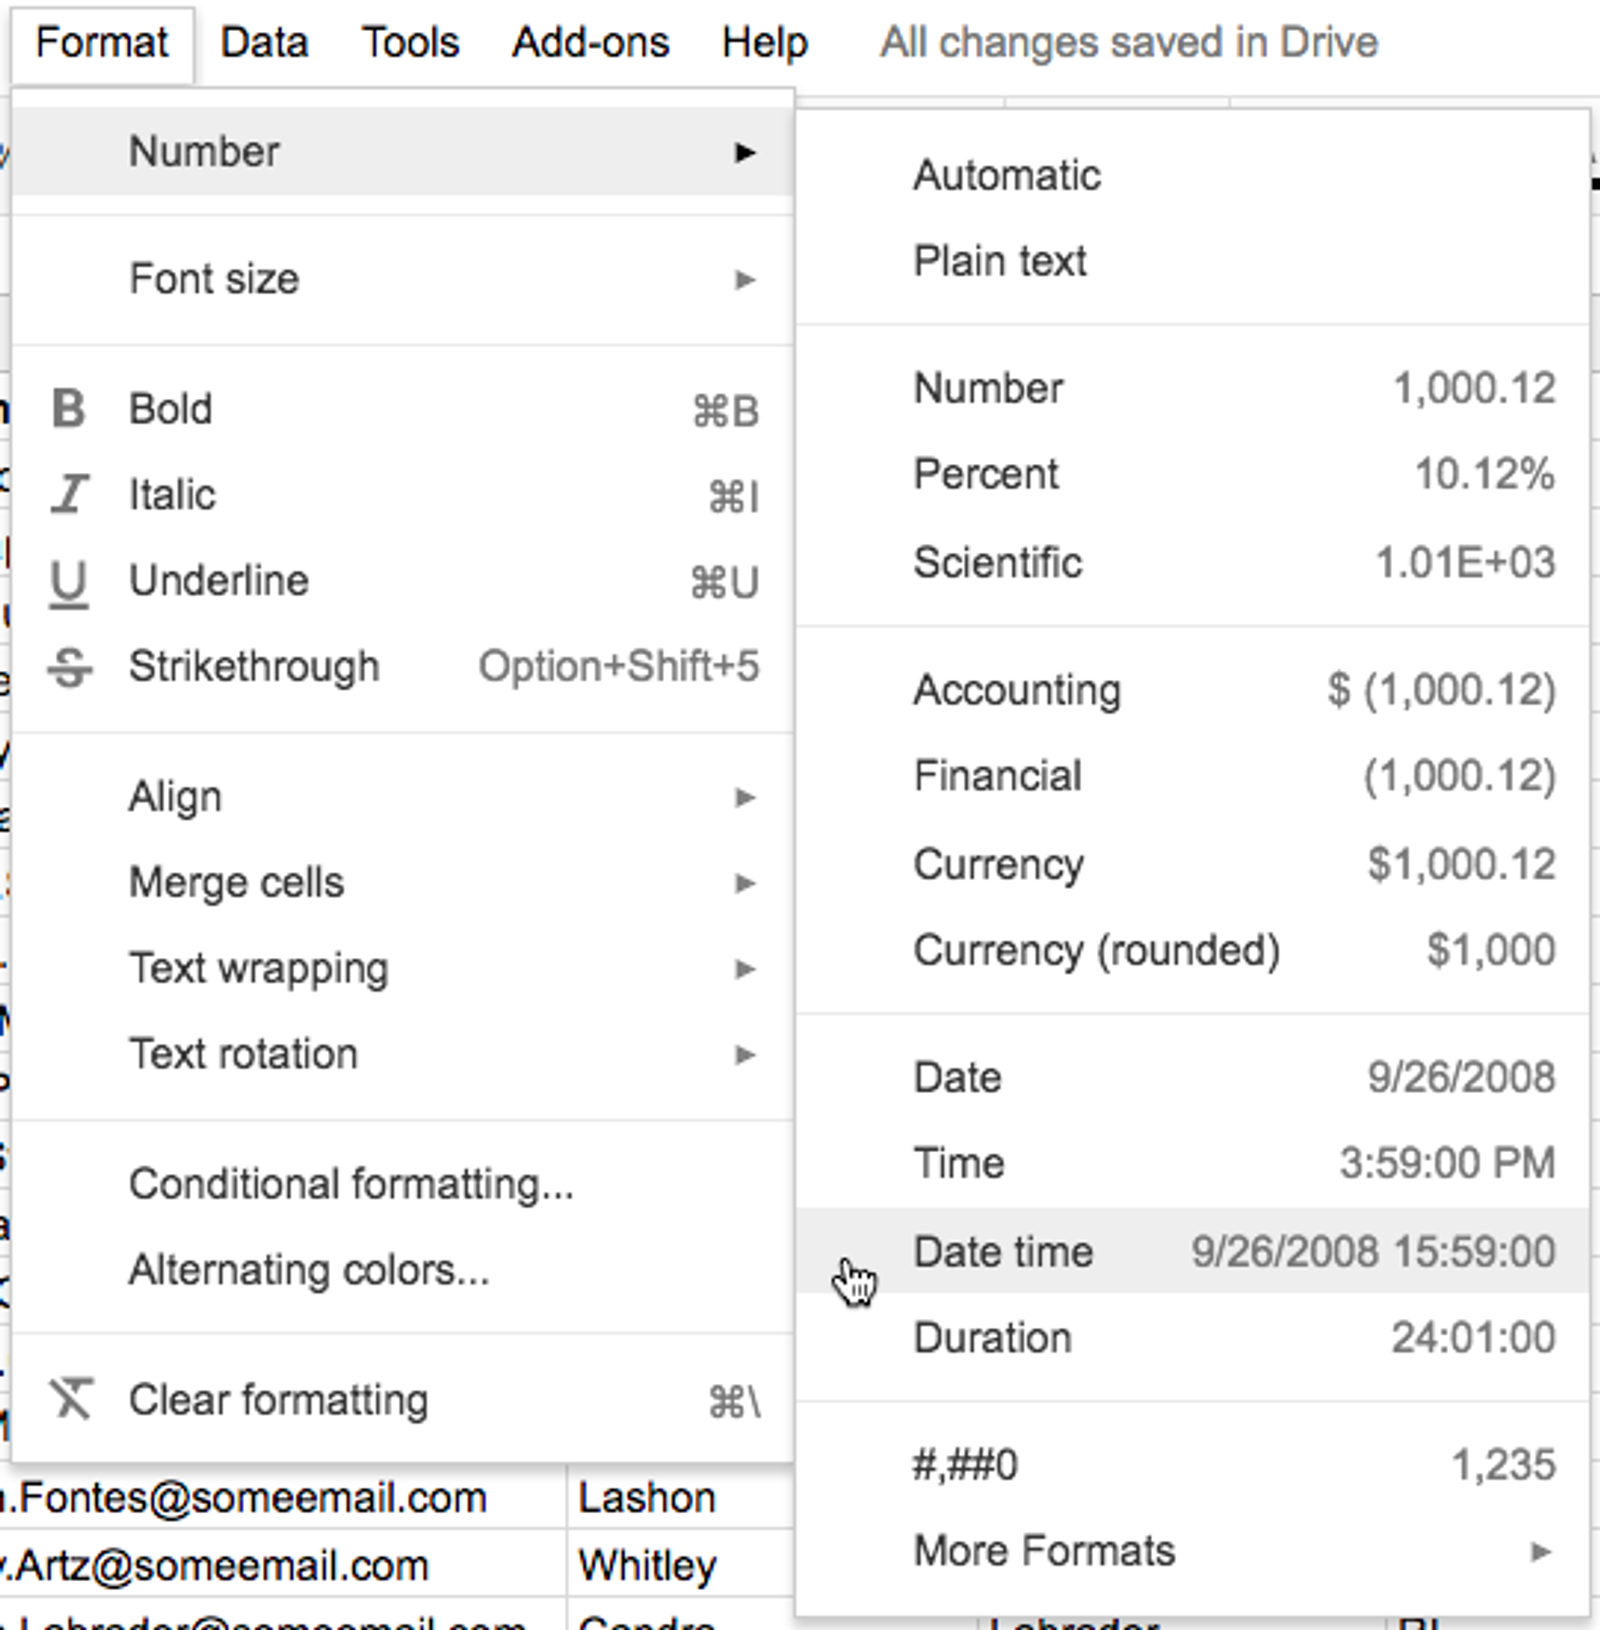
- Did you format your Timestamp column correctly? Use the date and time format YYYY-MM-DD HH:MM:SS. For example, 1:30 p.m. on November 14, 2012, would be: 2012-11-14 13:30:00. As a second check, open your CSV in a text editor to ensure that any trailing 0s in your timestamps are not being stripped out when you save or export your CSV files. If you're working with data in a spreadsheet, make sure the Timestamp cells are set to the correct timestamp format.
- Do all required columns have data filled in for every row? Include a Timestamp column and at least 1 of Person//Email or Person//ID. Each row needs a timestamp and a customer identifier. If you include Person//Email, every row must have a valid email address, even if Person//ID is also present.
- Does your Person//Email column have invalid email addresses in it? If values in your Person//Email column don't have a valid email address format, those rows will be skipped.
- Are all of your columns labeled correctly? Match
Timestampand your chosen customer identifier header (Person//EmailorPerson//ID) exactly, including capitalization. Remove extra spaces before or after these headers. Spaces within property names are allowed, as inPerson//First NameorItem Purchased.
Additional resources
- Acceptable date and timestamp formats for profile and event properties reference
Learn which date and time formats Klaviyo recognizes in event and profile data sent through our APIs or in a CSV upload. Note that this does not apply to an event timestamp sent via the Track API, which must be unix time in seconds.
- Formatting dates for CSV files reference
Learn how to edit dates in Excel and Google files to match the required date format in Klaviyo. This will make the process of uploading a CSV with customer data seamless and help you avoid upload errors.
- Migrate to Klaviyo