How to insert an image into a text block
Estimated 2 minute read
|
Updated Oct 20, 2026, 12:00 AM EST
You will learn
Learn how to add an image in a text block in a Klaviyo email. While in most cases you should insert images into your email templates using image blocks, there might be some cases when you'd prefer to have text and an image within the same block.
If you'd like to set an image as a background for your text, head to our article on setting background images for a section.
Host your image
Once you have your image sized and edited appropriately (using a photo editing tool of your choice), upload the image to Klaviyo.
- Navigate to Content > Media & brand > Images.
- Click Upload images.

- Click Select image and choose an image (or images) to upload.
- If the Select upload version screen appears, review the original and compressed versions for each image. Choose the version you want, then click Upload (or Upload all for multiple images).
- Wait for your images to finish uploading. The upload dialog closes automatically.
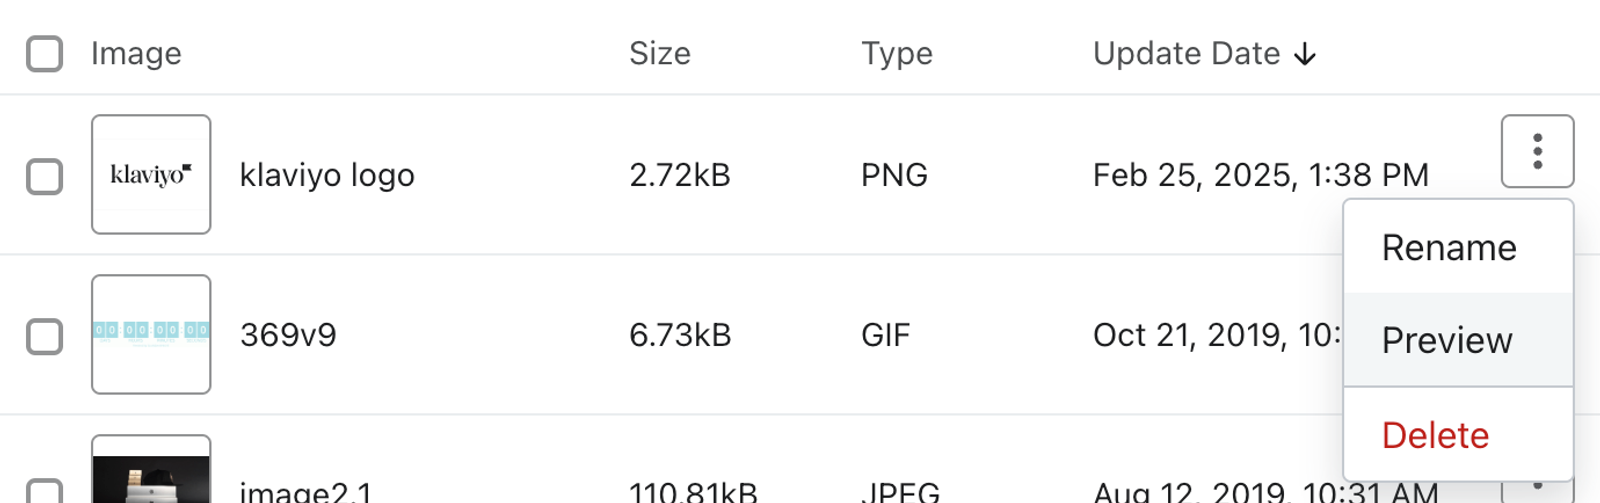
- Click on the three-dot menu beside the image you just uploaded.
- Click Preview.
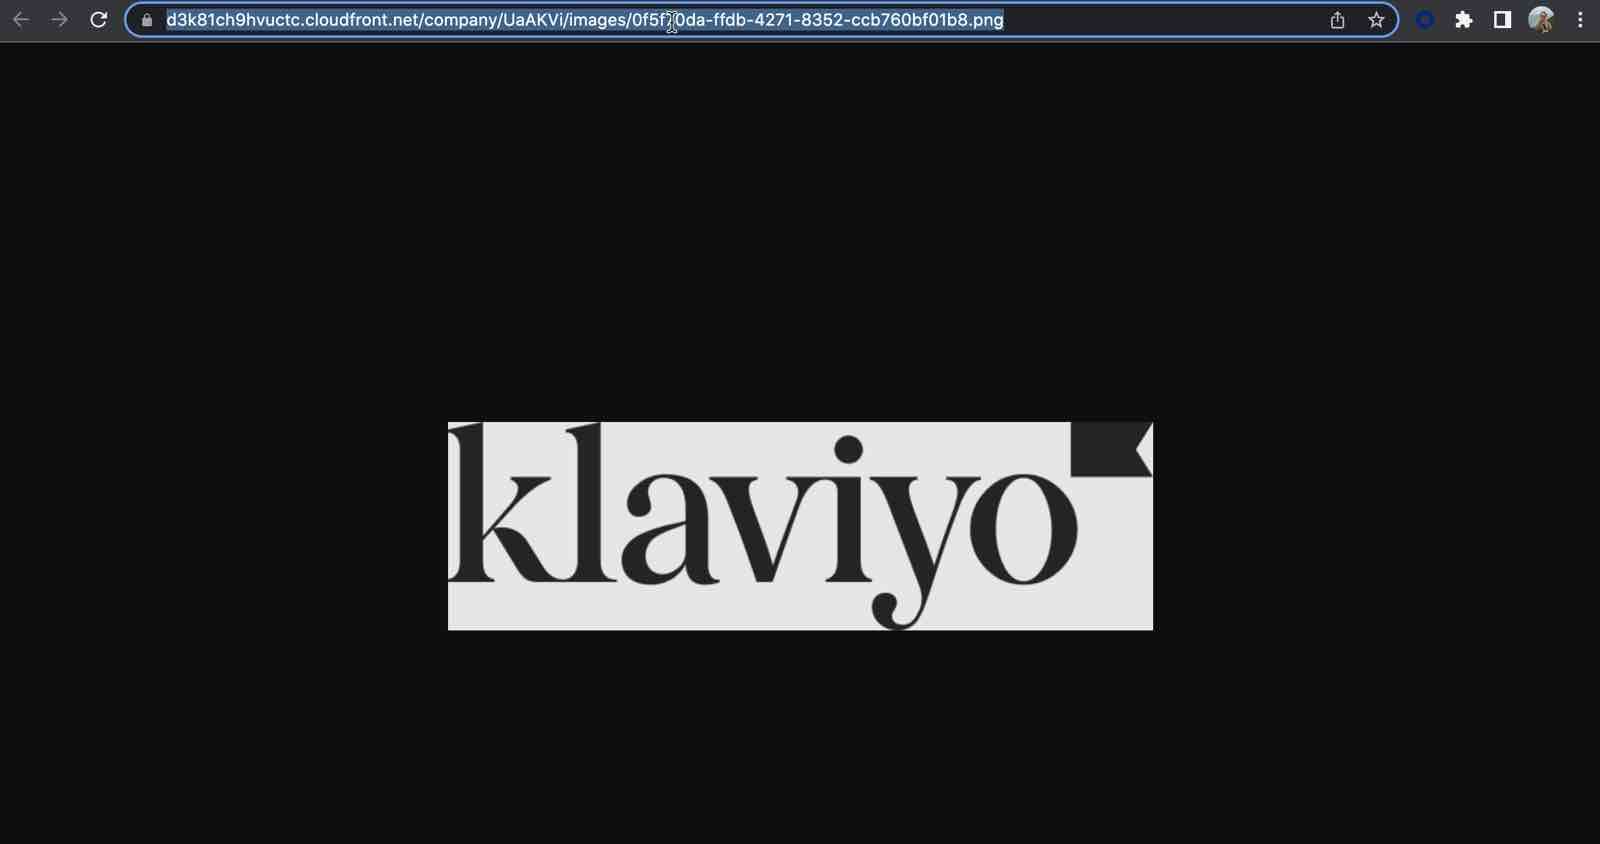
- Copy the image URL from the address bar in the new browser tab.
To delete an image from the Media & brand library:
- Locate the image you want to delete.
- Click on the three-dot menu beside the image.
- Click Delete. Review the warning, then click Delete Image to confirm.
Add an image in a text block
To add the image you uploaded to a text block in a Klaviyo email:
- Open the email template editor.
- Double-click the text block where you'd like to add the image, then place your cursor where the image should appear.
- Click the Add image icon in the formatting toolbar.

- Paste the image URL you copied into the Image URL field.
- Add descriptive Alt text so recipients can understand the image if it does not display. Optionally, set the Height or Width in pixels.
- Click Apply.
- Click outside the text block to finish editing and save your changes.
Was this article helpful?
Use this form only for article feedback. Learn how to contact support.